BIQU H2 500°C Extruder - unboxing and first look
BIQU wants to enter the market for high temperature printing and has release the BIQU H2 500°C direct drive extruder. This is a variant of their BIQU H2 direct drive extruder v2.0 of which v1.0 variant I wrote a review earlier. For purposes of review and testing I have received a unit from BIQU. In this article I’Il do an initial unboxing and first look of the device and its internals.
Specifications
For a general description of the features of the H2 direct drive series, including its very low weight, you can refer to my earlier review of the H2 v1.0. When it comes to high temperature printing, these features specifically apply to the BIQU H2 500°C Extruder:
- The heat block is made of an nickel plated copper instead of regular aluminum
- The default nozzle is made of high temperature hardened steel
- The stepper motor is tolerant of temperatures up to 180°C
- The assembly uses a PT100 temperature sensor together with a MAX31865 amplifier for accurate temperature reading capability
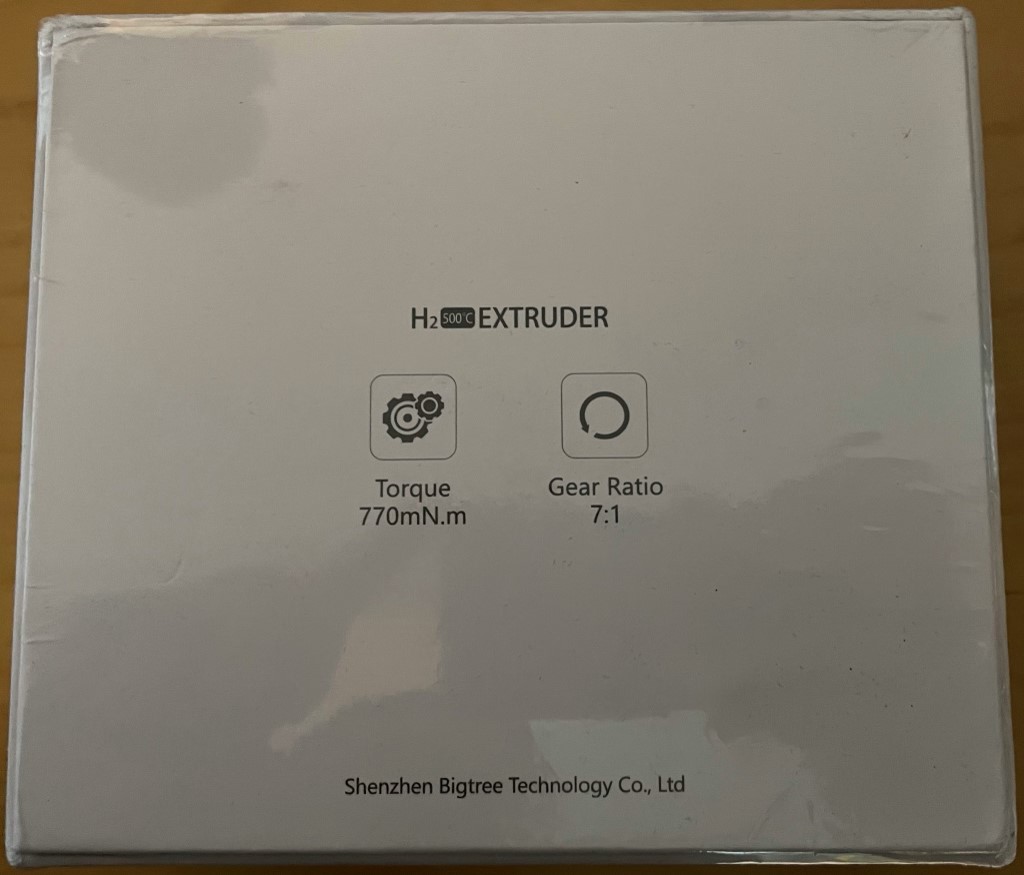
Compared to an regular BIQU H2, the high temperature variant is about 10-20 dollars more expensive. Not bad!
As mentioned, the hotend assembly is rated to go up to 500°C. As a suggestion, BIQU left a helpful list of filaments you can print thanks to the higher temperatures.
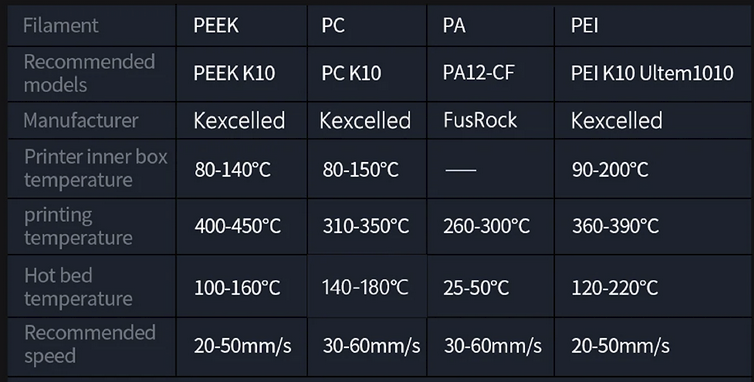 The most well-known filaments on this list might be Nylon (PA) and PC (Polycarbonate). And yes, that on the right is PEI - what you might have used as a build surface.
Packaging
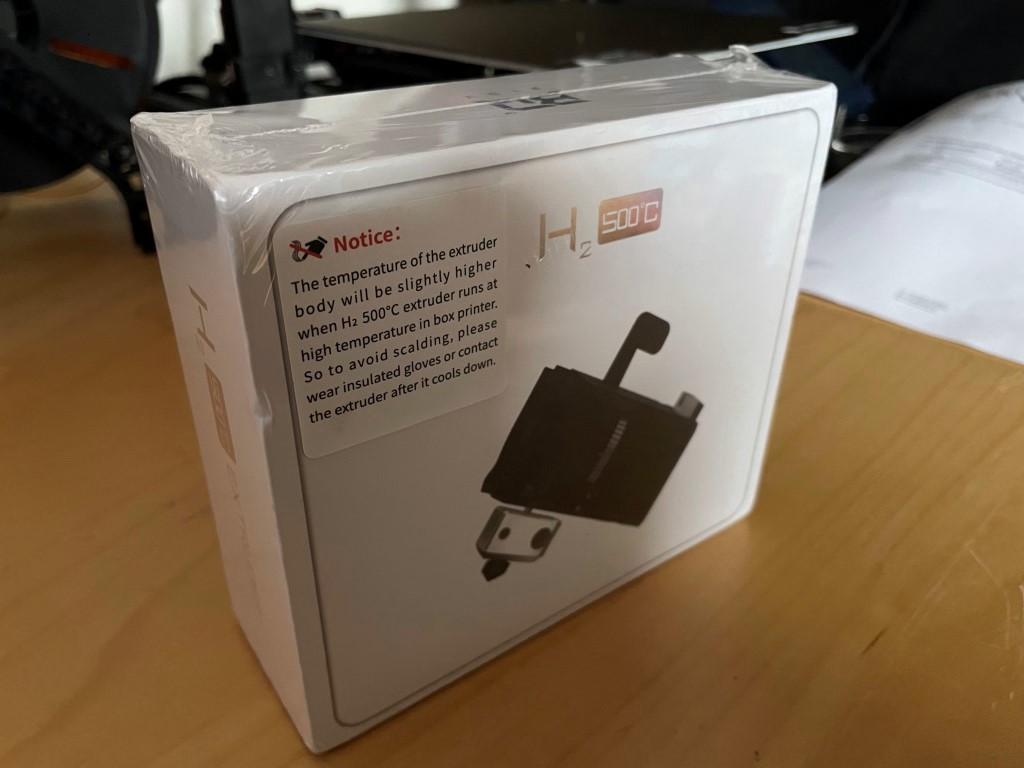
The H2 500°C comes in a rectangular white box, with plenty of protective foam inside. The packaging self is shrinkwrapped in plastic foil.
 Top of the box - notice the warning about the high body temperature of the extruder at high temperature
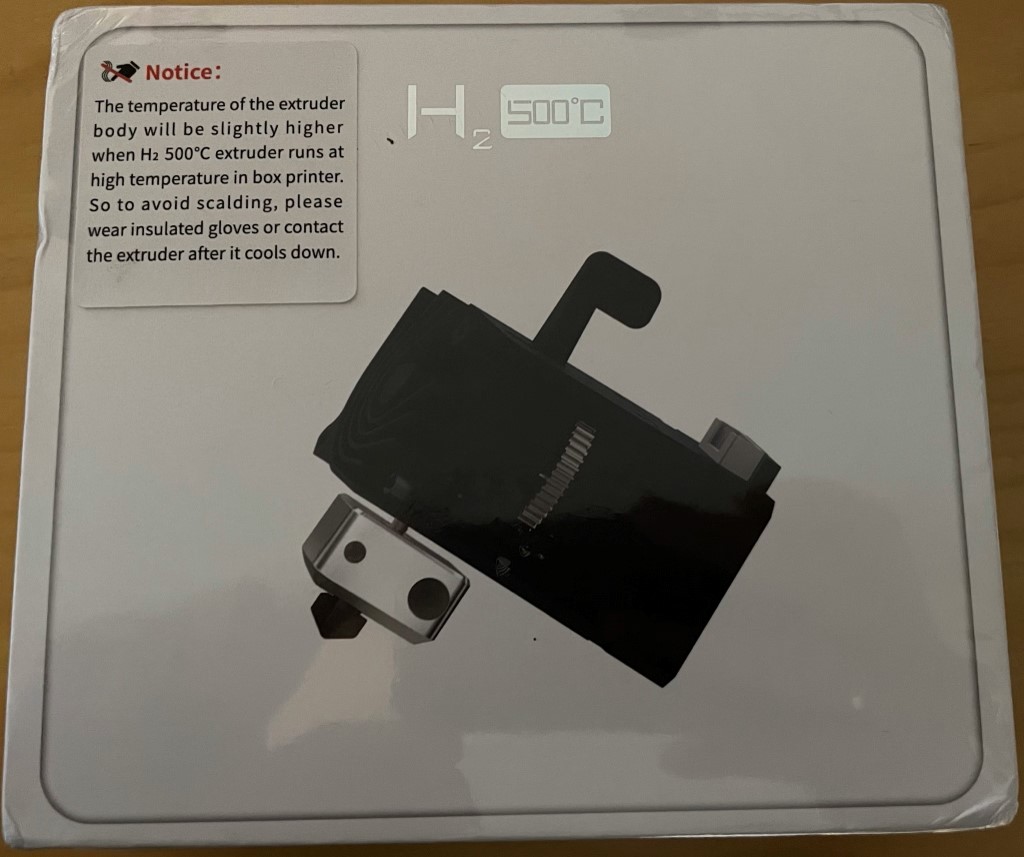
 BIQU must have hired an designer that worked at Apple 😉 - the packaging looks very attractive!
When we open the box we’re greeted by the manual.
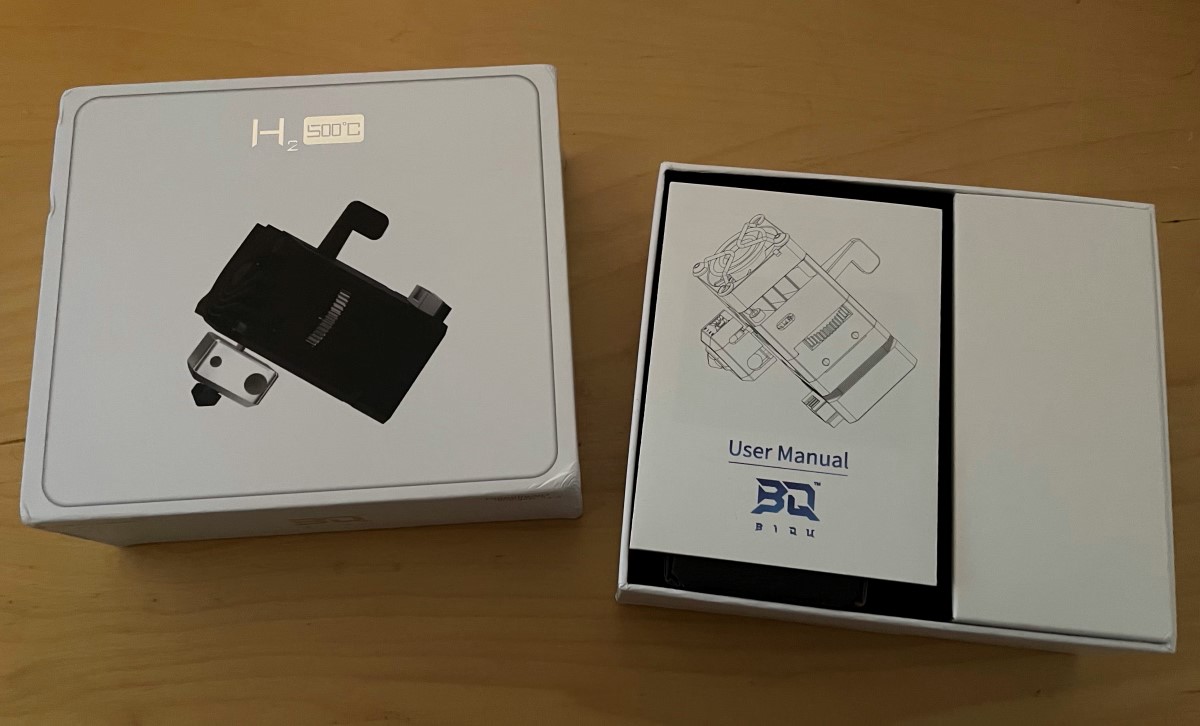
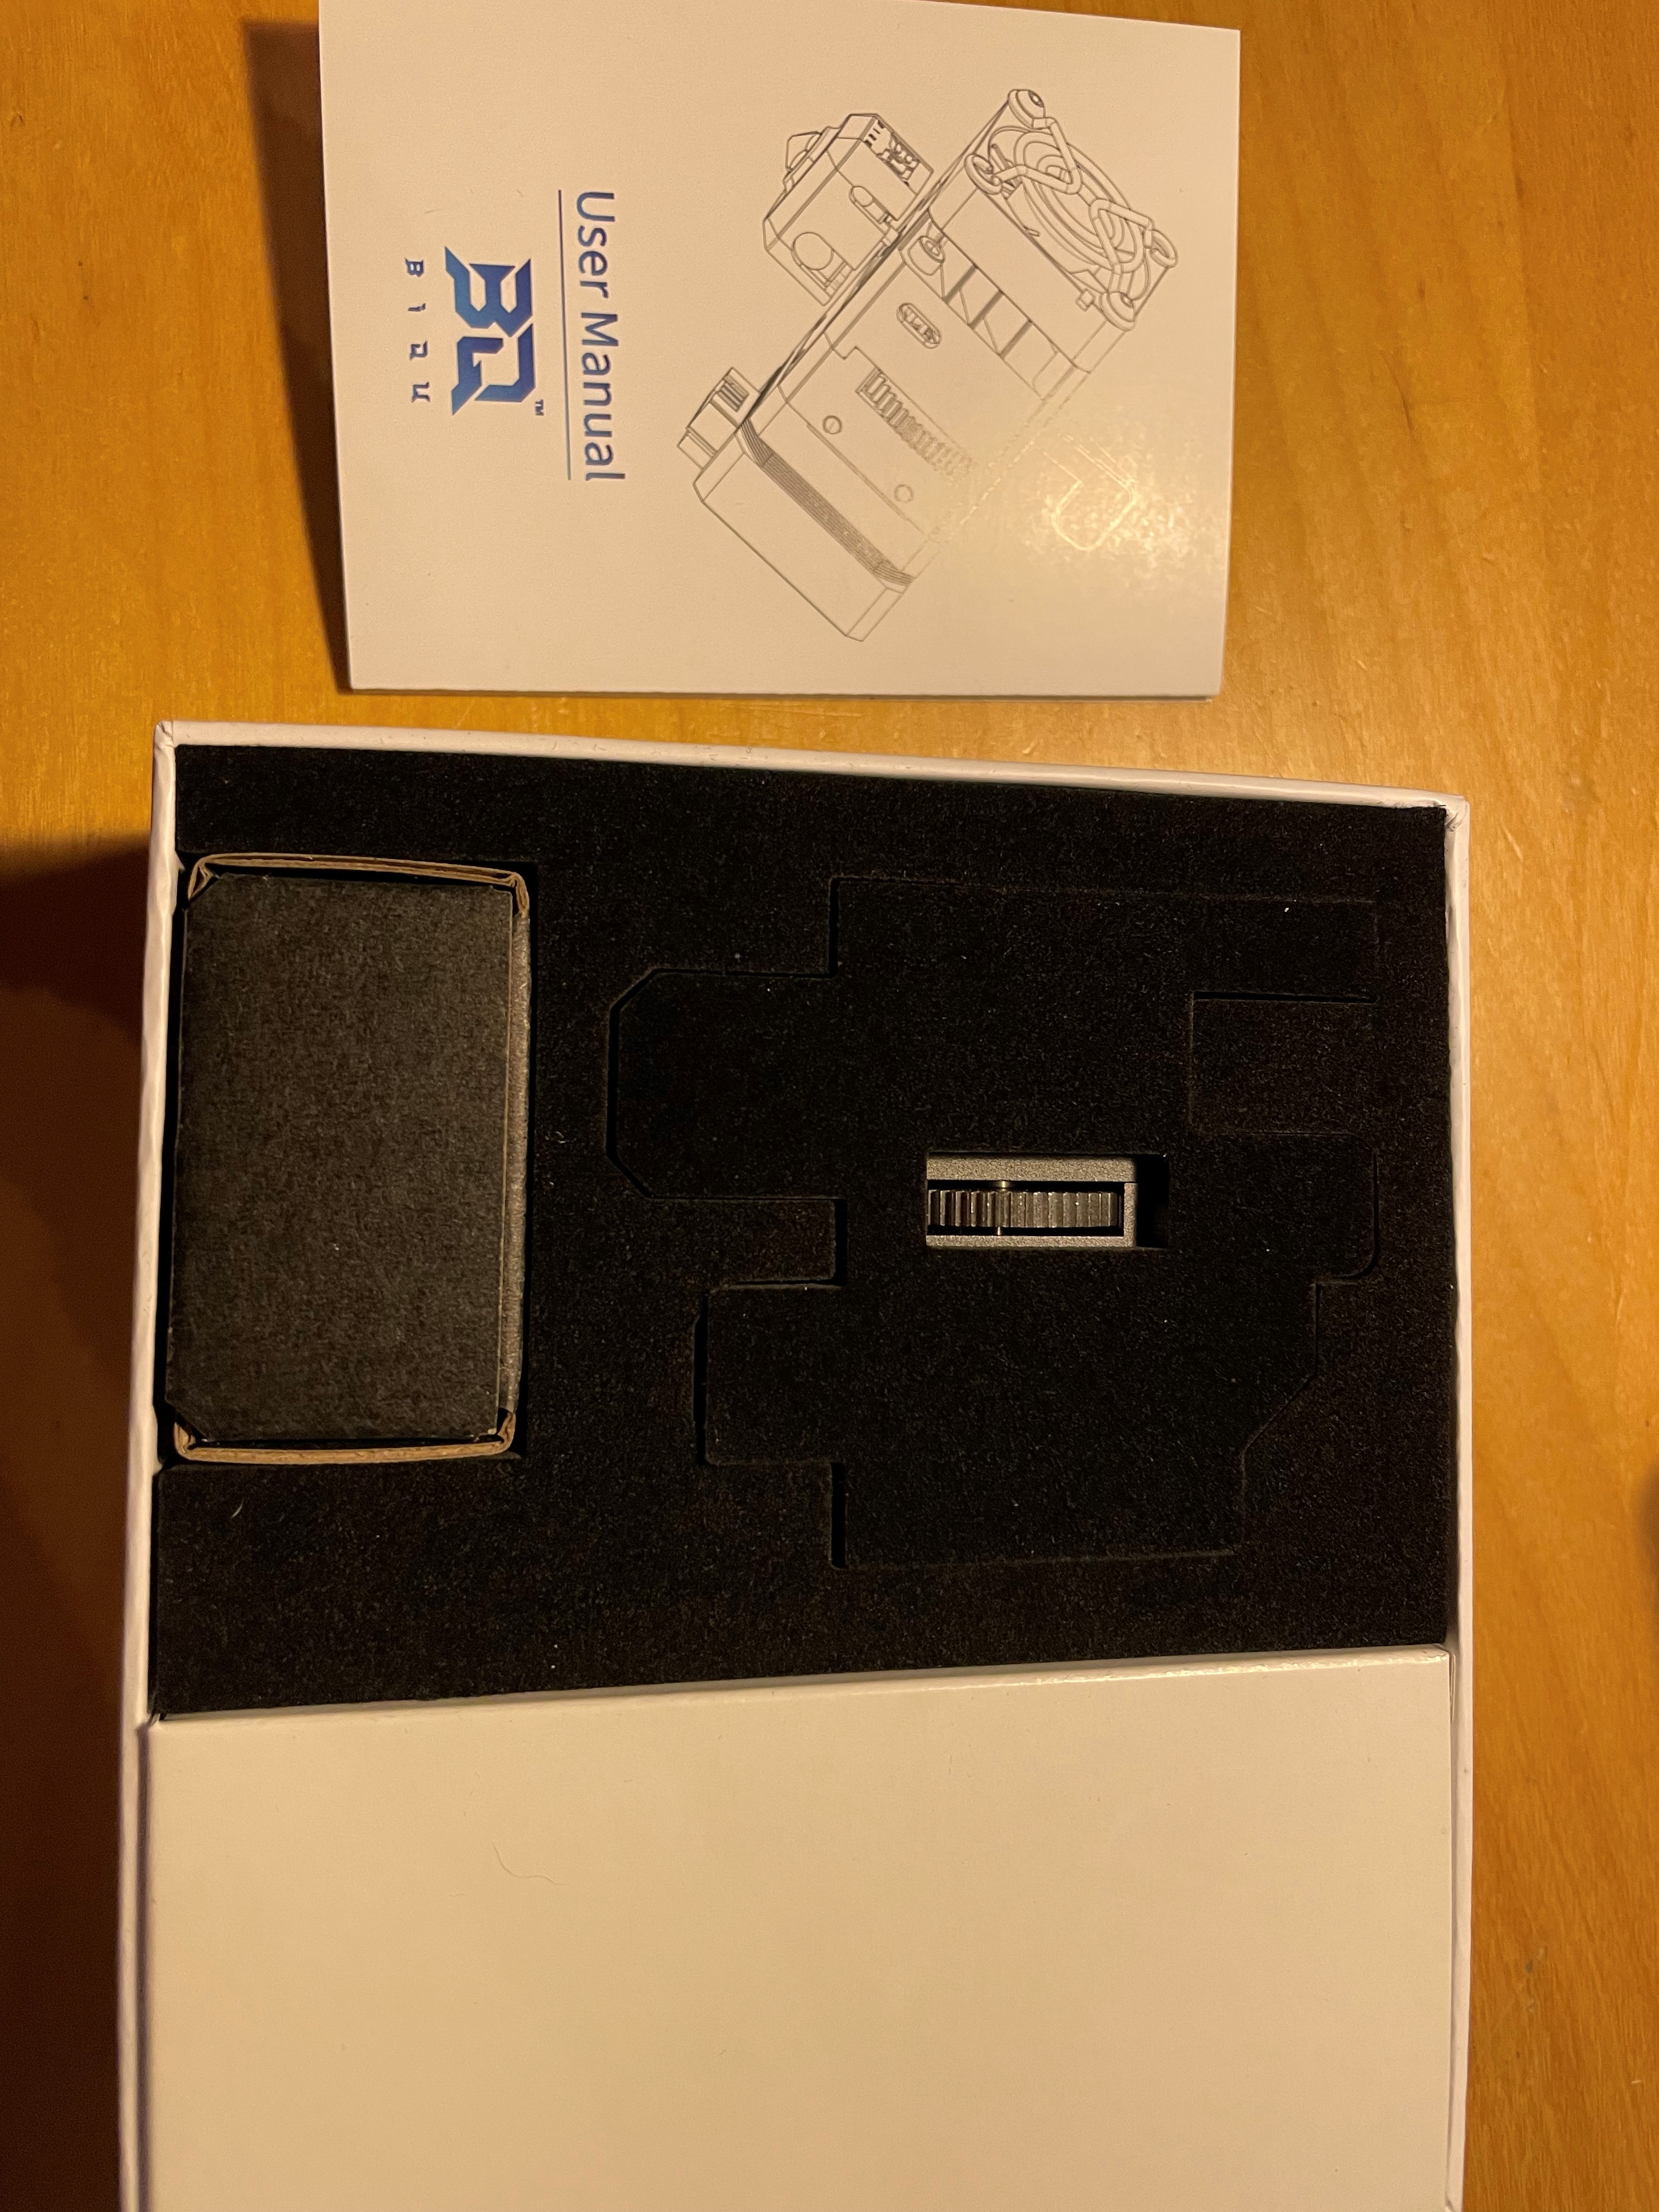 A part of the H2 extruder already peeks through
What’s inside?
Next to the H2 extruder, there is a small black box.
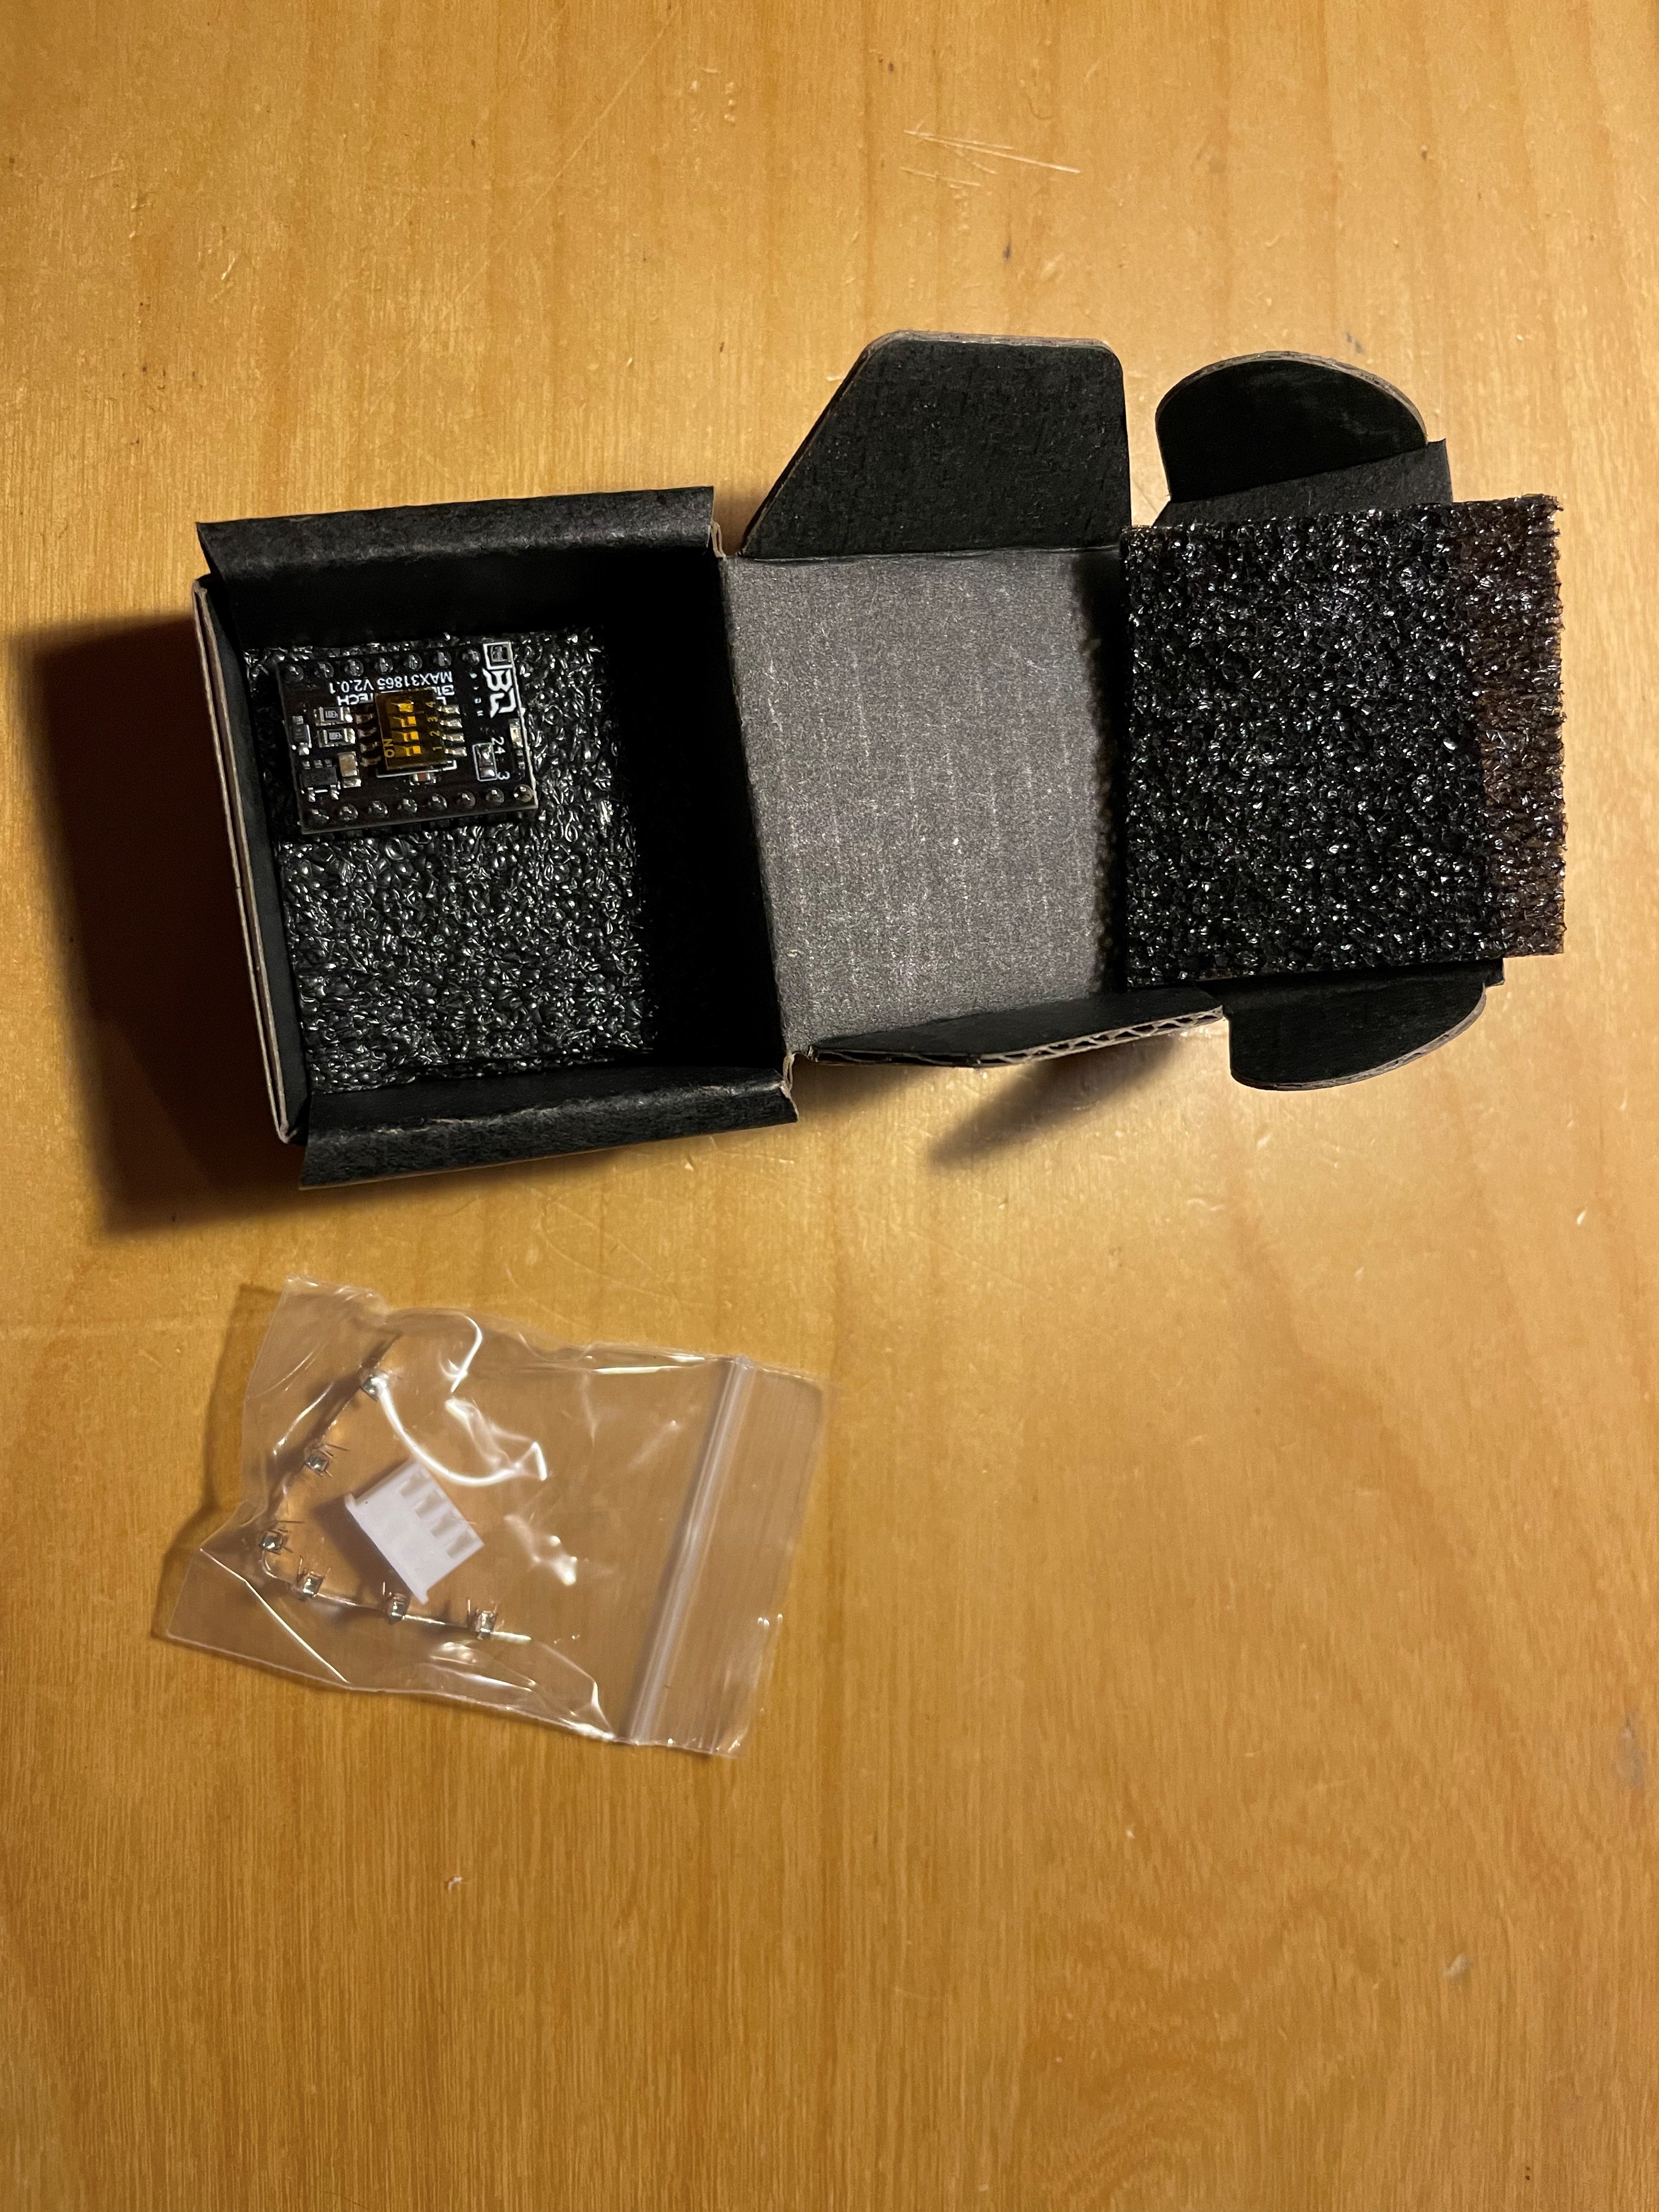 The thermistor amplifier chip is kept safe by foam packaging
The MAX31865 chip contained in the packaging is a requirement for measuring the temperature of the PT100 thermistor safely. The chip is put on a stepstick, which fits into any board with stepstick slots (boards with replaceable stepper drivers). This will be a challenge for me, as I don’t have any printer that has boards available that support stepsticks.
We also find a JST-XH 4-pin connector with inserts to be crimped to a cable. It is not immediately obvious what its purpose is.
In the large white box next to black foam, we find several accessories:
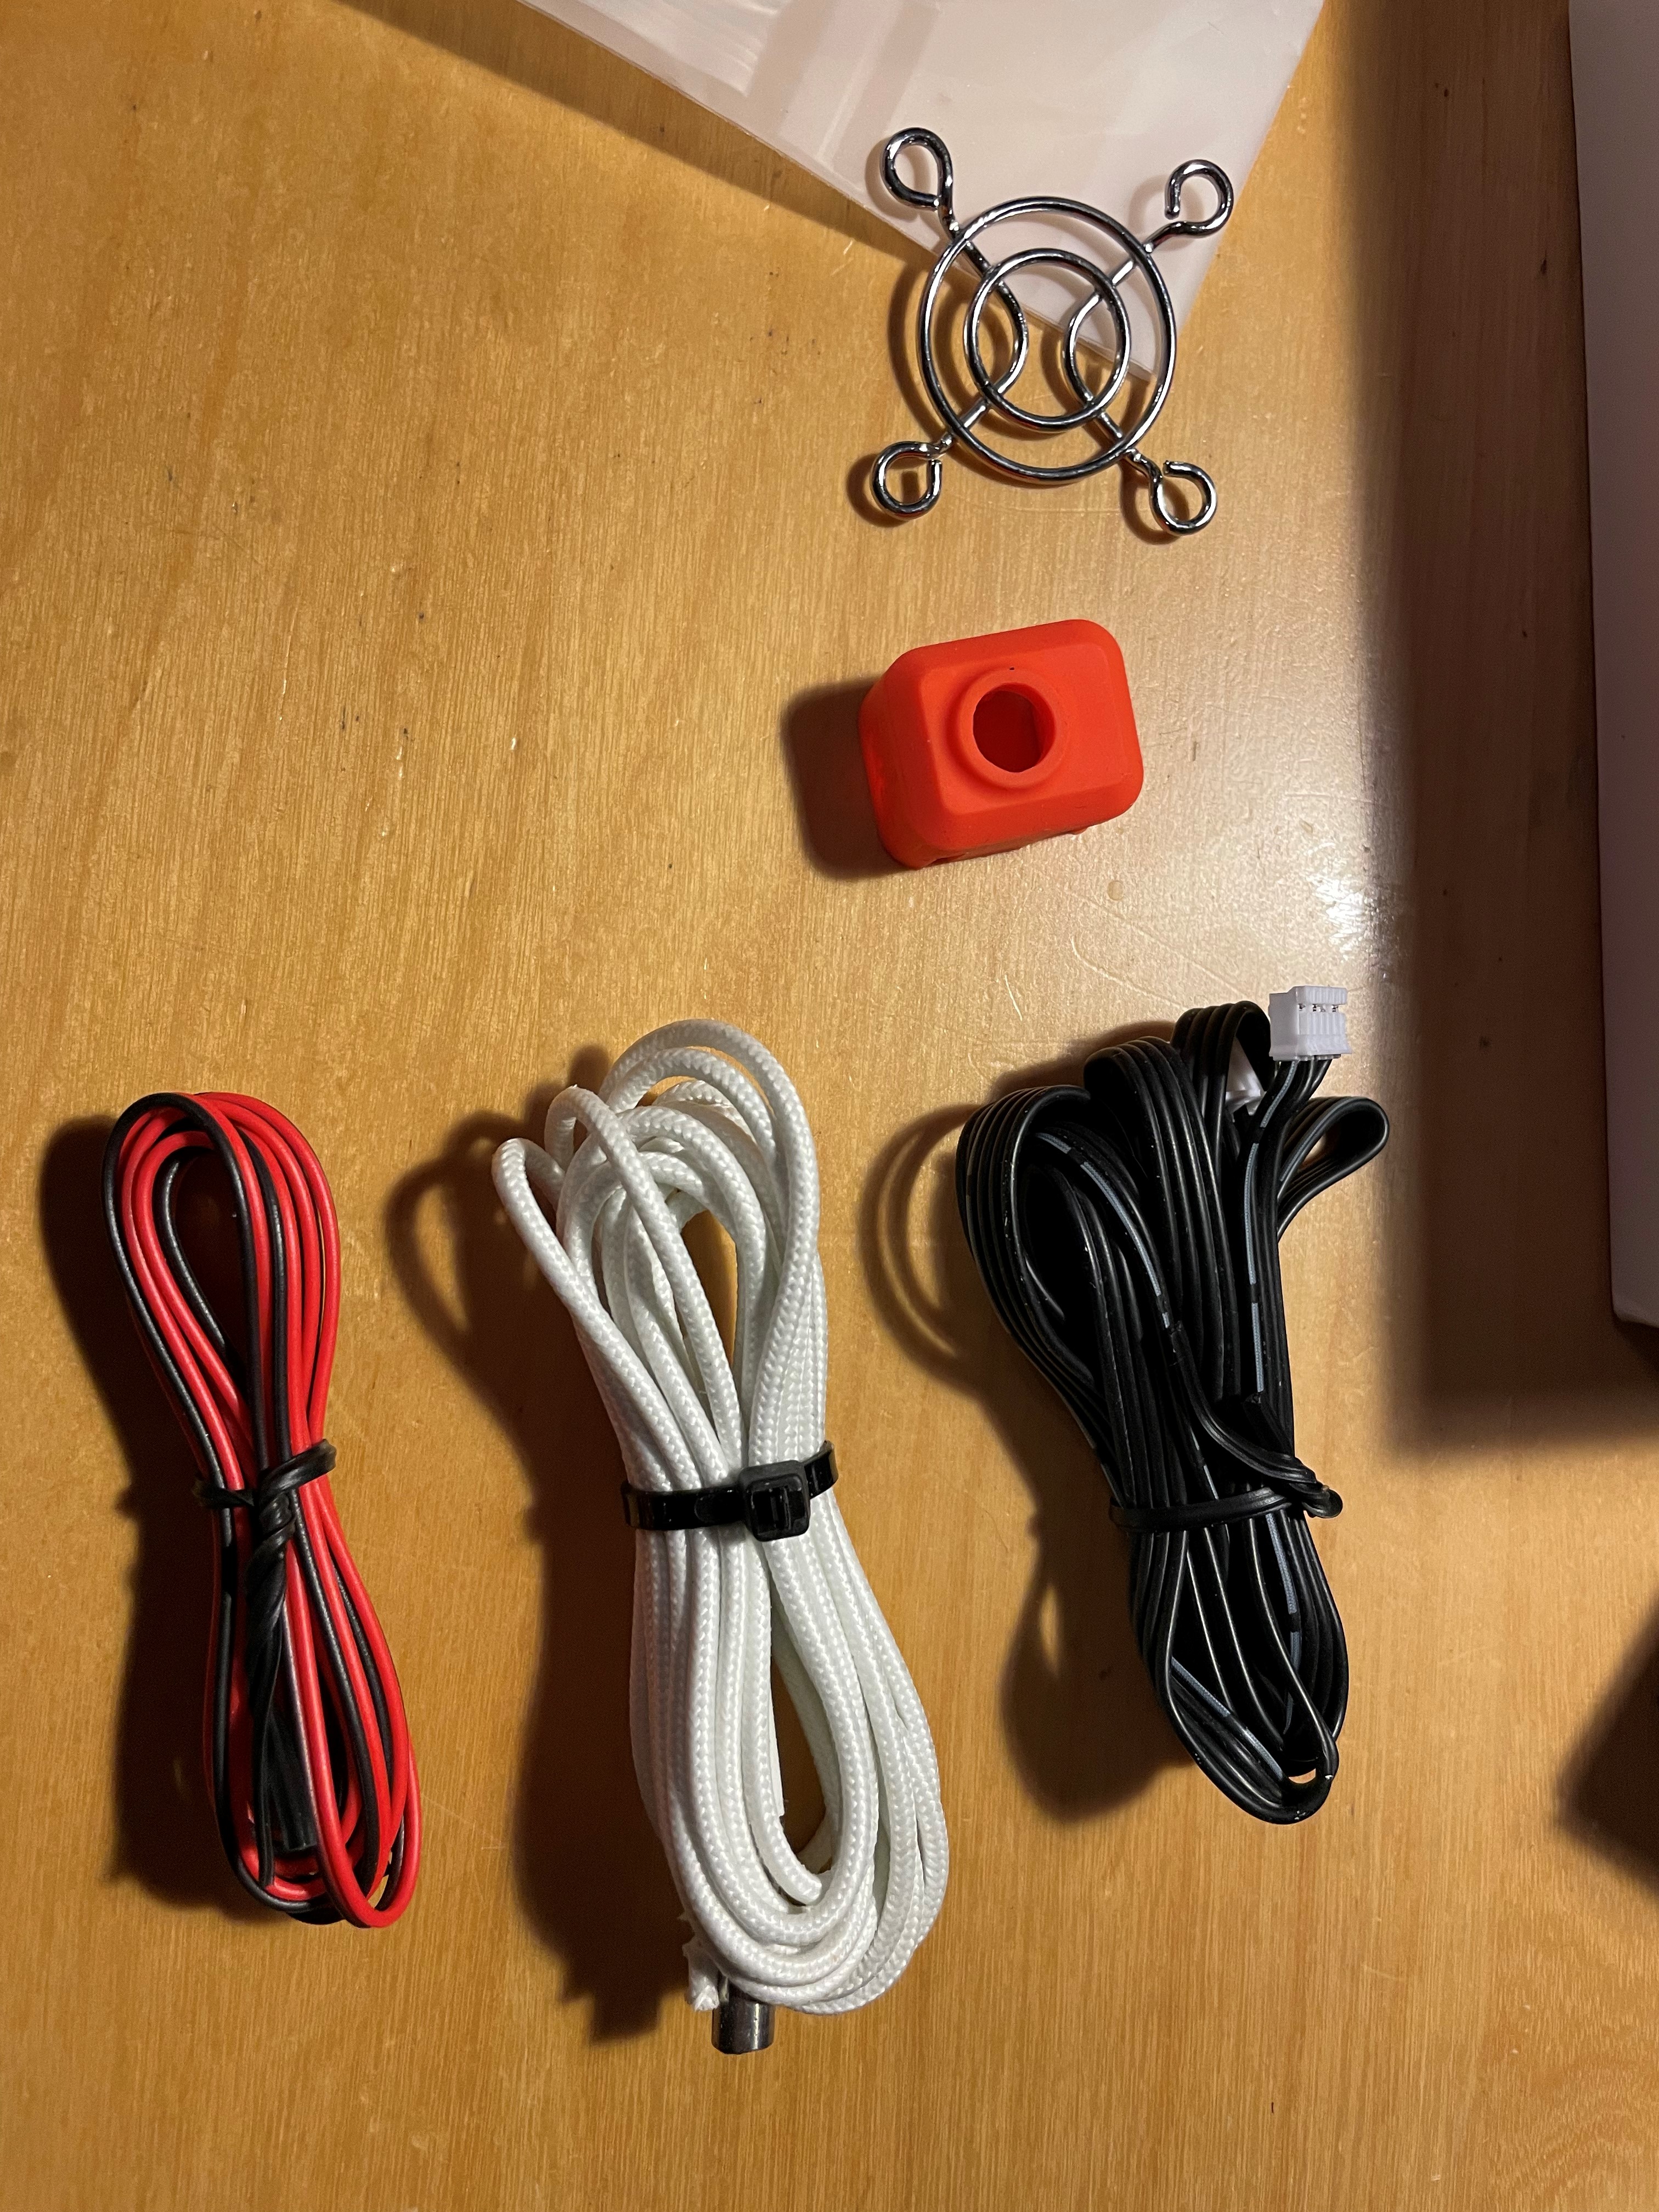 Silicone stepper motor cable, regular plastic fan extension cable, and a 70W heater cartridge. The silicone stepper motor cable is supposed to be able higher temperatures, though I wonder why the fan cable isn’t also silicone. In addition with find a silicone sock for the heater block itself, and a fan guard.
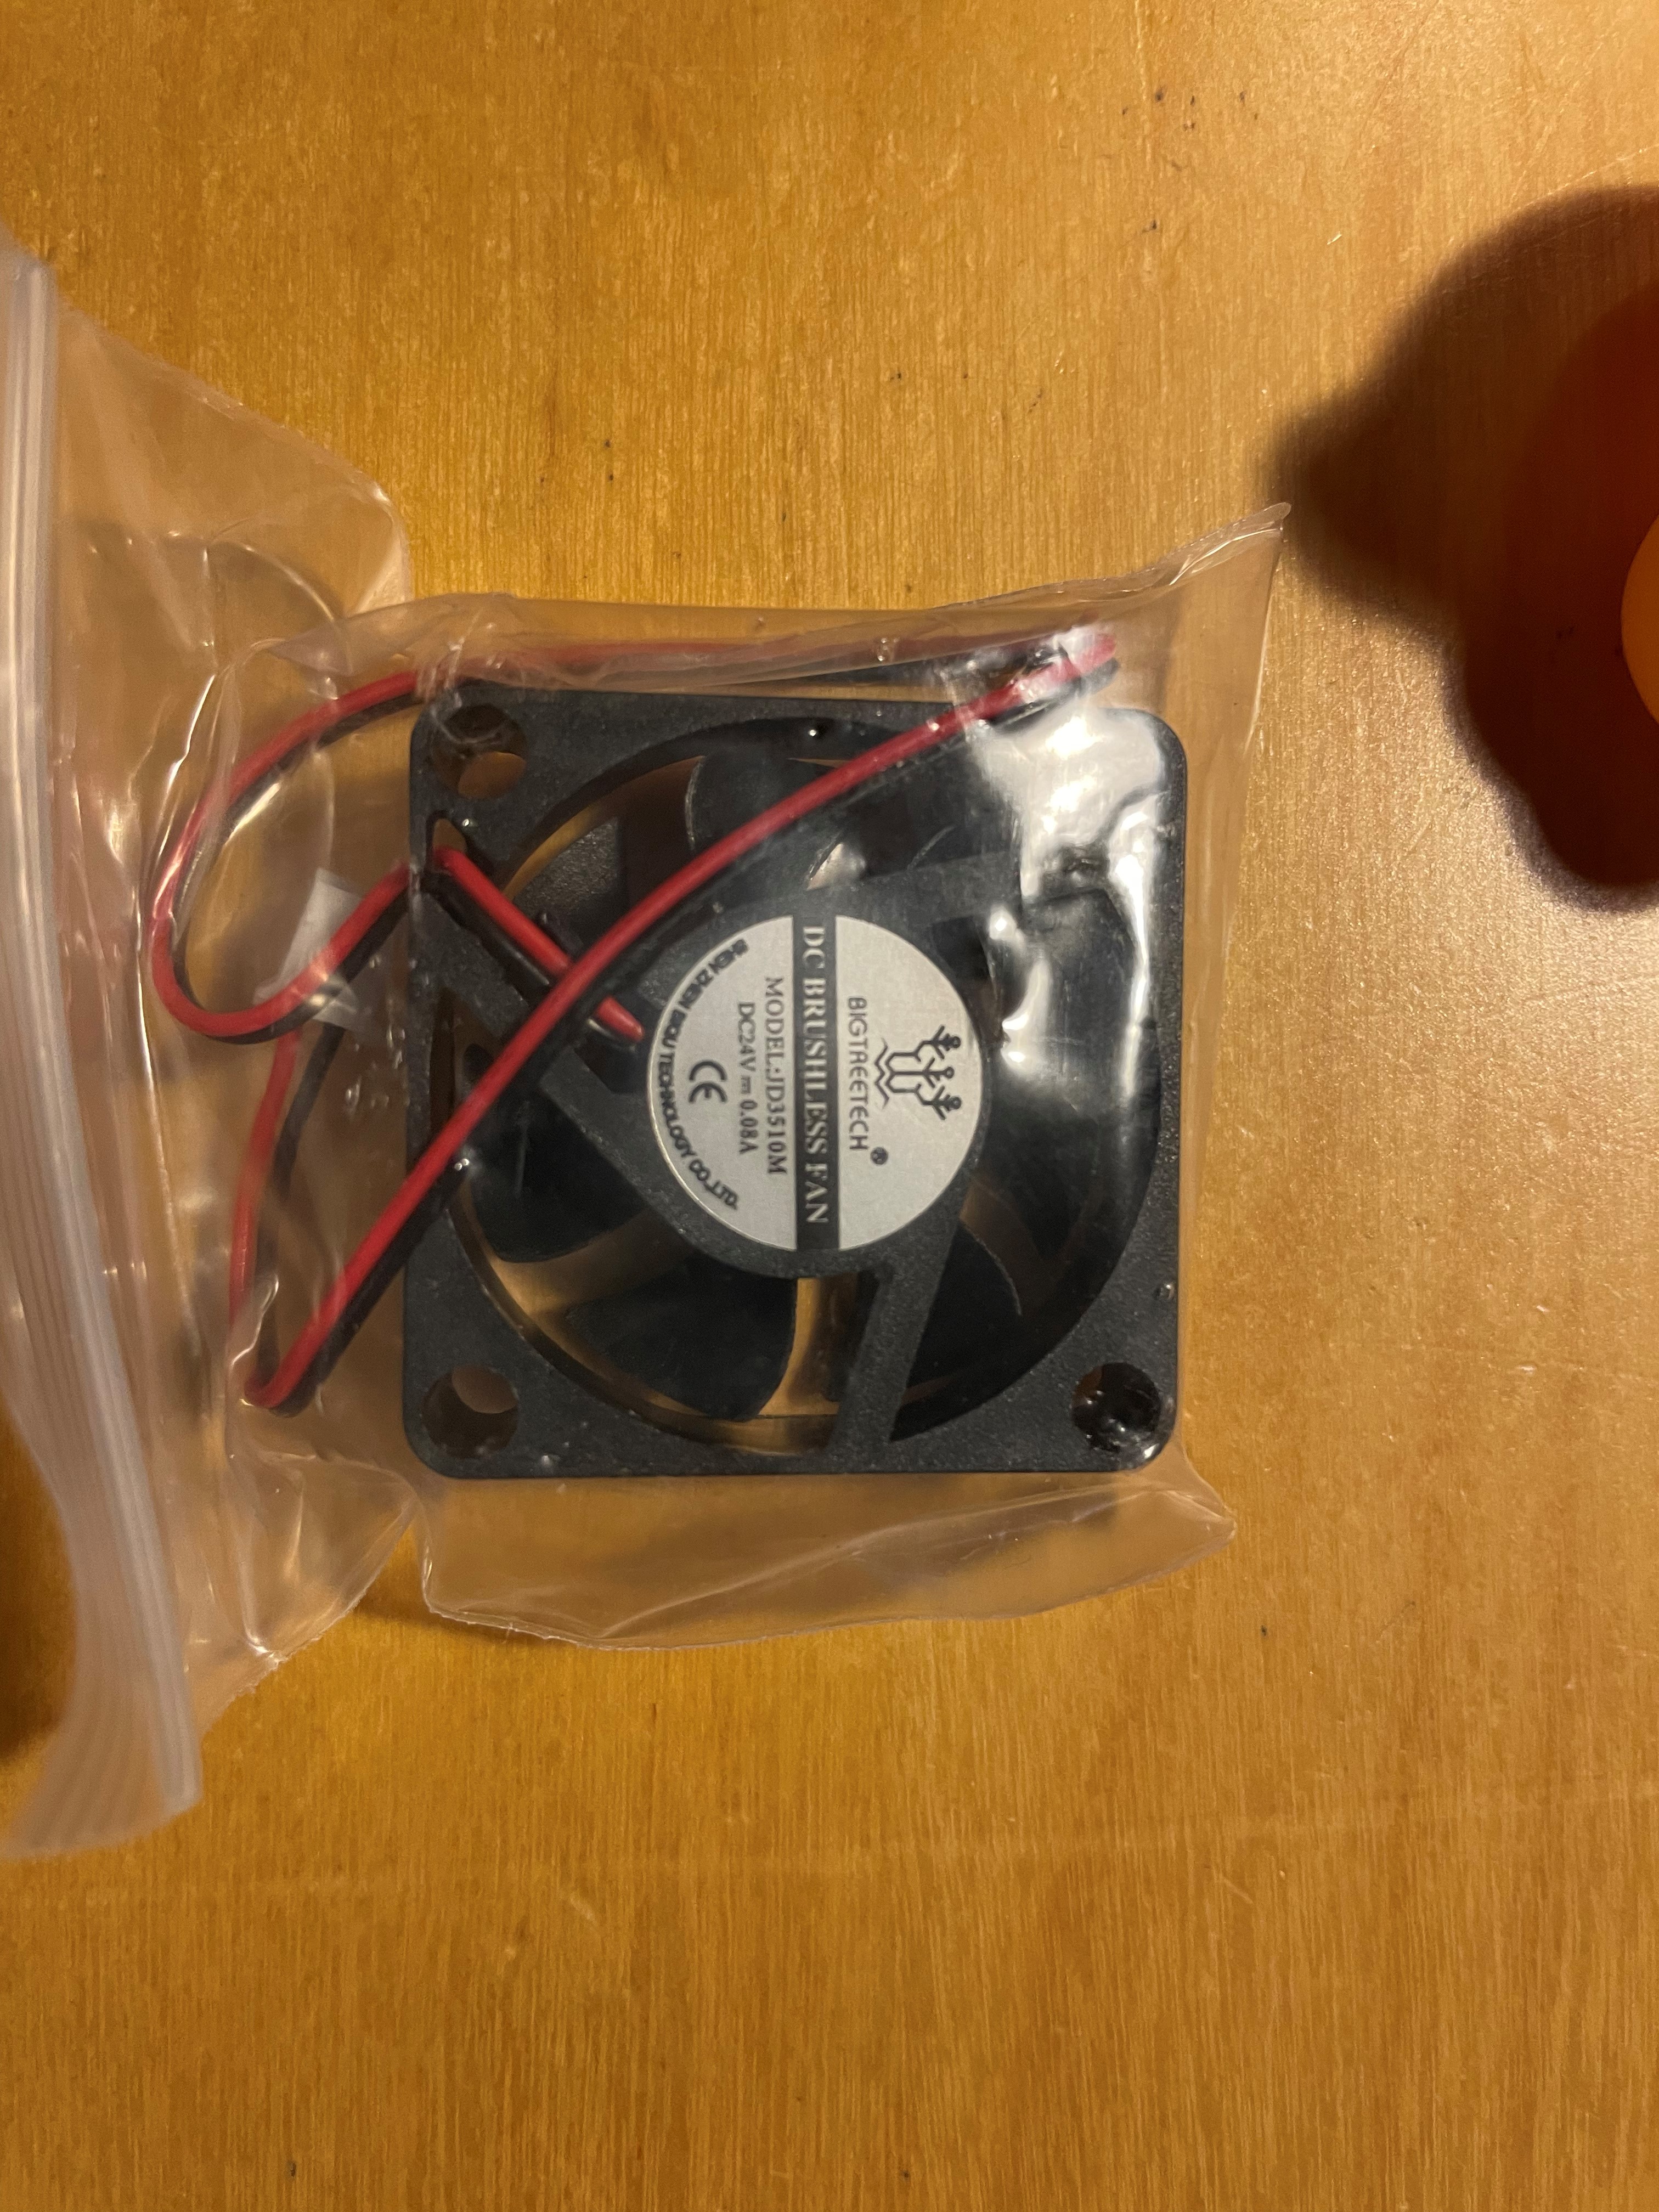 A 9000 RPM fan
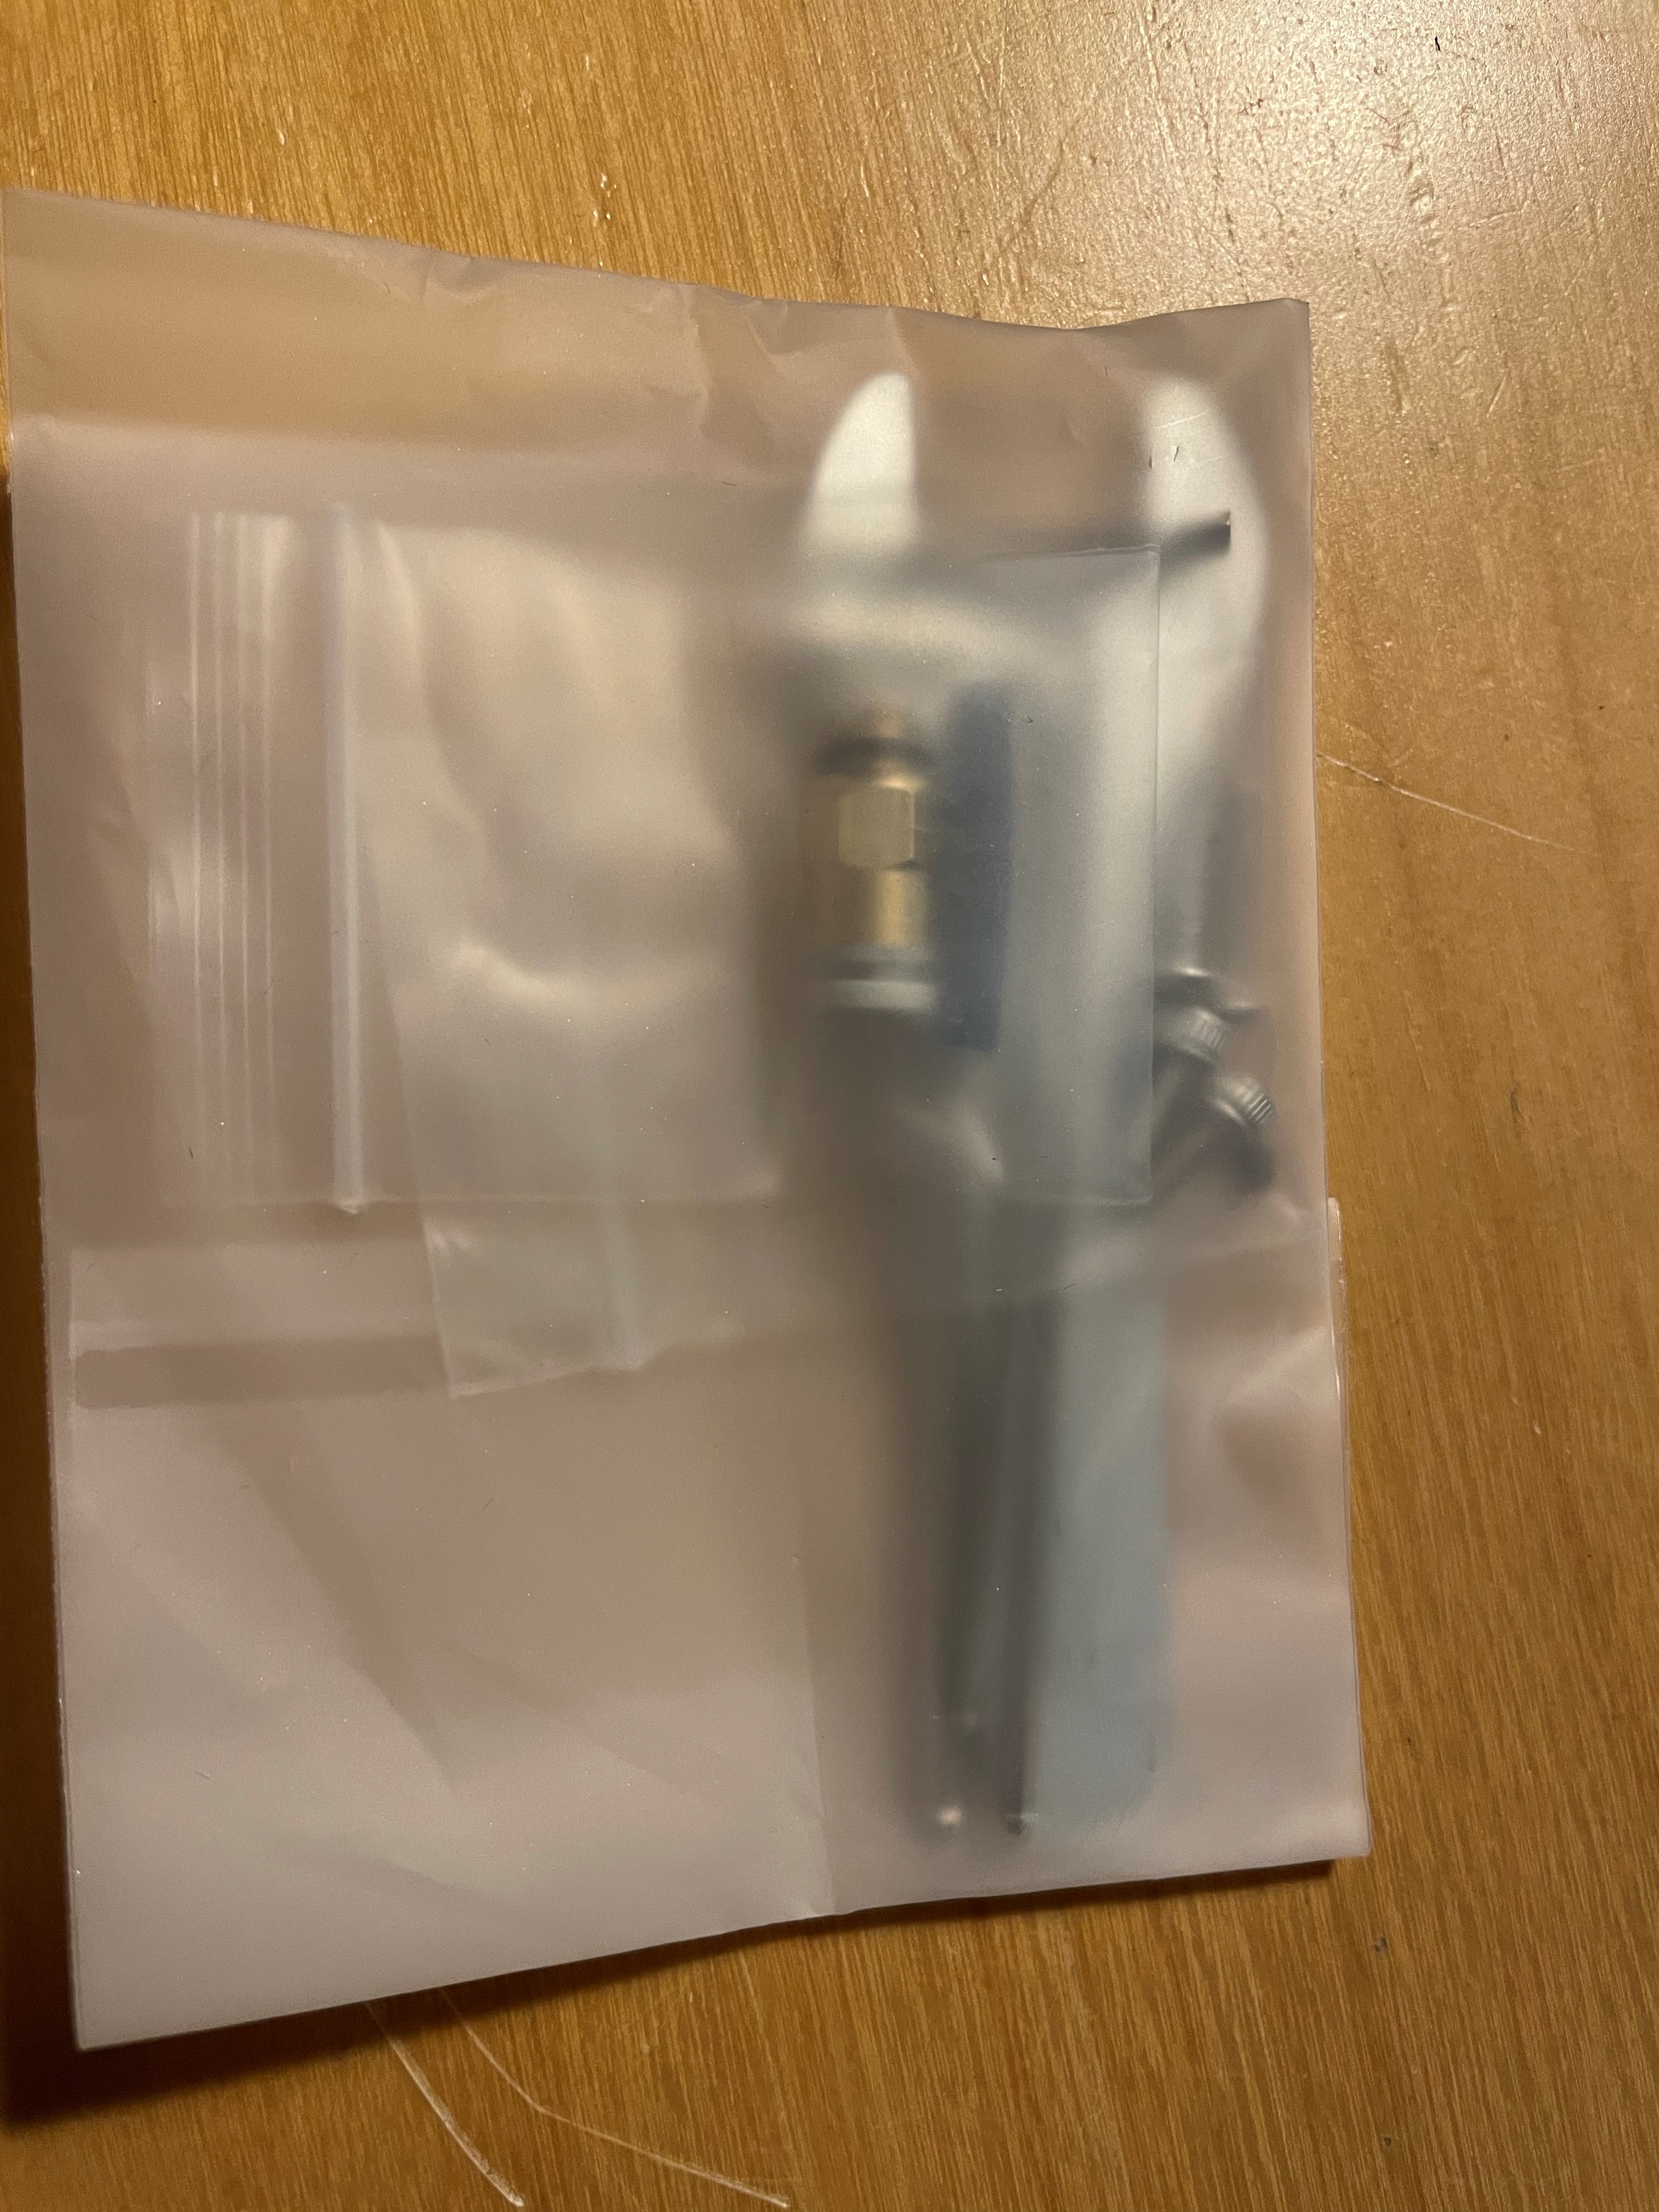 Some tools, 3 hex allen wrenches, a Bowden connector with 2cm long Bowden tube as filament guide, a 17mm wrench and a 8mm wrench and finally some mounting screws for the fan
Finally, at the bottom most layer, we find a PT100 thermistor crimped onto a 4-pin JST-XH “stepper motor” connector (of which only two pins are used). This connector will be plugged into one of the ports on the mainboard where you’d normally plug in a stepper motor.
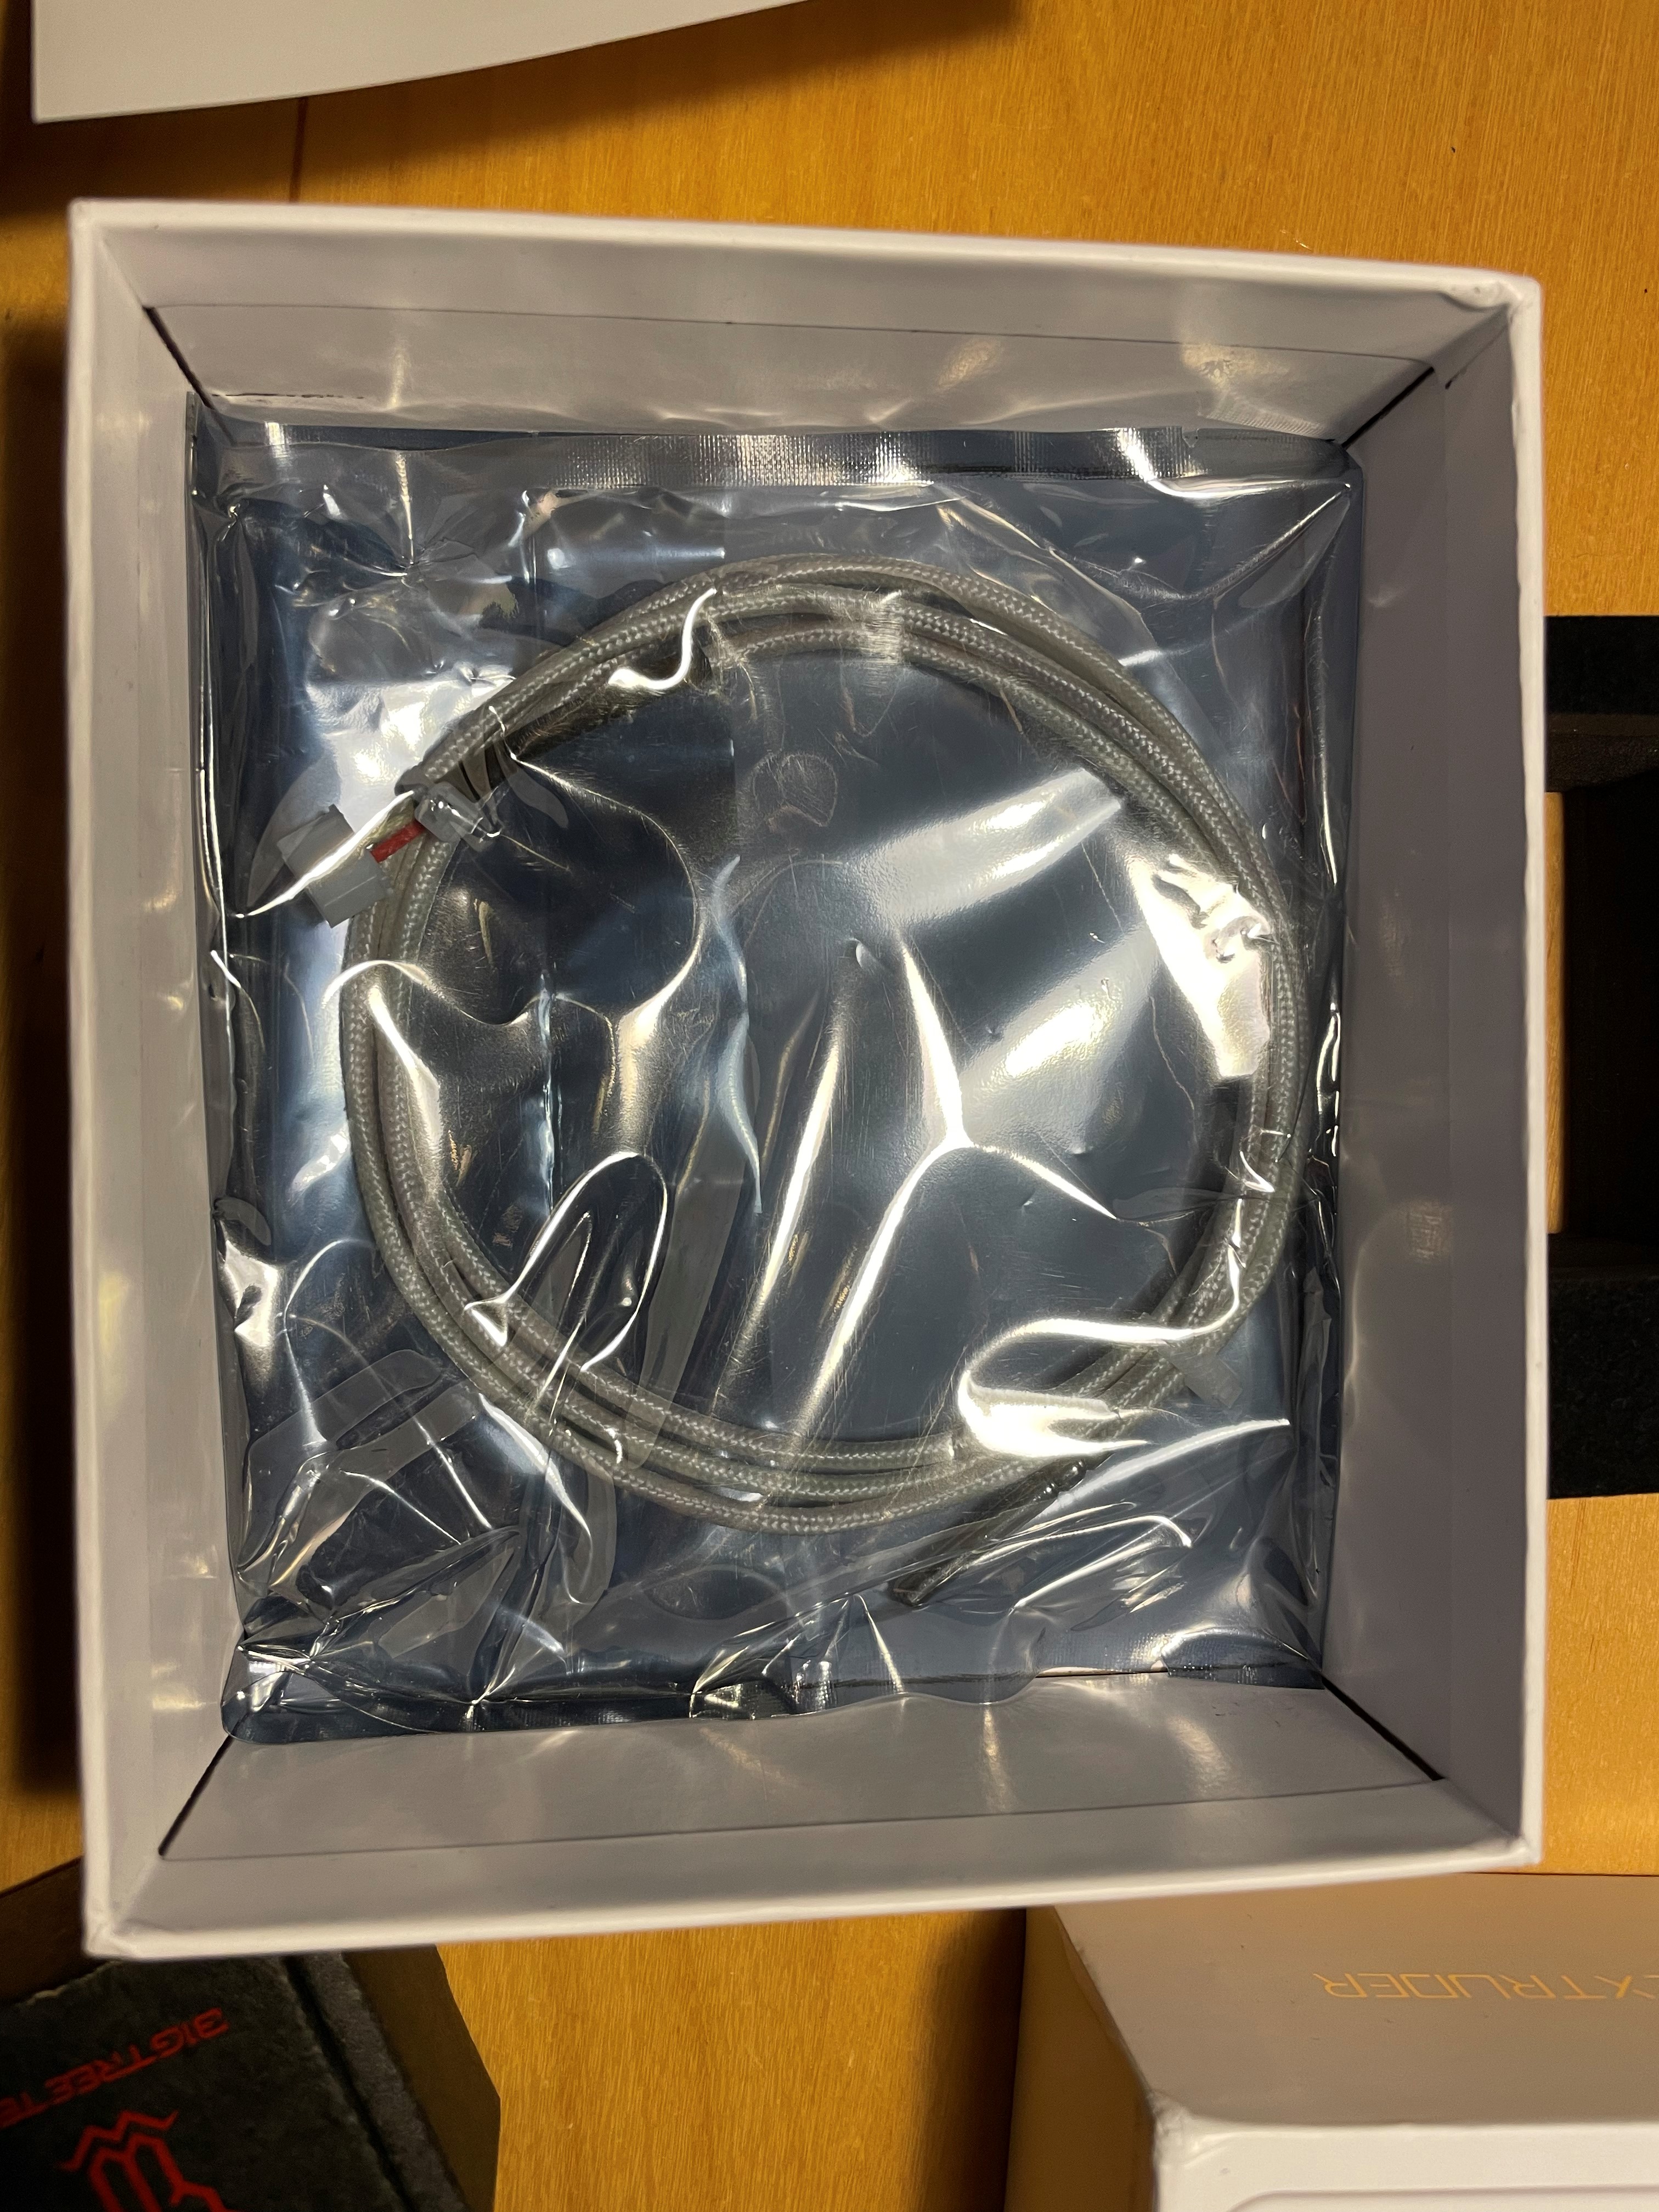 Safely packaged away at the bottom of the box: a thermistor in a steel tube package
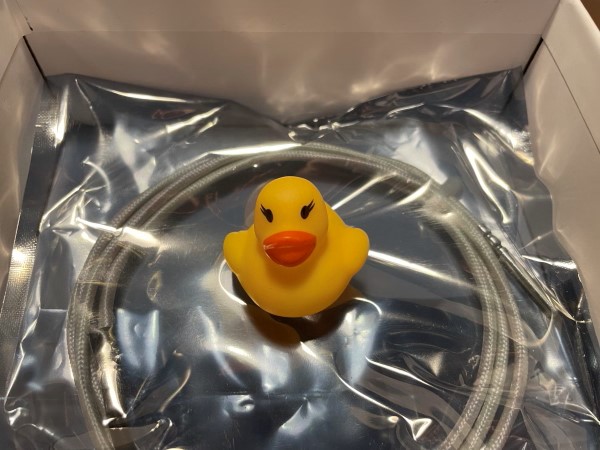 Of course the mandatory BTT duck can’t be missed 😄
The H2 itself
Let’s take a look at the BIQU H2 itself - from outside to inside. Since I’ve had BIQU H2 v1.0 - I can compare it to that.
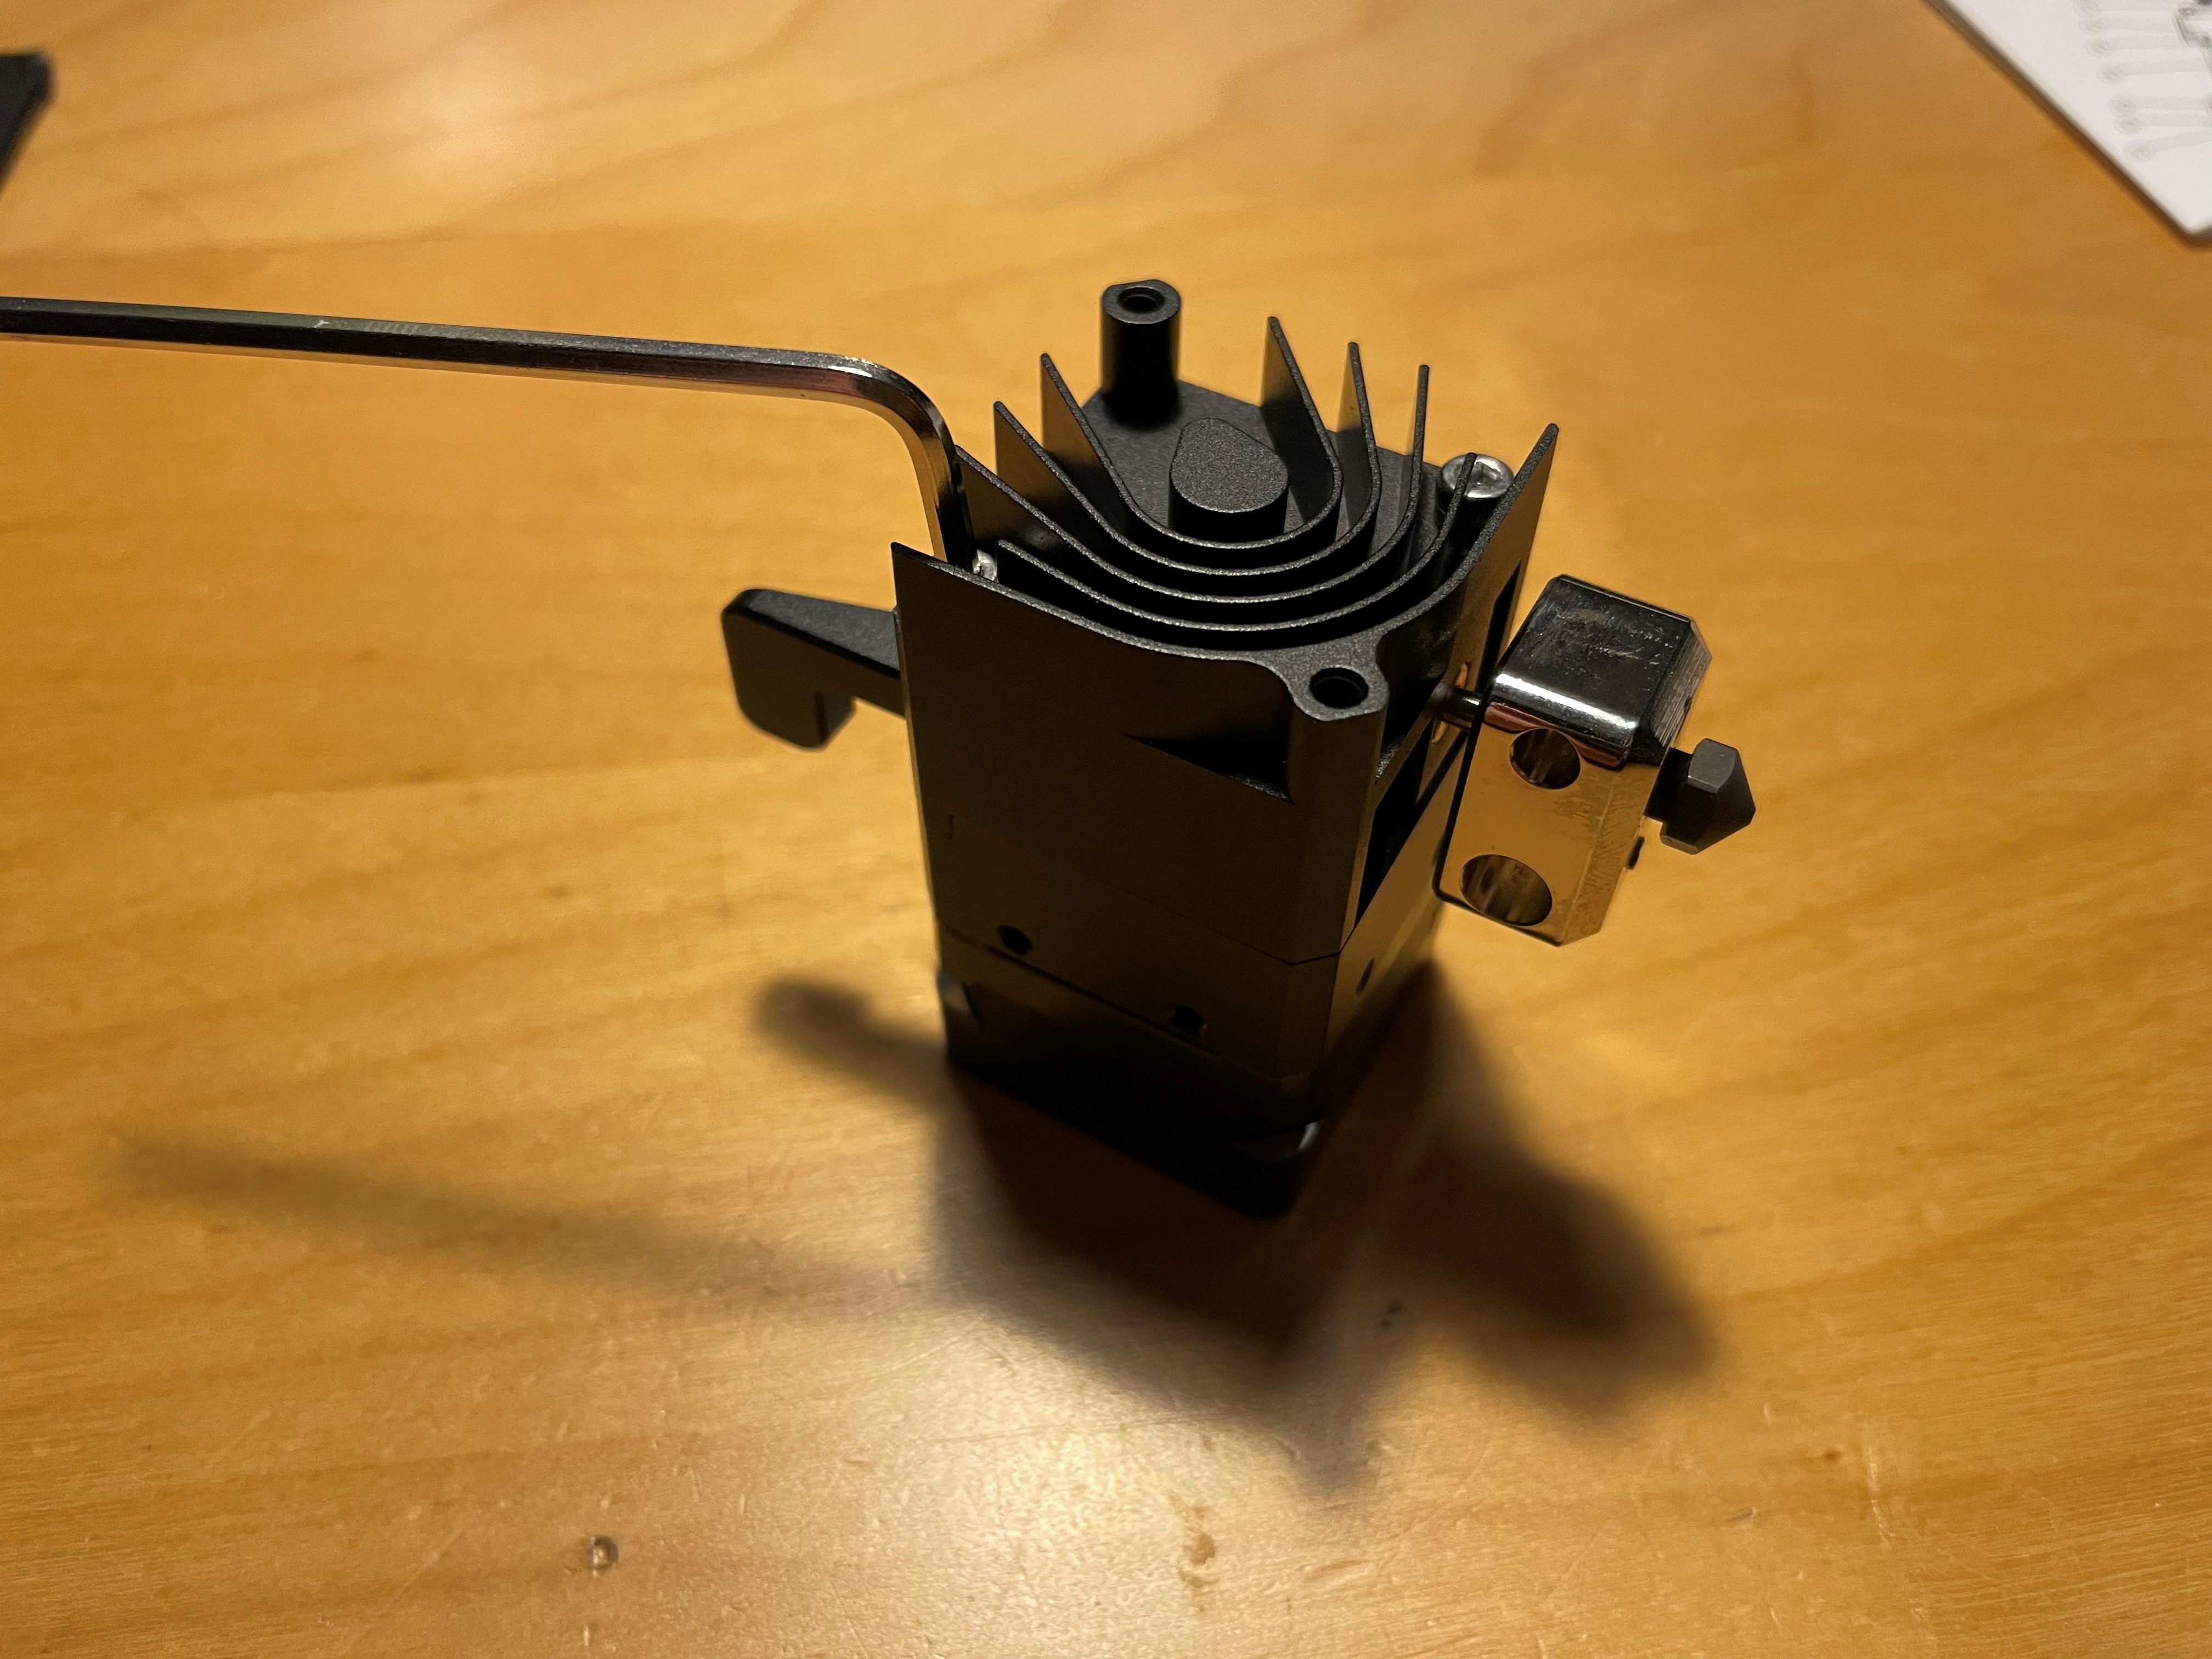
 Just like the original H2, this H2 has a very small footprint in terms of size and weight
From first glance, the BIQU H2 looks the same.
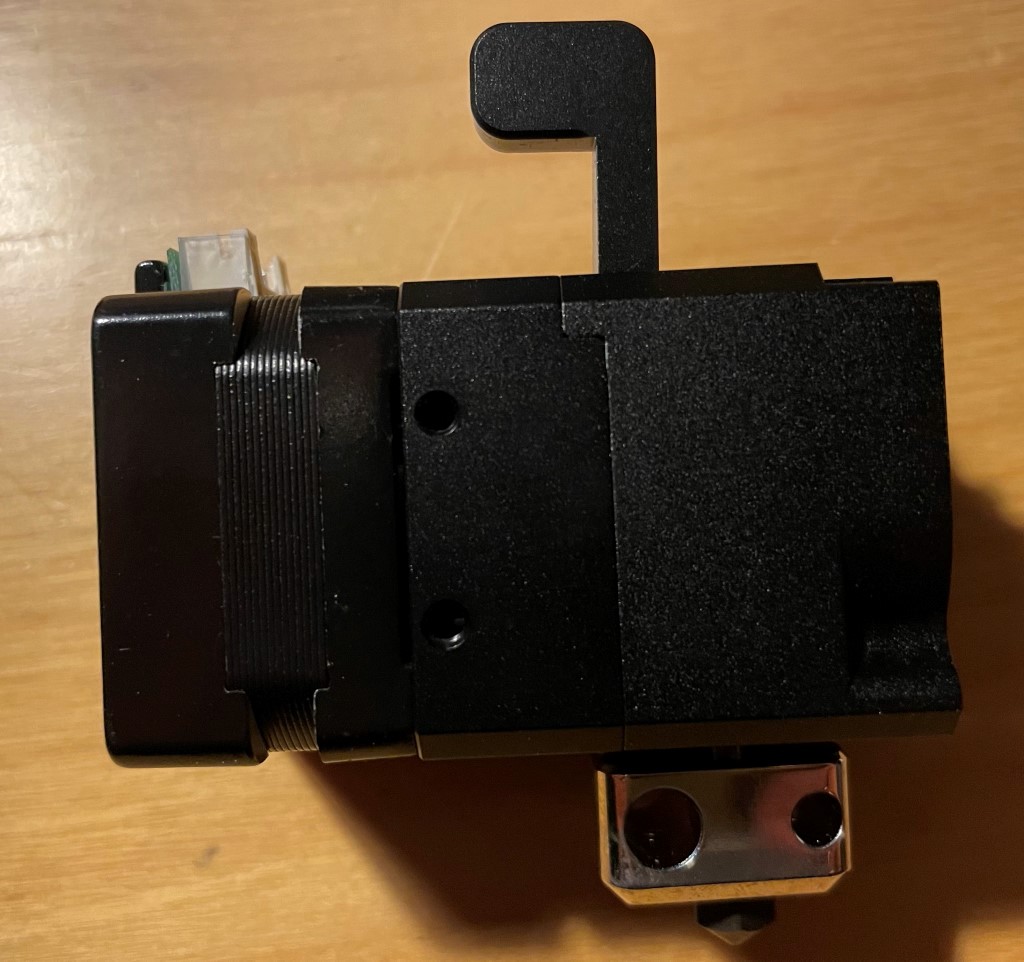 The H2 has two mounting holes on each side: top, bottom, front and back
 The H2 shows the large gear on the front, which can also be used for manually feeding filament - though I don’t know how well this will work with high temperature filaments
Similar to the E3D Hemera, the fan air outlet is designed so it does not blow air onto your printed parts.
 First step in disassembly: get the two hex bolts out
 Two mounting holes on all sides
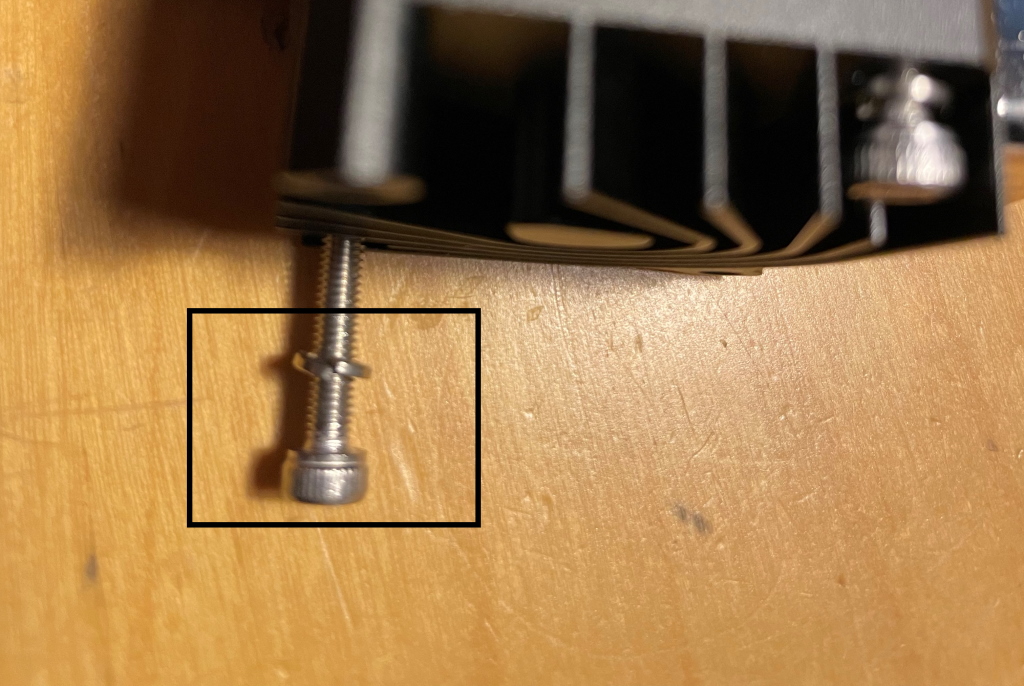 The bolts that hold the H2 together are accompanied by split lock washers which are supposed to prevent the bolts getting loose (not if you ask NASA)
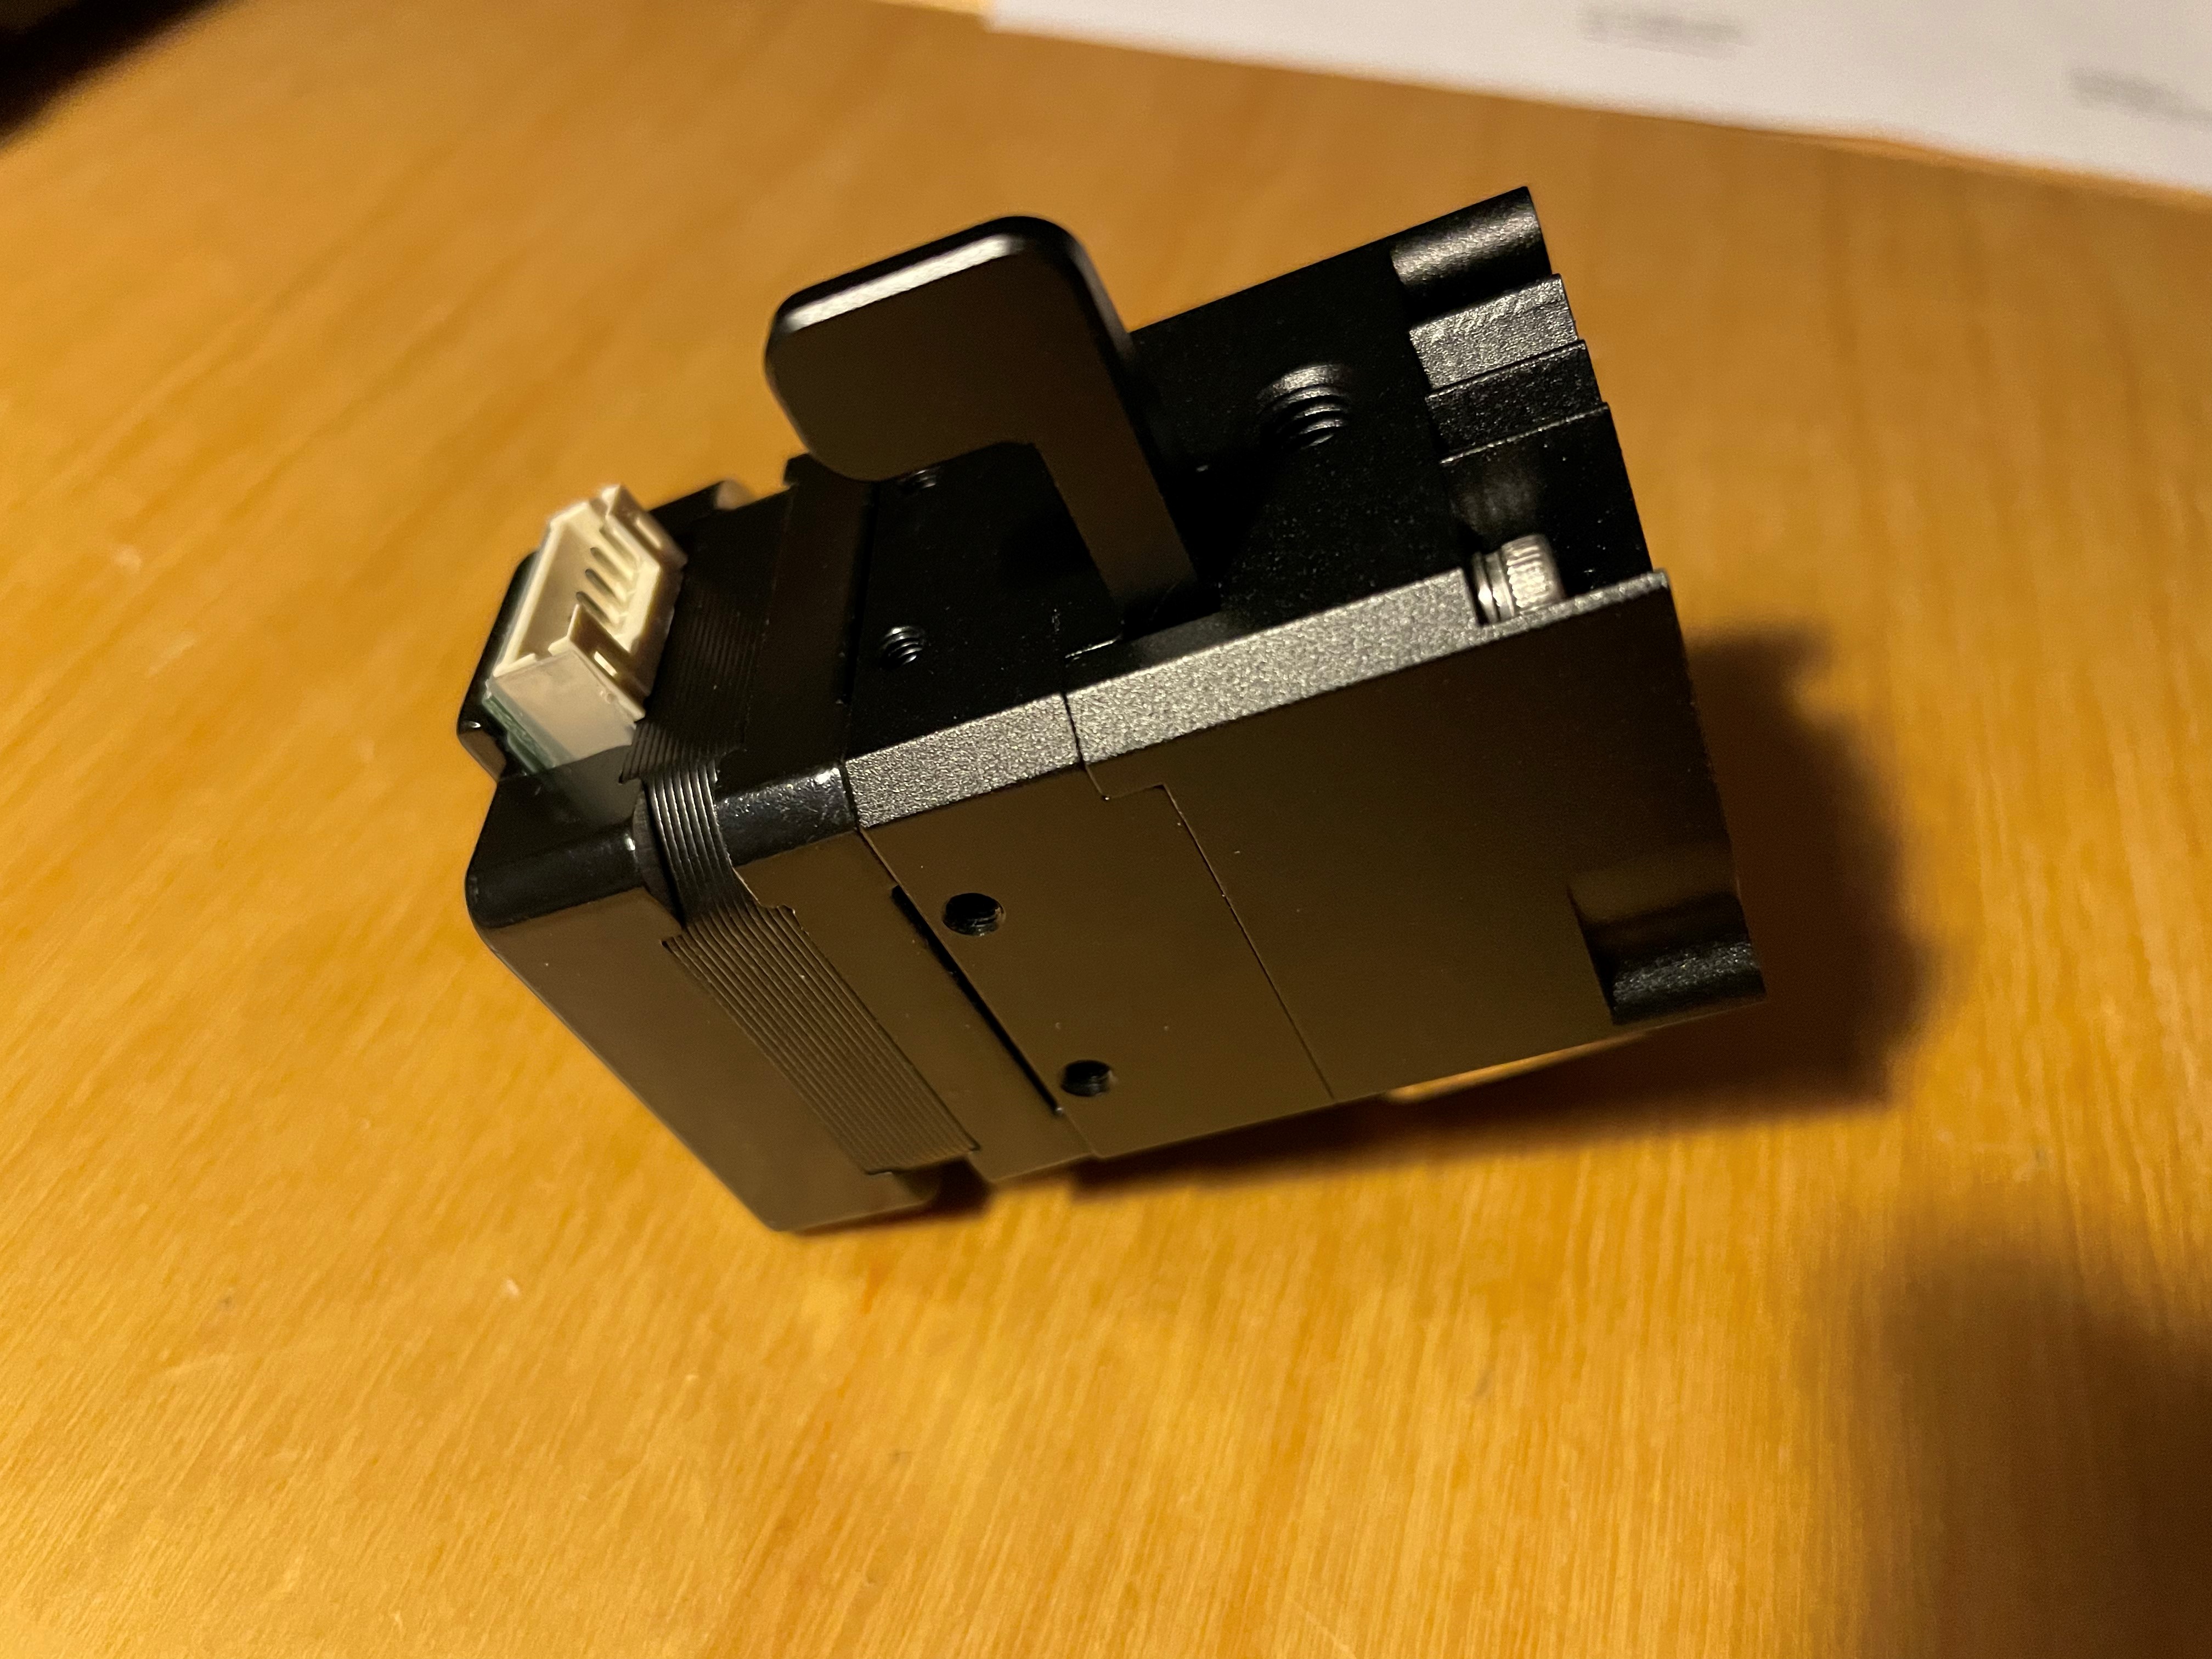
After the bolts are removed, the two parts that make up the direct drive extruder assembly can be pulled apart.
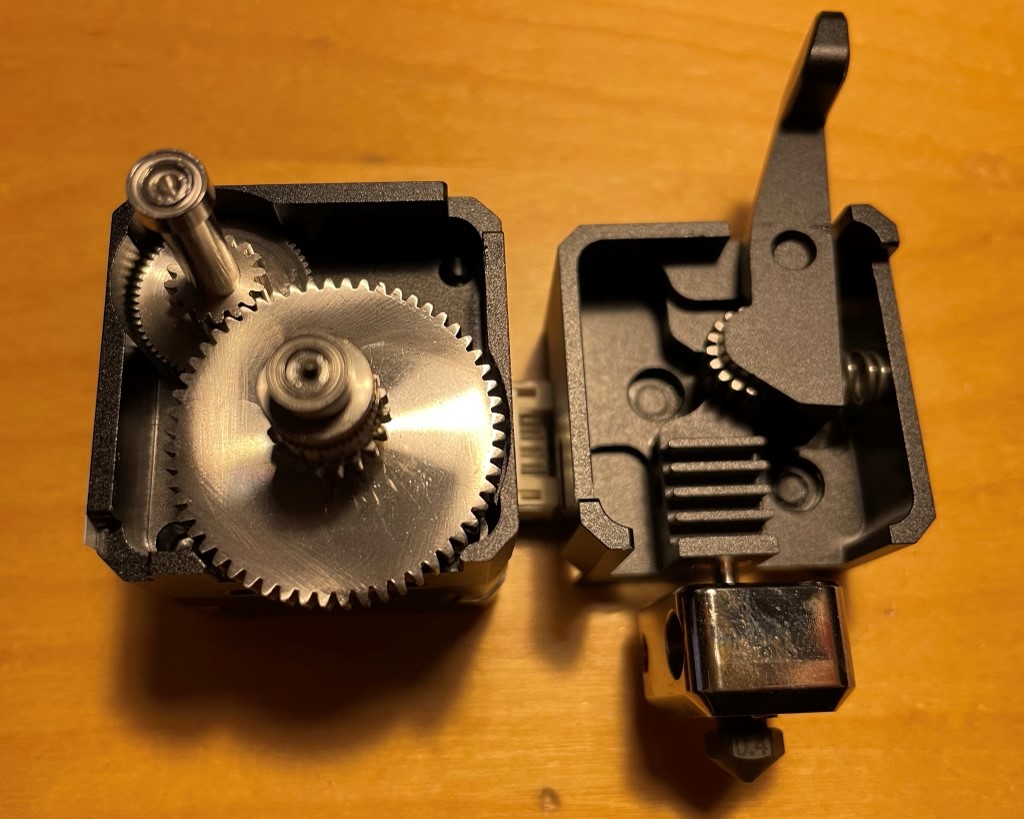 The stepper motor part is on the left side, and the hot-end and half of the drive gear to the right
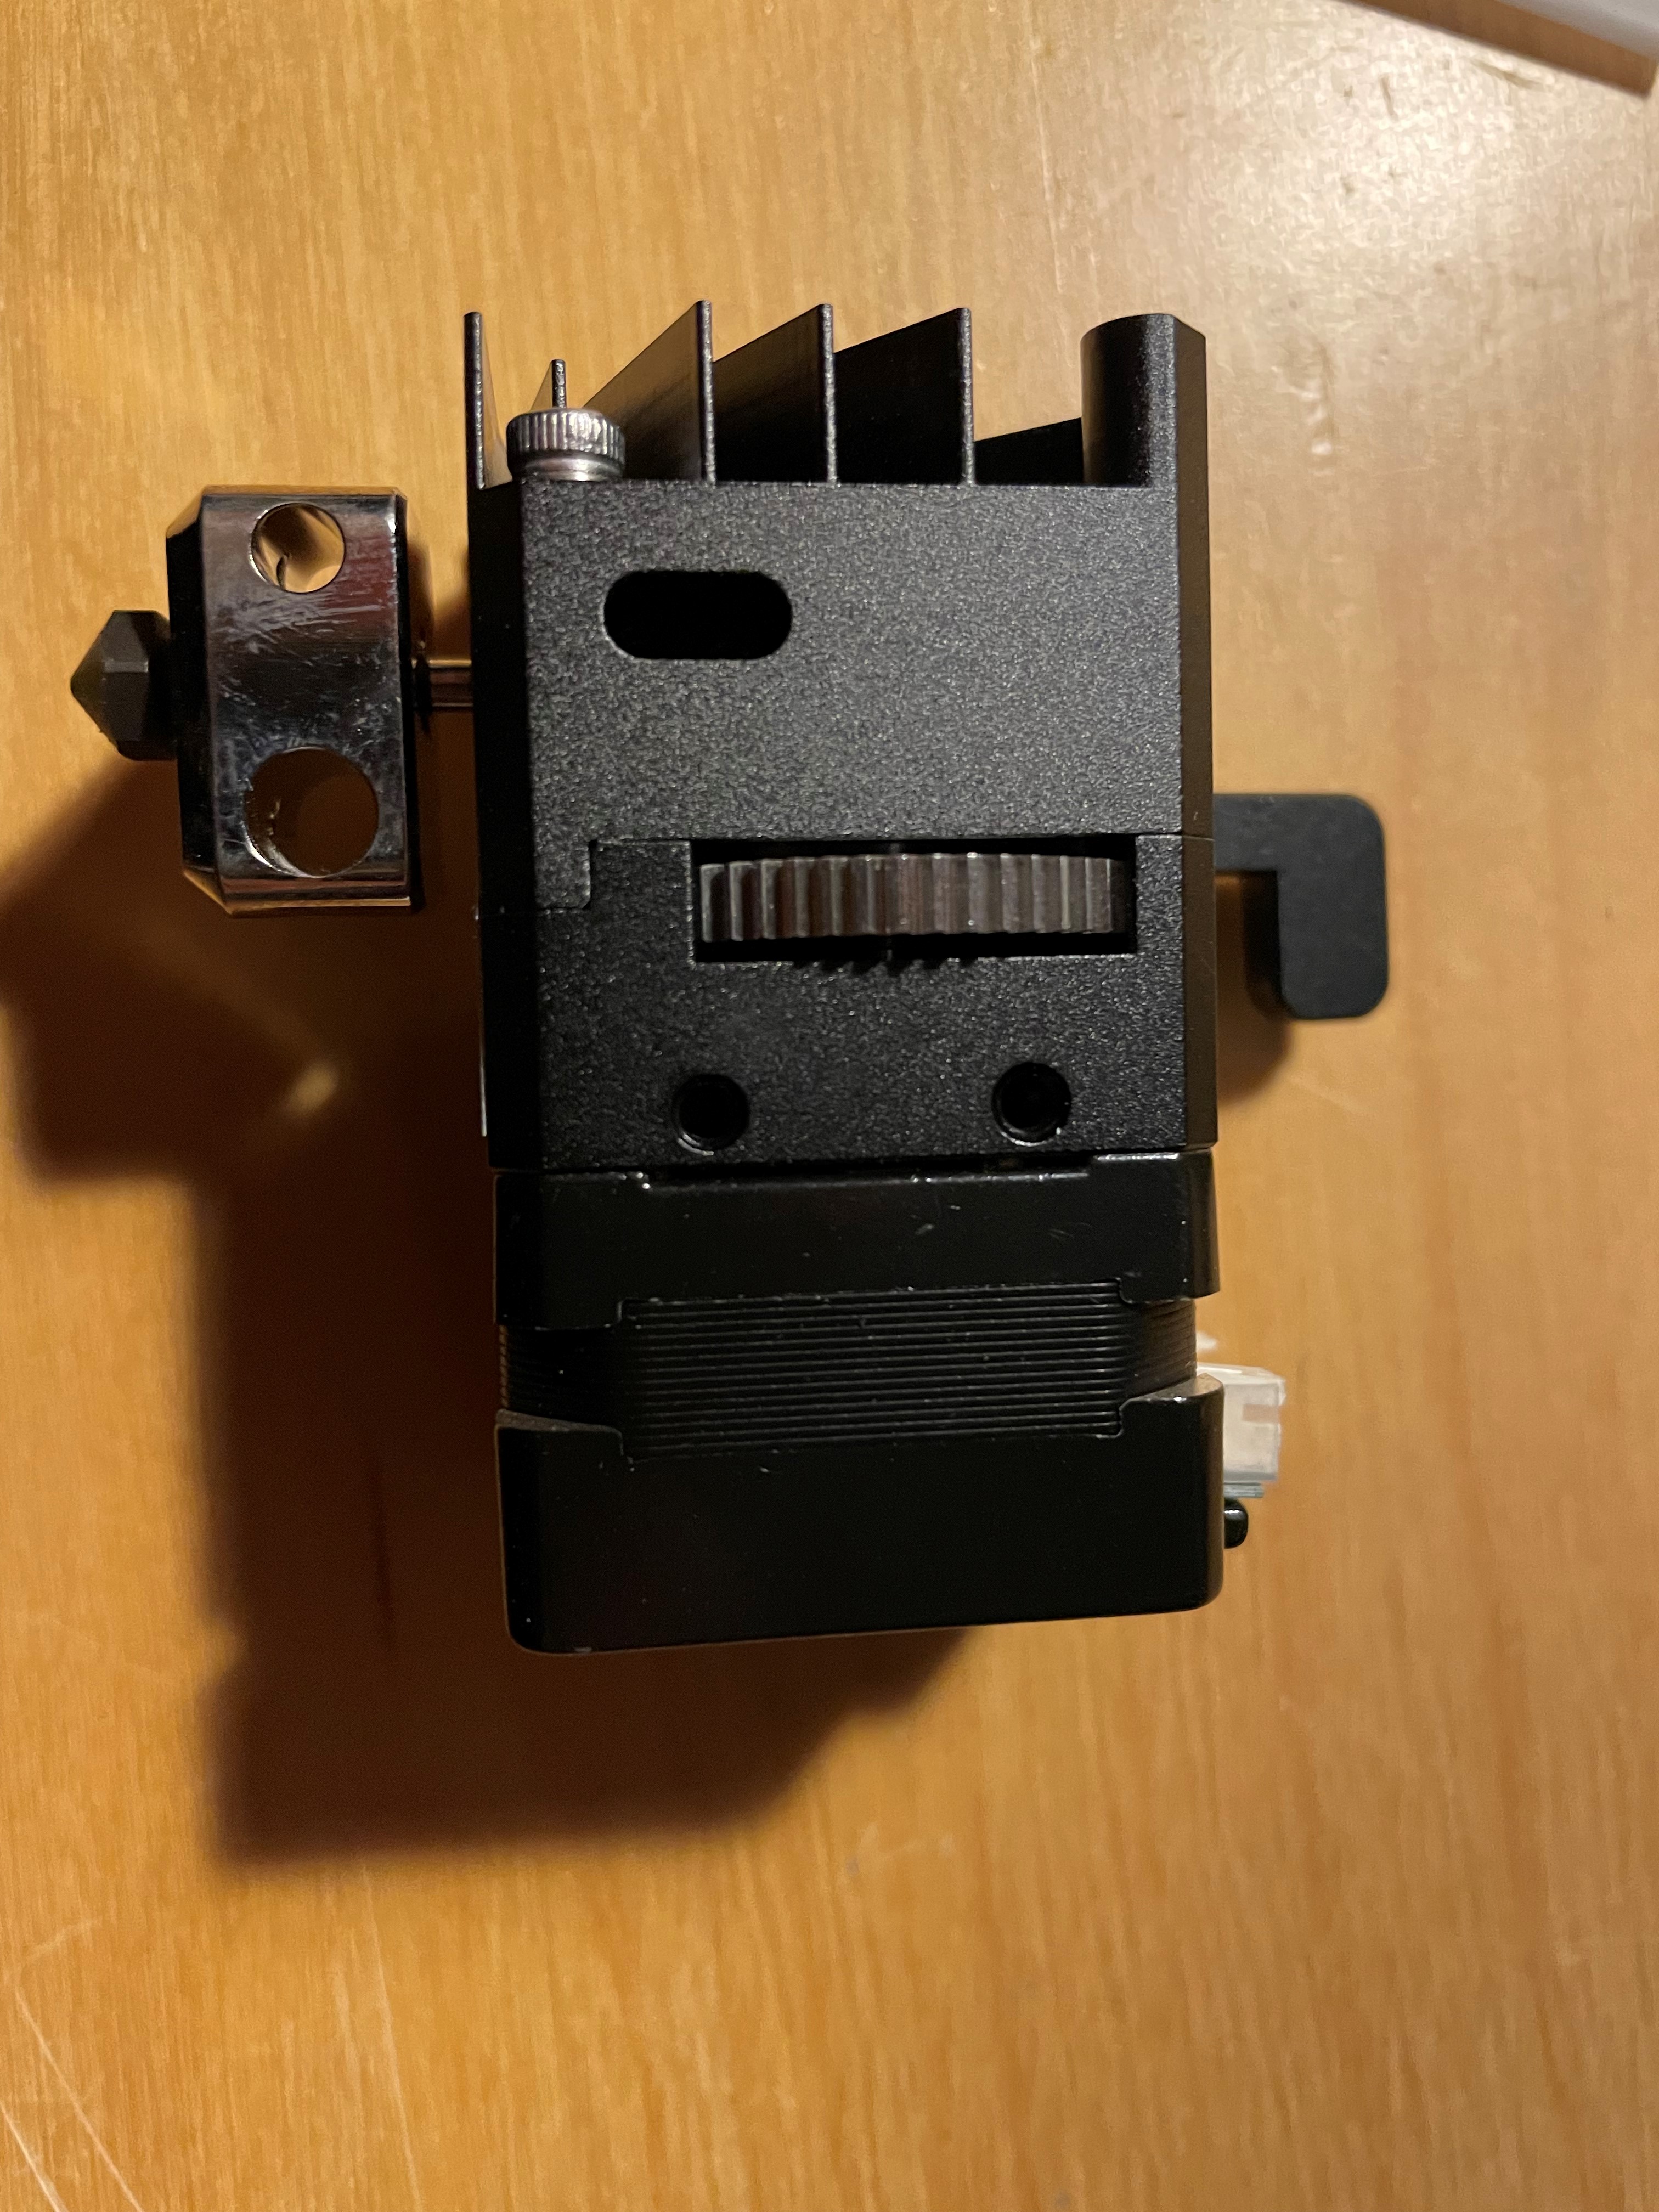
The gears seem to be of better quality than the original H2. Just like the original, all the gears are supported by tiny sealed bearings. There is no lubricant in the direct drive extruder itself.
On the other part we find the heater block with its bimetallic heat break, and one half of drive gear. Just like the original H2, the drive gear can’t be tensioned to a specific level - one thing I noticed as a downside of the original H2. However, you may not print as much TPU on a print you’Il specialize for high temperature printing anyway.
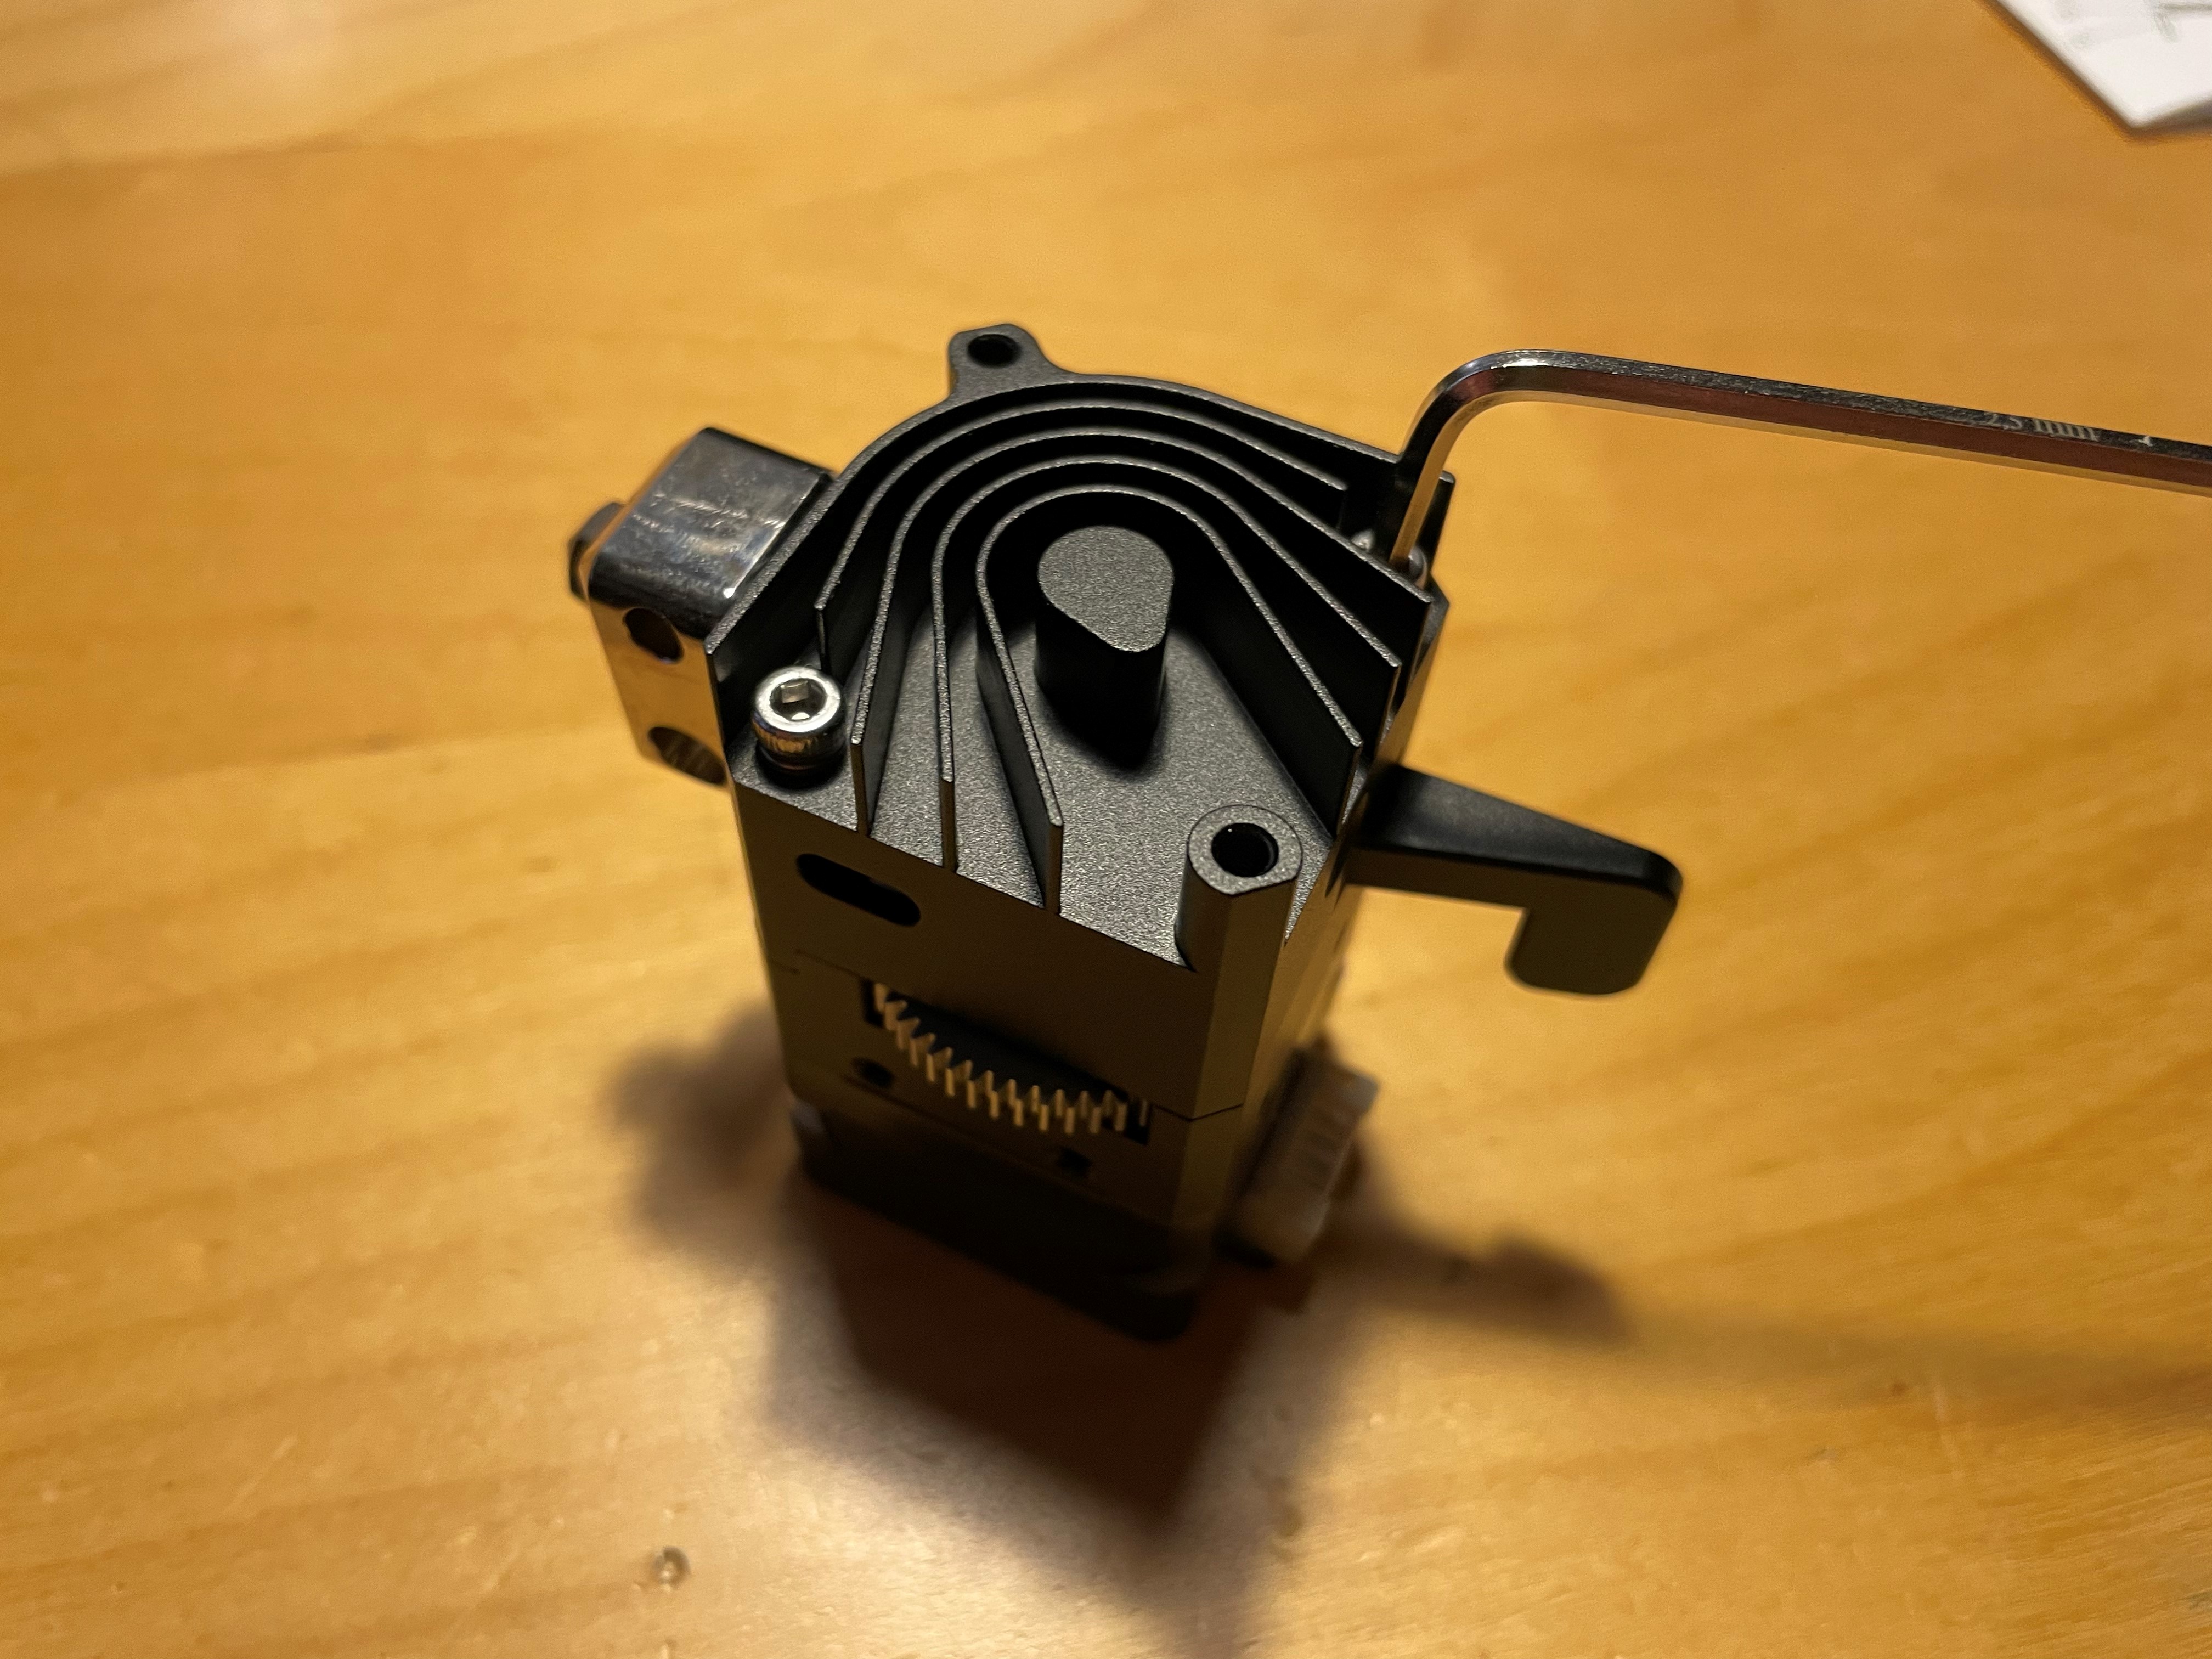
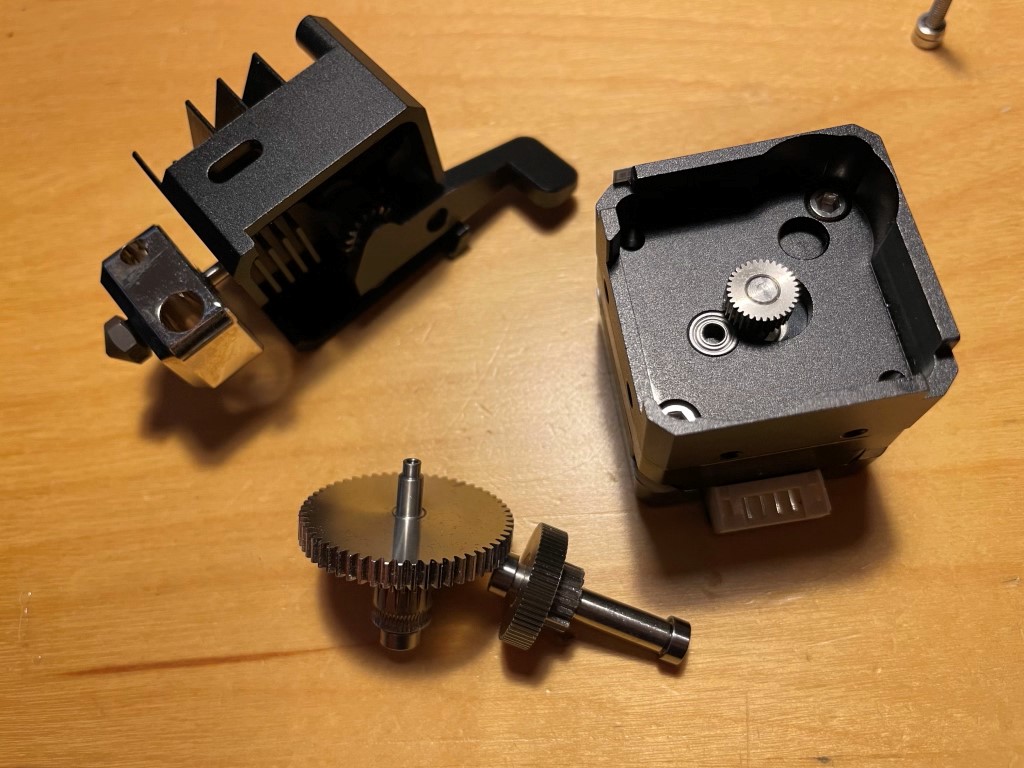 Further disassembling the extruder shows the individual gears and the custom stepper motor
Manual
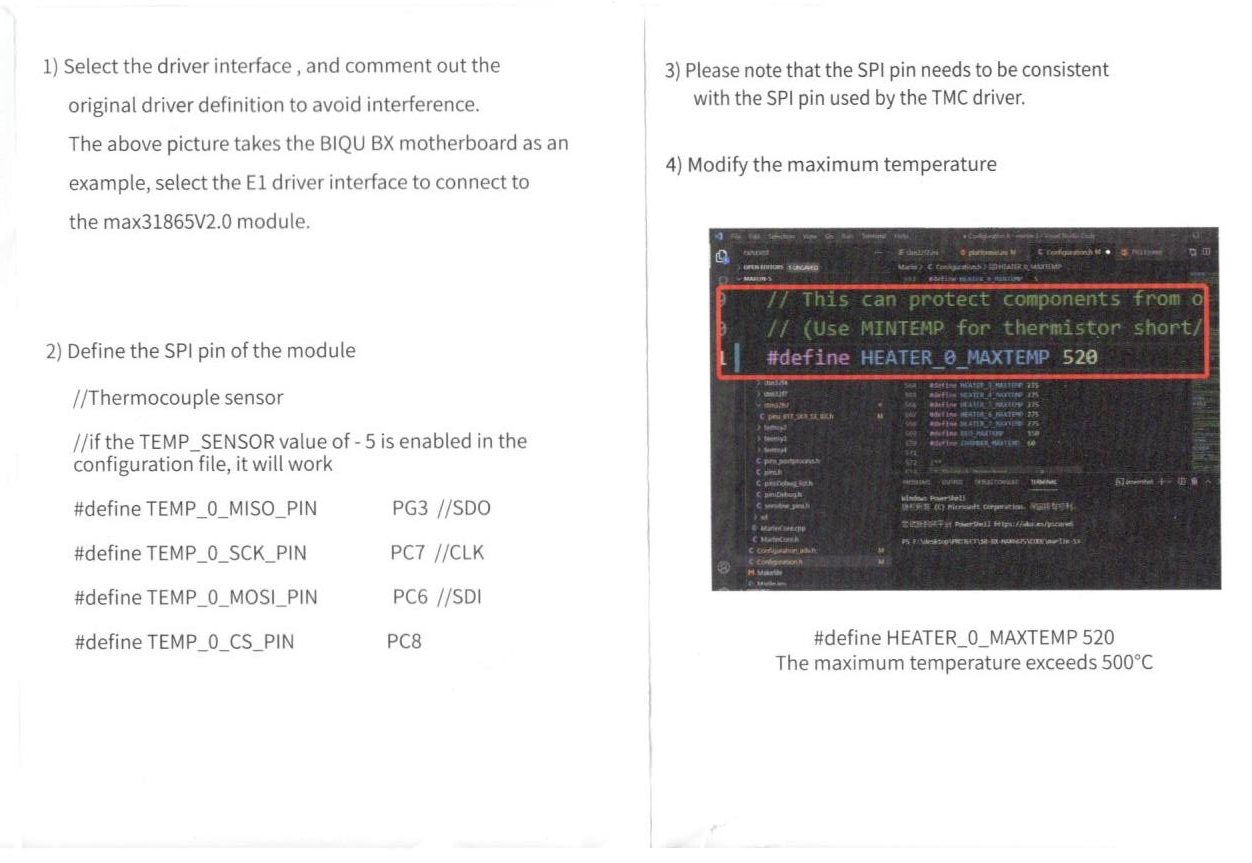
There is also an extensive manual included with the H2, which describes the unit itself - but also firmware changes necessary which requires you to learn to compile your own firmware. Besides selecting the correct temperature sensor, you must also configure which pins are used for communicating with the MAX31865.
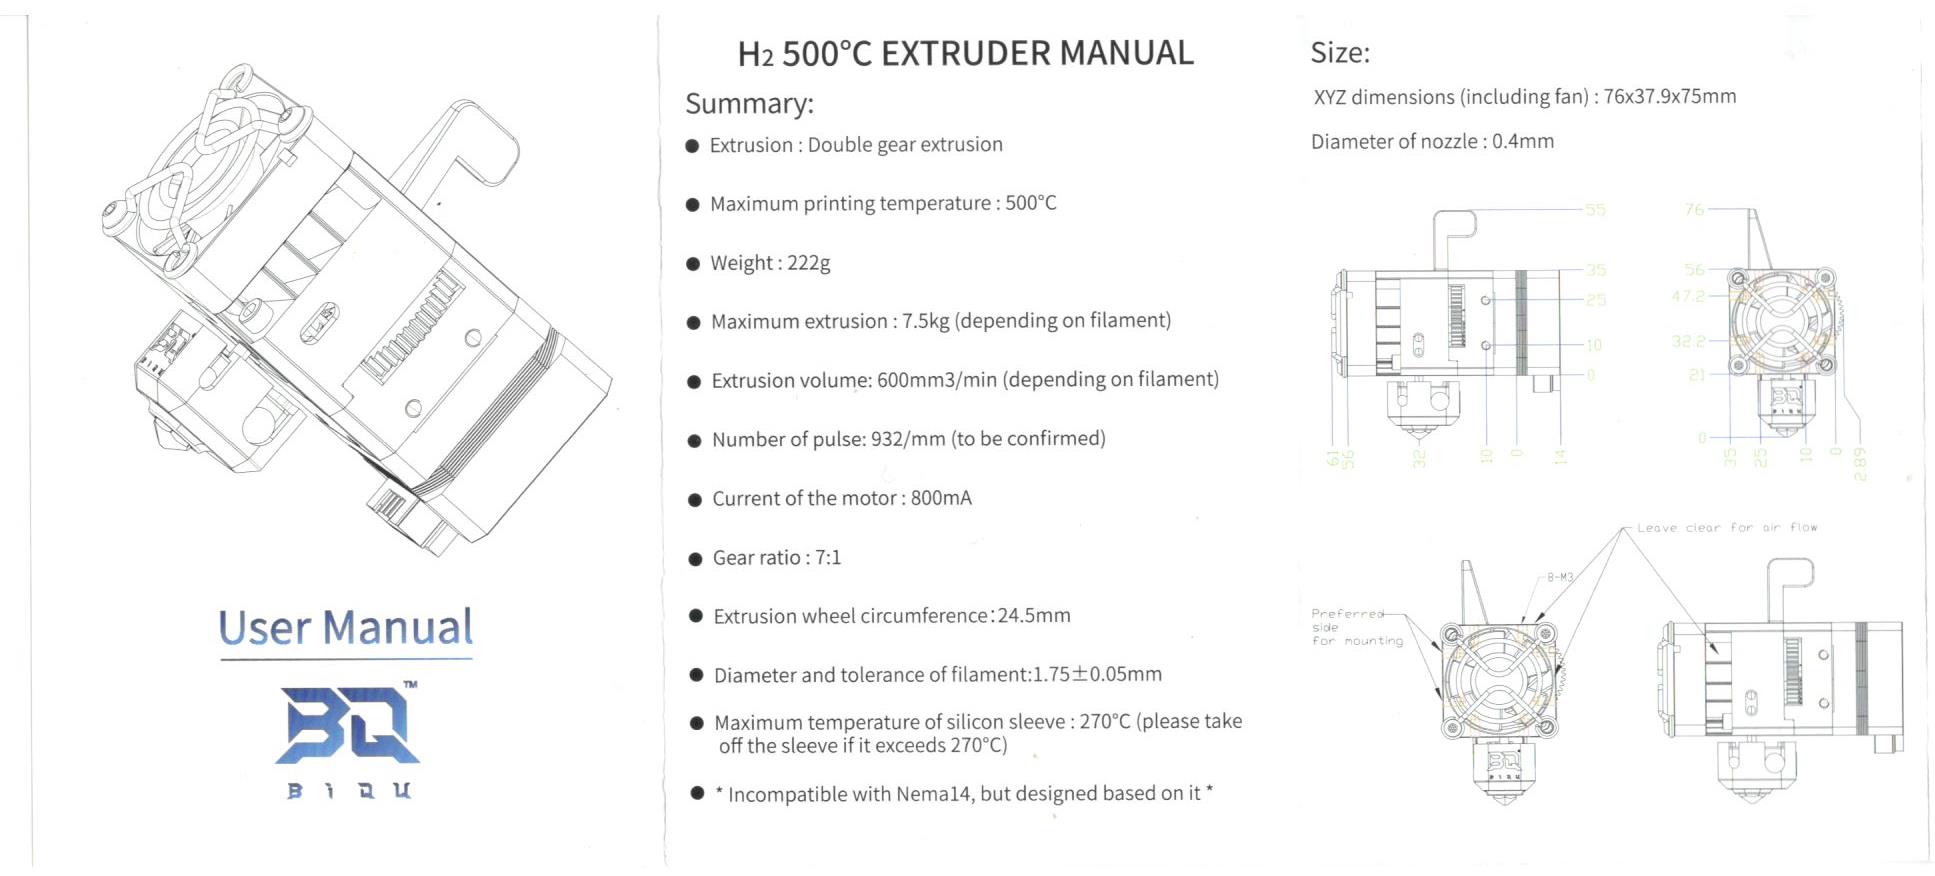 Overview, disassembly, and some measurements that can be used to design your mount in a CAD tool - if one in the H2 ecosystem isn’t already available
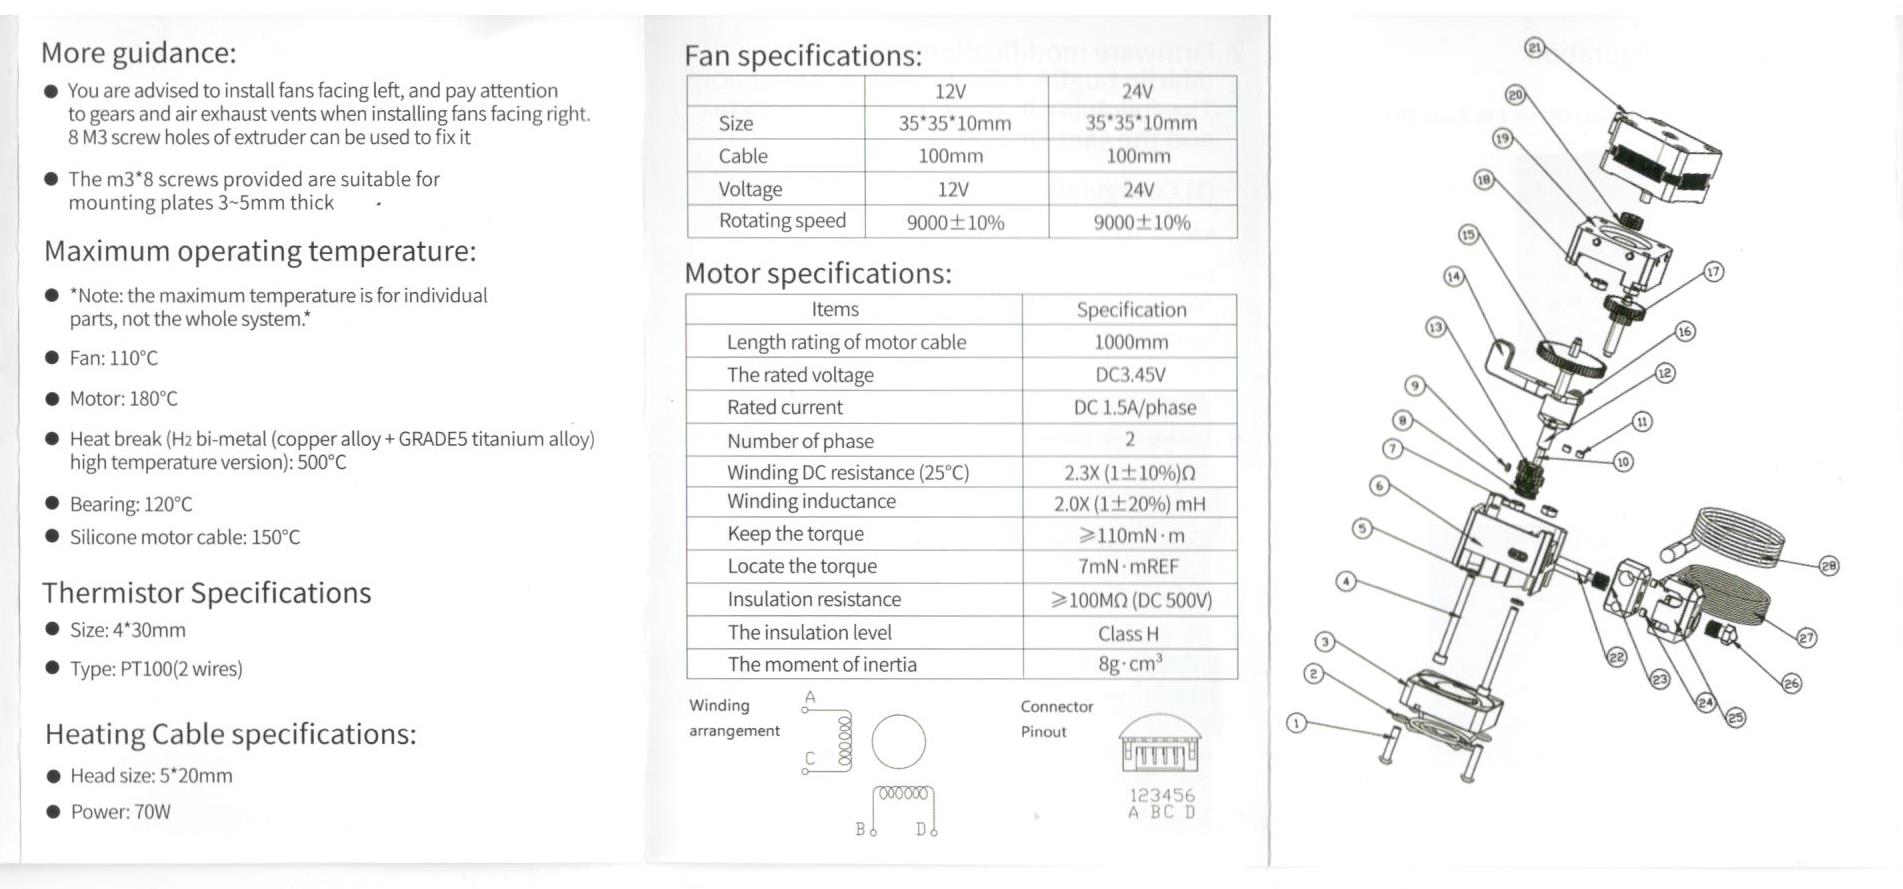 More specifications and some instructions for mounting. In addition an exploded view shows all the parts.
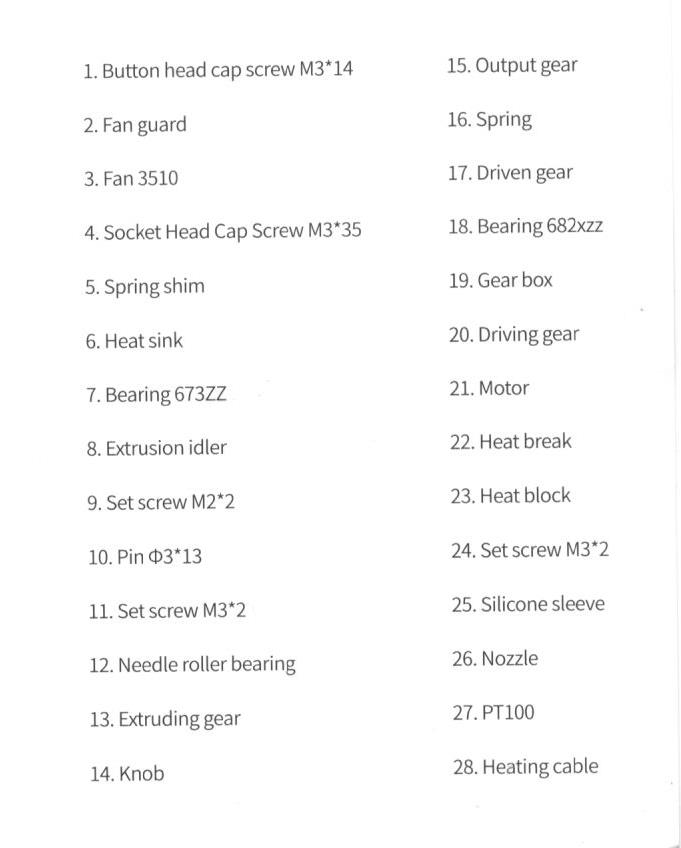 Part list
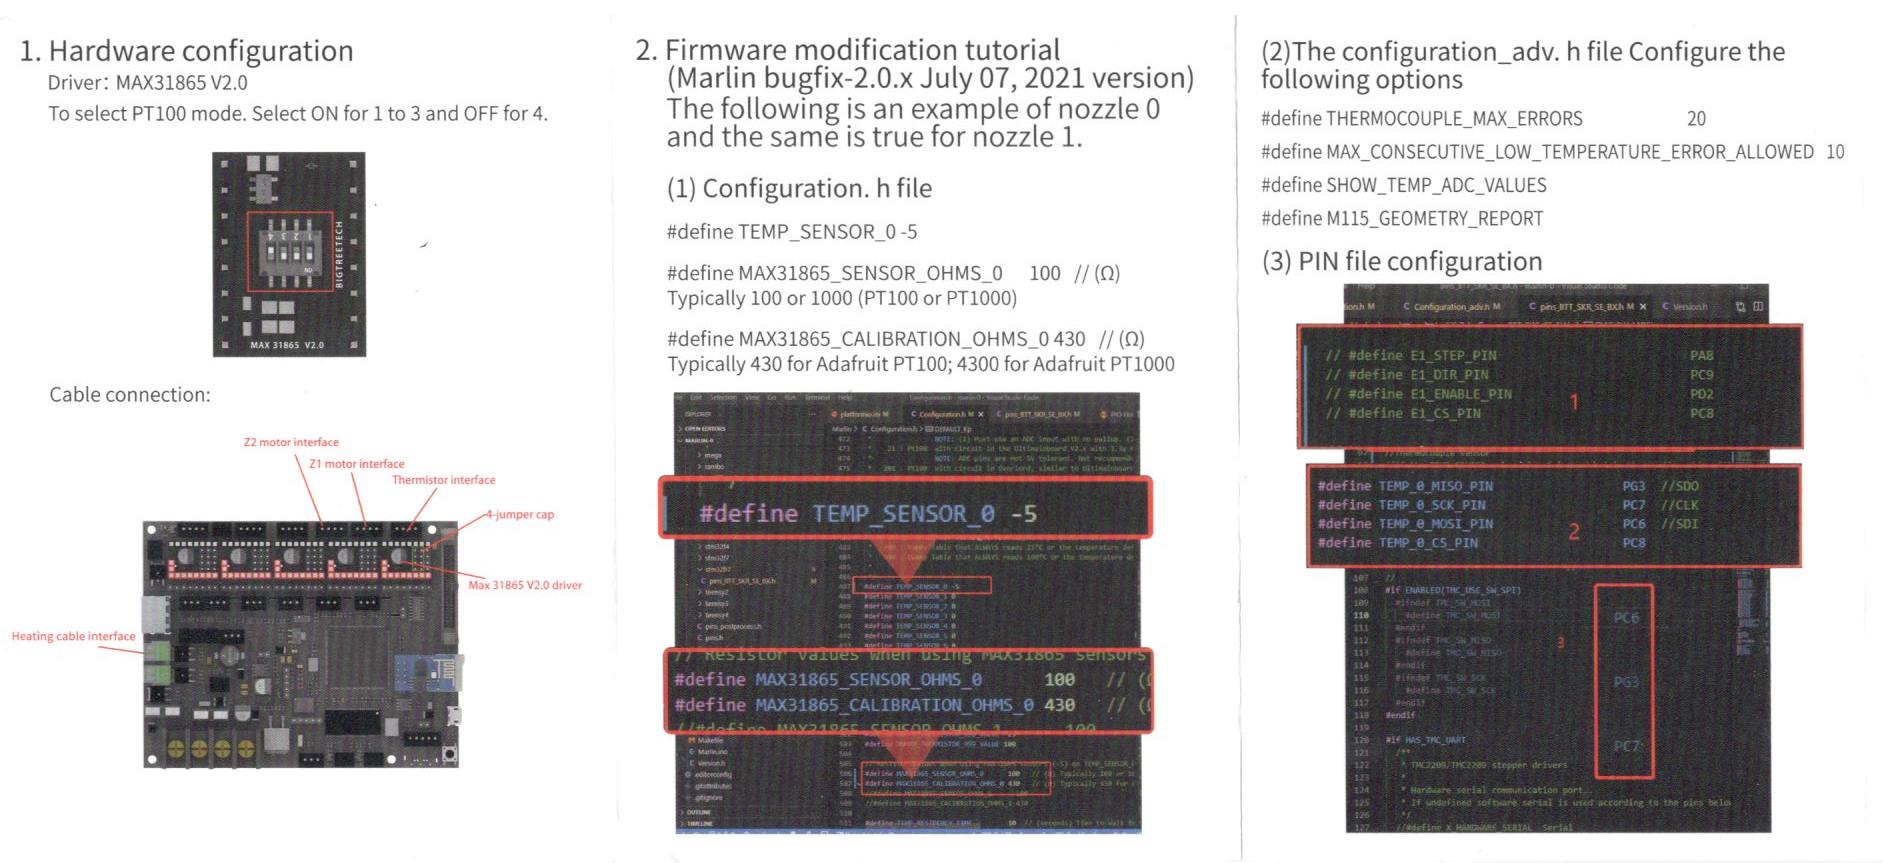 The instructions for changing the firmware - these instructions are still up to date!
 More instructions - it is good that they take half the space in the manual to make clear what needs to be done
Notes on compatibility
As noted above, this H2 isn’t just a matter of mounting it. You need a compatible motherboard with free SPI pins and a socket that allow the processor to communicate with the MAX31865 temperature chip.
- If you have one of the SKR 1.3/1.4/2.x boards with replaceable stepper drivers, it is a walk in the park - plug and play (after firmware changes). These boards are generally put into either custom printers, and also come with the BIQU B1/BX.
- However, if you already use all five stepper drivers, you need to purchase an expansion module and give up on your LCD screen
- If you have SKR mini boards - drop-in replacement for Ender 2 Pro/Ender 3, which do not have replaceable drivers, things get more complicated
- BIQU does have a driver expansion module, however, this doesn’t work on SKR mini’s as they have only an EXP3 port and not dual EXP1/EXP2 ports. Either way, you would be giving up your LCD display. The BTT touch screen would still work though, just not in Marlin mode.
- So, you’re left with soldering - and you must have both the equipment and courage to do so.
In terms of mounting the H2 to your printer - this should be pretty doable. A lot of mounts have already been developed by the community. The only worry I’d have, is how well printed mounts will hold up in the ambient temperatures necessary for some of the plastics.
Next steps
As the next steps, I will check which one of my current printers is most feasible to modify.
- I have an Ender 2 Pro which can accept an SKR-mini board, but this requires an unclear amount of work. I’Il also may need to purchase a glass bed to allow higher temperature printing for certain filaments.
- I have a CR-6 with E3D Hemera which I can either completely rebuild its guts so I can fit an SKR 1.3/1.4 board. I’Il need to design a new motherboard enclosure, as it is currently not large enough to accommodate stepsticks.
- I also have any Anycubic Vyper which works perfectly and I rather keep as it is now (except for the Community Firmware).
I do have a CR-10 Smart coming in and a Ender 3 S1 (thanks to my presence in Creality’s first overseas user seminar), but both I’d like to keep stock for a while until modifying them.
In any case, no matter what it needed. I’m up for the challenge!
What are your thoughts?