BIQU B1: The review
End of September I’ve received the BIQU B1 from BIGTREETECH for review purposes. Now almost a month later, what are my thoughts? Is this printer worth the €219 BTT asks for it? What is awesome? What could be improved?
BIQU?
BIQU is not yet very known in the 3D printing market… when it comes to fabricating printers. But the parent company, BIGTREETECH, must sound some bells with any 3D printing geek. For those who don’t know it: They are well-known for their 3D printer upgrades, like motherboards (the “brains” of the operation) and (touch) screen upgrades for the printer.
With the BIQU B1, BIGTREETECH wants to make an entrance in the 3D printing market. This is a very potent, growing, market. Printers are being produced for lower and lower prices - and at the same time the quality of these machines increases dramatically. Another known manufacturer of less expensive 3D printers is Creality, which has gotten a big foothold of the market with their Ender 3. I had a very bad first impression of them though.
With this being said, let’s get to the review!
Some words before…
Last month I’ve received this printer and made an extensive unboxing and assembly write-up. Now it has been almost a month and I’ve printed a lot on this printer - and I have some thoughts I want to share with you.
For this review I won’t focus on “benchmark” prints like retraction tests and benchies. In my opinion those prints don’t matter at the end of the day. The average user wants to design and print his models - or print some stuff from Thingiverse or any model repository. In that light this printer should be viewed - or any printer cheaper than a €900 Prusa. Also think of it that this is a €219 euro 3D printer - available on AliExpress and Amazon.
In the last month I’ve made multiple prints and with that it shows what this printer is and what it is capable of.
Assembly, construction and features
First some words on assembly and construction. For full details though, check my unboxing and assembly write-up.
Kit
The BIQU B1 is a kit. You get the parts, some pre-assembled, but assembly is up to you. Although I’m generally not very mechanically adept, I didn’t mind this because the instructions are good (they show what to do step-by-step) and all the parts you need are labeled per step.
You need no tools, other than the tools BIQU included with their printer. What I found very convenient during assembly is that BIQU provided ball-head allen keys, which allow for easier assembly. Also these allen keys are magnetized, so you don’t have issues with your screws dropping when assembling.
Electrical
BIQU did a good job. Although the power supply is not from a known manufacturer, BIQU makes up for that with a good electrical layout of the internals.
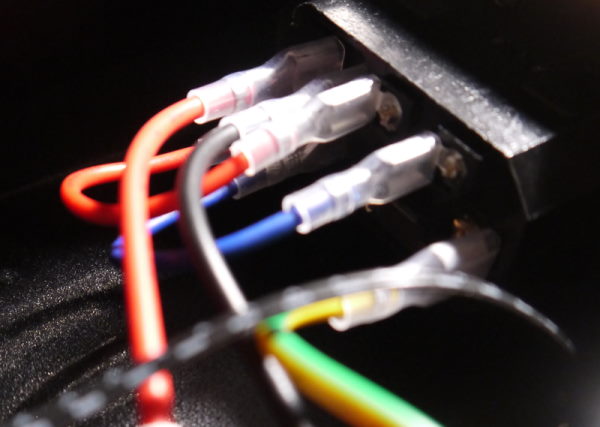
Both neutral and live wires are switched through the switch. In a country like I live in there is no guarantee which of the incoming wires is live or not, so it is important that all wires are disconnected when the switch is turned off. For comparison, Creality gets this wrong.

I’ve checked the electrical work and the grounding is also connected to the frame. In the very unlikely event something would happen, you are protected through the grounded outlet in your home.
Motherboard
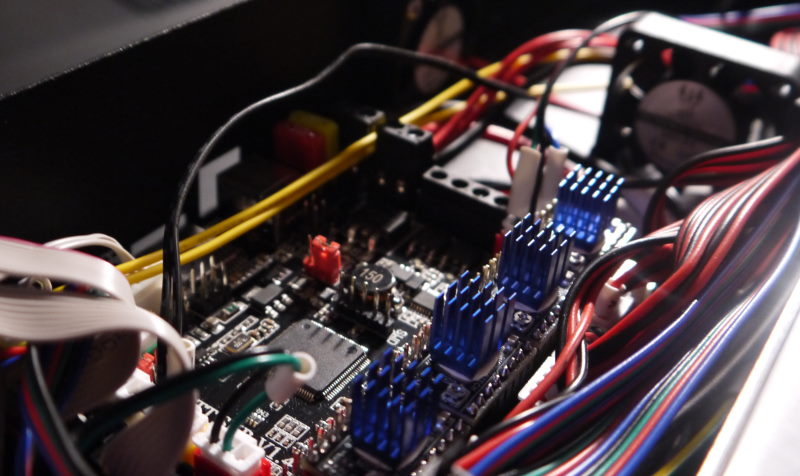
The motherboard of this printer is interesting. This a SKR v1.4 motherboard from BTT with removable stepper drivers. This means that at some point you can choose to swap out your stepper drivers with a newer or better model, or if the stepper driver is defect simply replace it.
The BIQU B1 comes with the Trinamic TMC2208 stepper drivers. These stepper drivers are silent, so you don’t have to worry about any 1980’s “dot matrix” noise while the printer runs. The printer is quite silent when it comes to printing.
Due to limitations in the TMC2225 driver for the extruder I was not able to get linear advance (high-speed flow calibration) working. Linear advance should work on TMC2209 drivers so this is definitely an upgrade I will consider.
Expansion options
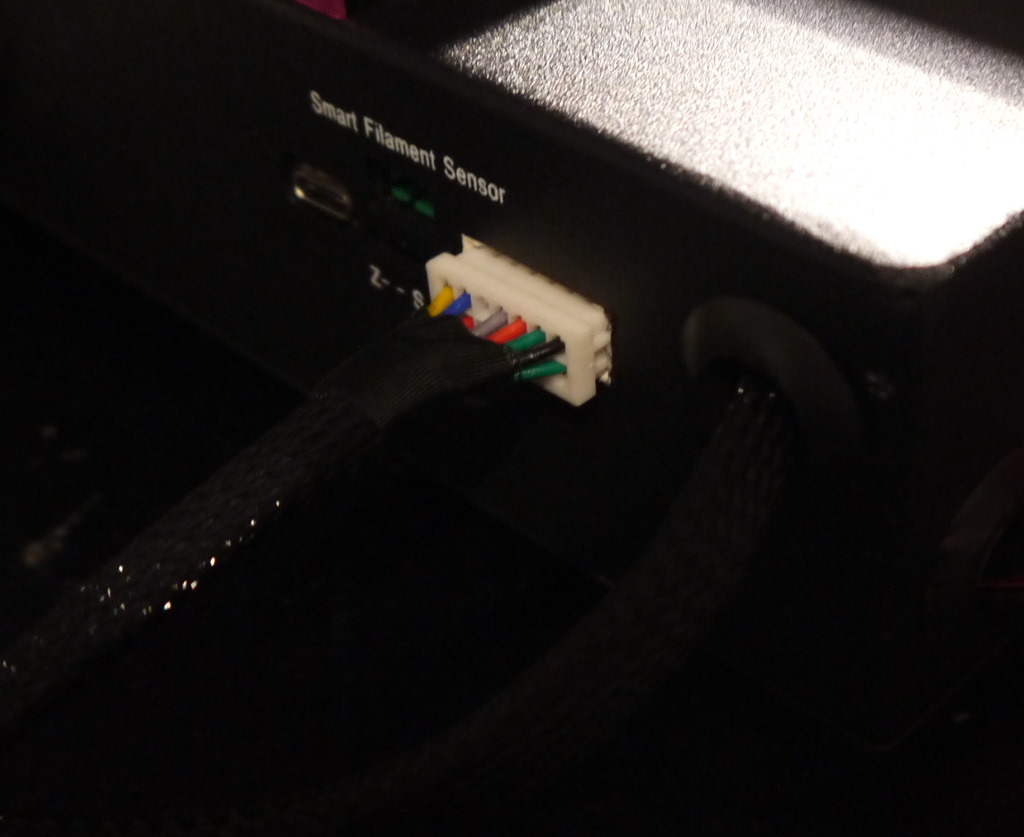
The back side of the BIQU B1 allows for some additional expansion options.
- You can plug in a BLTouch - a bed leveling probe. The BIQU B1 comes with a BLTouch bracket, so you don’t need to print or buy anything for mounting it.
- You can add a smart filament sensor which allows detection of clogs and jams
Extruder
The extruder of this printer is a standard metal extruder. This has been a popular upgrade on Ender 3 printers, due to the plastic extruder on the Ender 3 having micro crack over time.
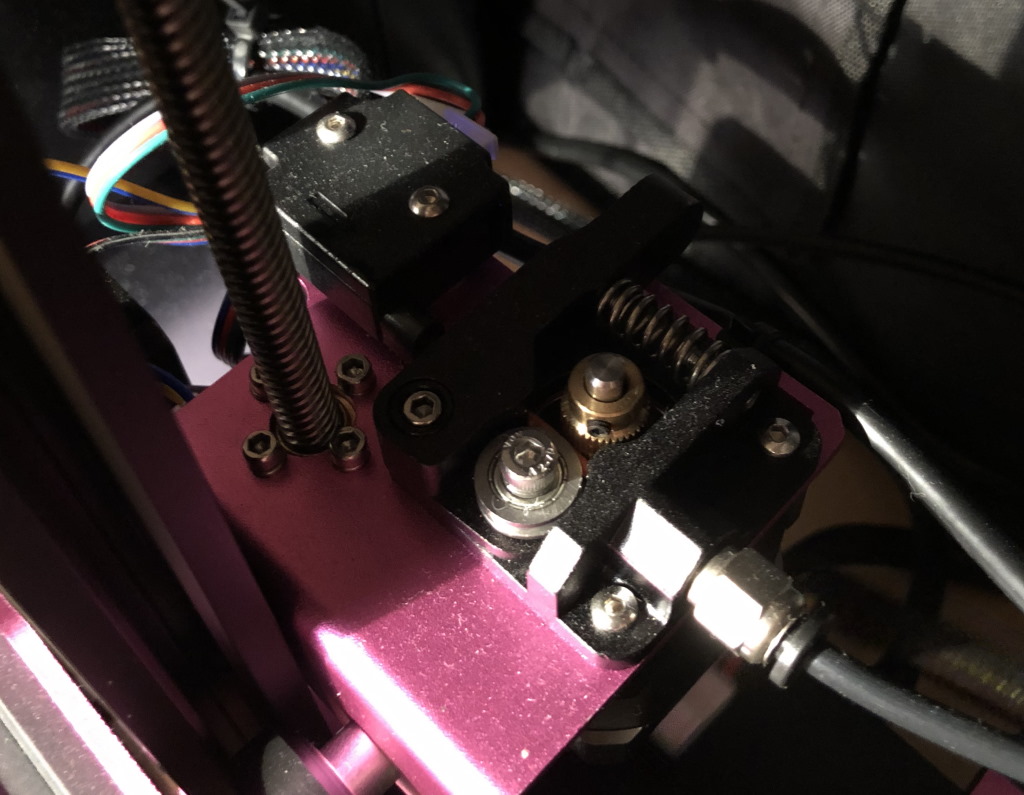
Besides the extruder, this printer also offers a filament runout sensor. This is a simple mechanical sensor, but it works well and reliable and has saved me at least once from a filament run-out. The only small drawback I’ve found is that during some retractions it gives a clicking noise - but that is only annoying if you pay attention to it.
Hot-end
The BIQU B1 offers a standard PTFE lined hot-end, similar to Creality printers. It features a large UM2 nozzle, supposedly to retain the heat better, but standard nozzles will also fit.
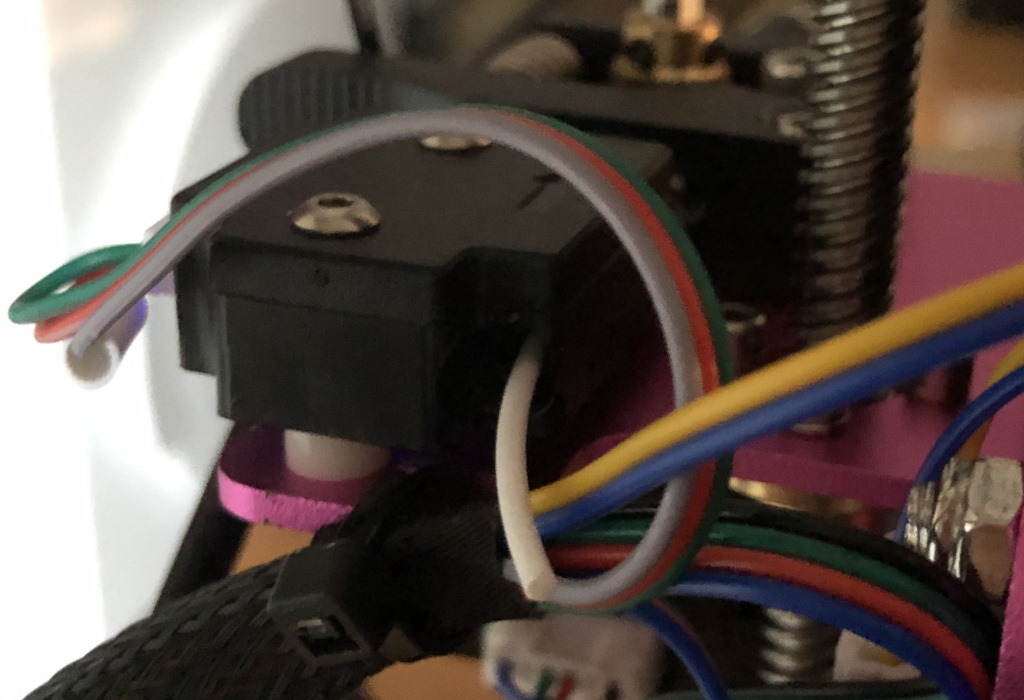
BIQU made an interesting design decision. The hot-end is powered by a USB-C cable. I’m not sure what the reasoning is behind it and some reviewers do frown upon this decision, but at the end of the day it is not really different than a custom ribbon cable. Except this USB-C cable is meant to move in all directions and a ribbon cable is only meant to move in one direction. The result is that this USB-C cable is about the same stiffness as the PTFE tube and naturally follows the same path as the PTFE tube - and the wire management is quite clean. I like it, because it slims down the chance that any cables get in the way of the nozzle.
Note that this is not just any random USB-C cable, it has been designed for this printer and BIQU recommends to purchase a replacement via BIQU. It does look a bit more stiff than my other USB-C cables - so this prevents the cable from getting in the way or prematurely wearing down.
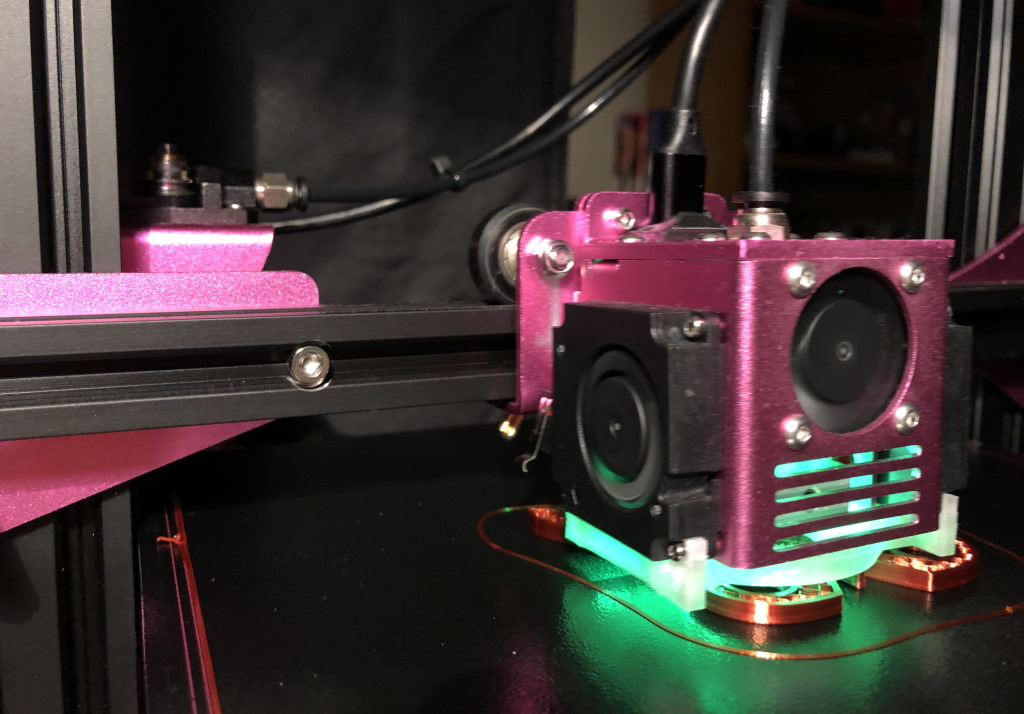
The cooling of this hot-end is very good. It features two radial cooling fans, which blow air into the 3d printed cooling shroud right onto the printed piece. This is important when printing very small details.
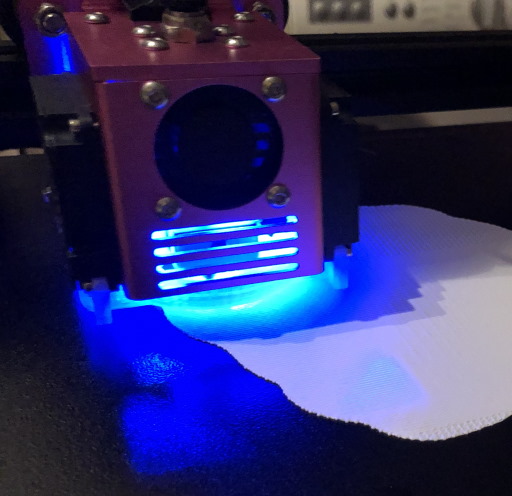
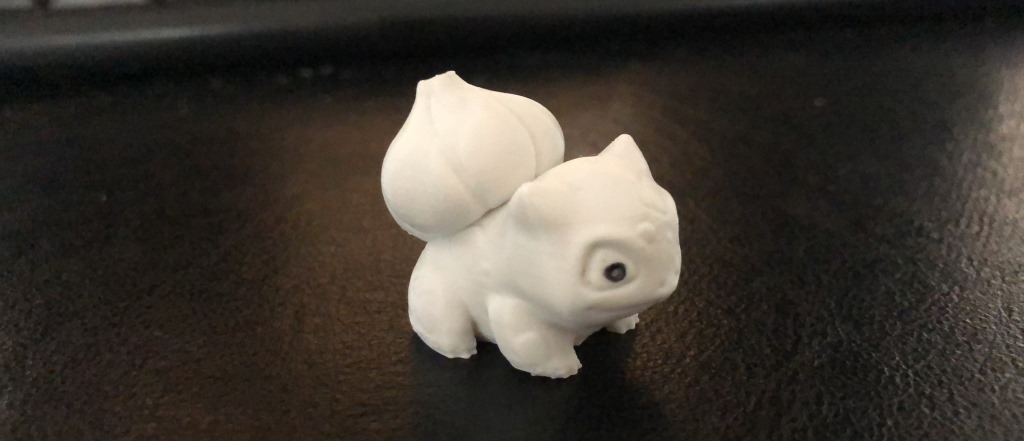
 These are small details that benefit from good cooling. The tip below the ball is about 1mm wide - and when printed, just 0.2mm below a nozzle of 200 degrees Celcius. PLA becomes soft at 80 degrees Celcius.
The hot-end lightning also offers RGB. You can choose red, blue, green and white from the LCD screen.
Using the Marlin M150 command you can use any combination of colors.
First I thought RGB light was a gimmick and didn’t add much value, but over time I have been appreciating this feature more and more. You can configure the firmware and the start gcode of your slicing software to use different colors: yellow when the bed is heating, red when the hot-end is heating, white when printing, blue when in a cool-down. It is quite useful because you don’t need to look at the screen to tell what the printer is doing.
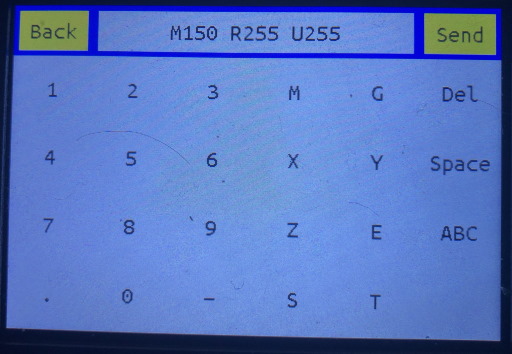
Setting a yellow color using gcode. Forgot to mention: You have a terminal on the touch screen which you can use to enter any gcode. Useful if you don’t want to hook up a computer for some calibration routine or trying out a setting.
Belt tensioning
This printer has, oddly enough, only a belt tensioner on the Y-axis.
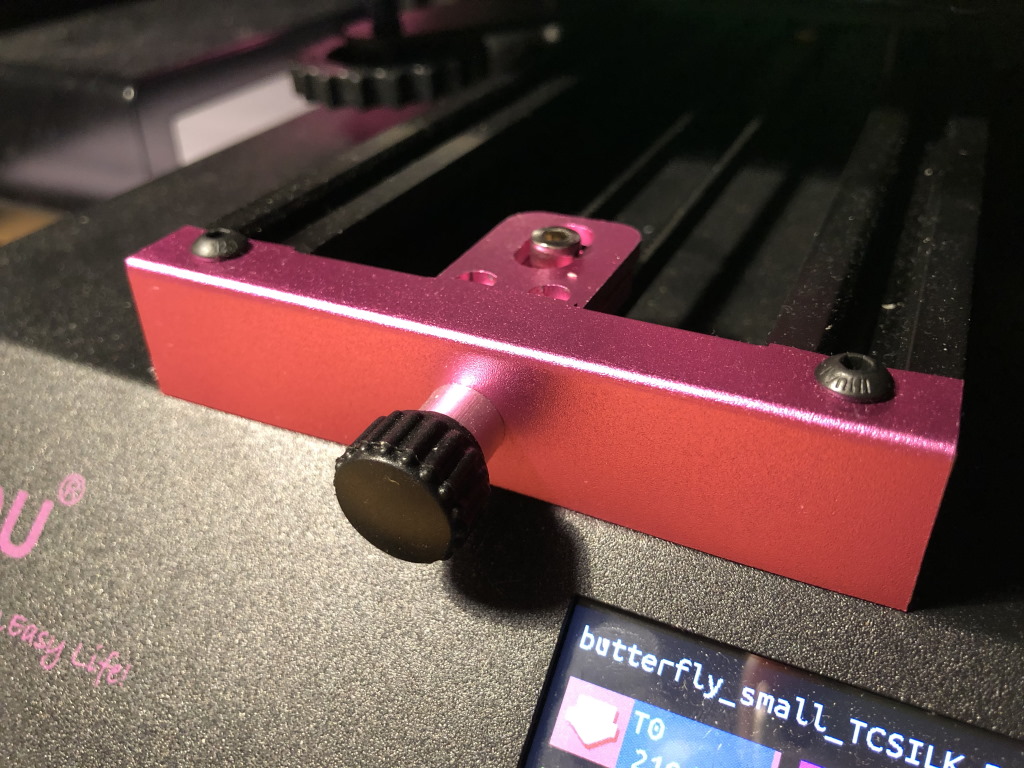
It looks simple, but works well. I had however wished that they included a belt tensioner on the X-axis as well. It does make the printer look better and is a bit more convenient. On the other hand, how many times do you need to tension a belt?
Inputs
The BIQU offers plenty of ways to get printing. At the motherboard side use a micro-SD card. You can also connect your computer and directly print from your computer.
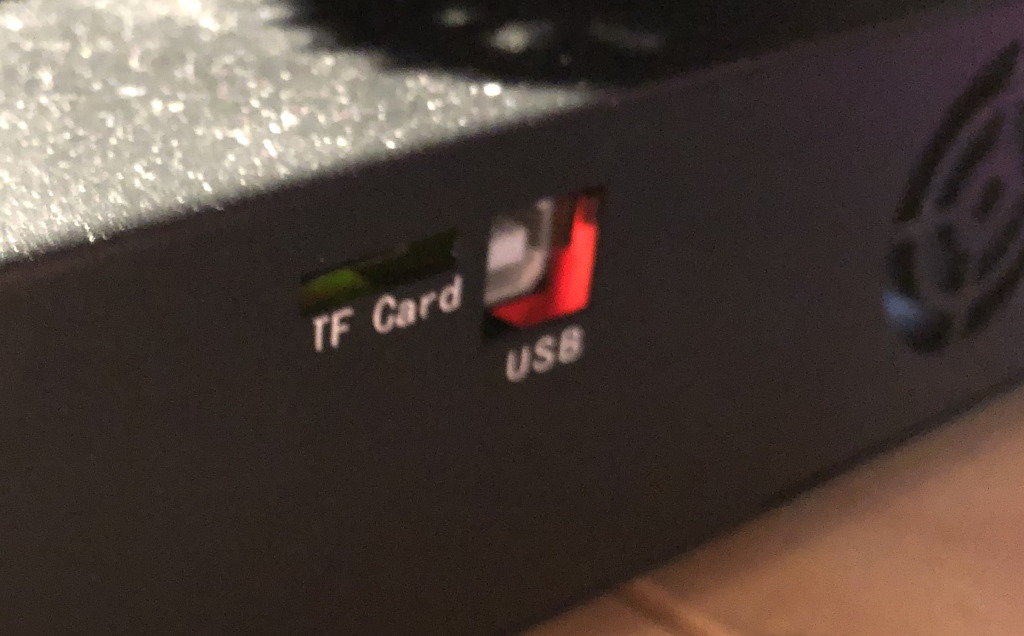 Micro-SD card slot and USB-B port for the motherboard. You generally don’t need to use this micro-SD card slot, and it is also a bit hard to reach compared to the touch screen slot.
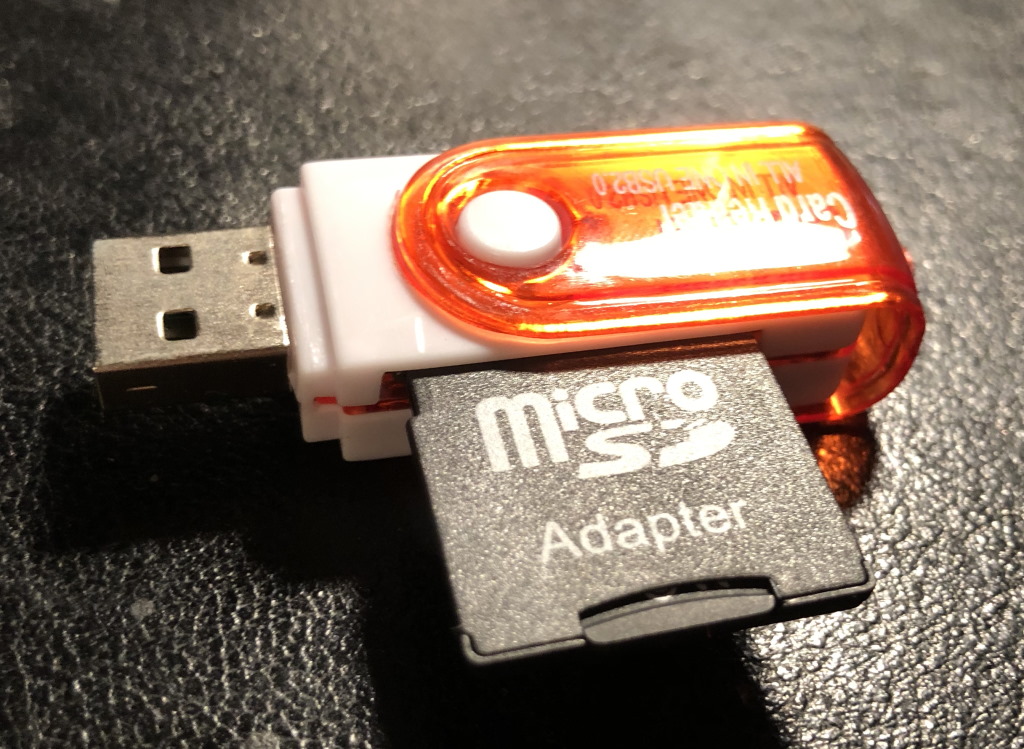 The BIQU B1 comes with a 2GB SD card and adapter for reading it in your computer. More than enough for about 400 gcode files (counting about 5MB per gcode file).
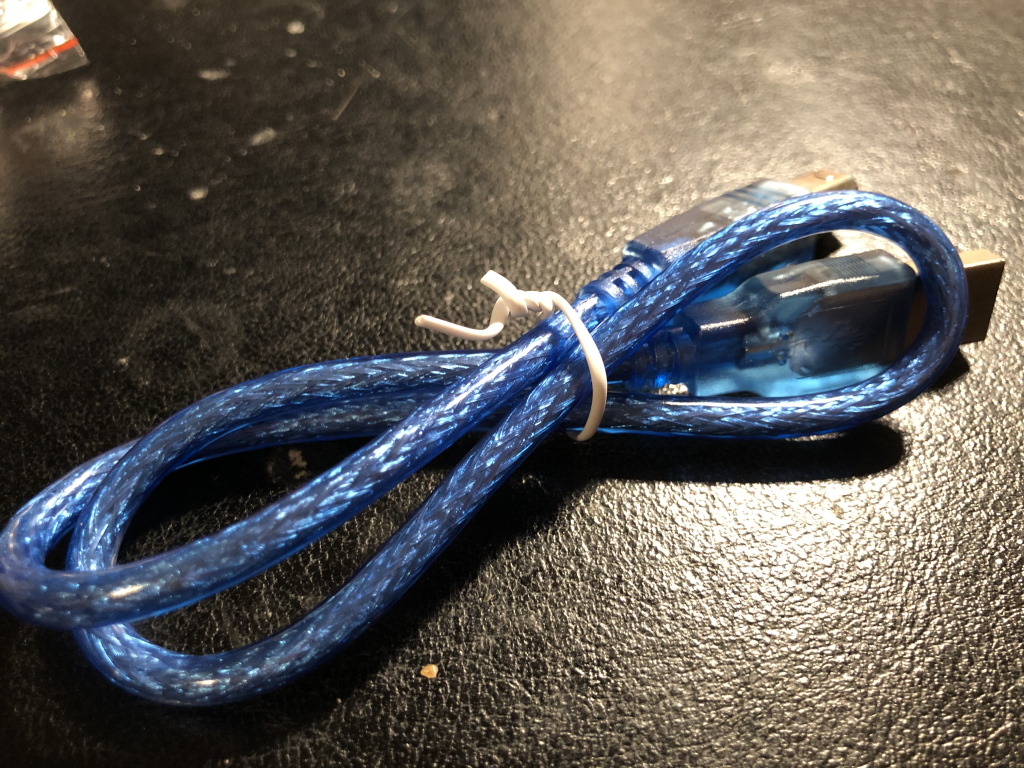 The - a bit on the short side - USB-B cable can be used for directly printing from your computer or using terminal software to talk to the printer.
At the touch screen side you can also use a micro-SD card. However, the touch screen also offers something that most other printers don’t offer: you can simply use an USB stick instead of a micro-SD card. This is much more convenient than fiddling with SD cards, right?
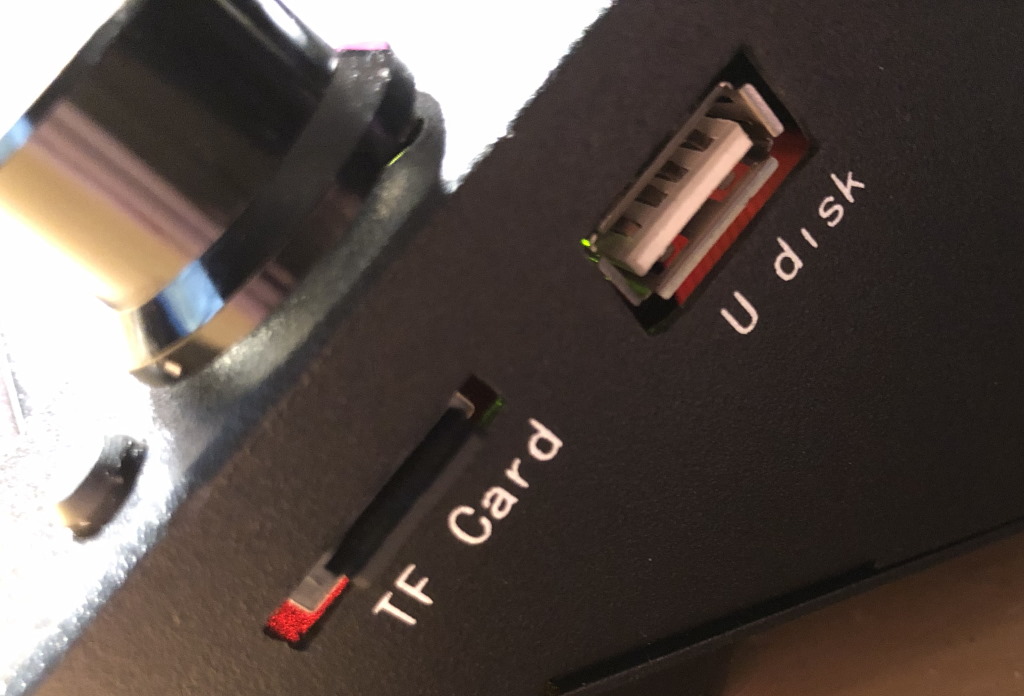 You have choice on where you want to print from.
 This touchscreen is a very popular upgrade for printers of other manufacturers - this printer already comes with this upgrade.
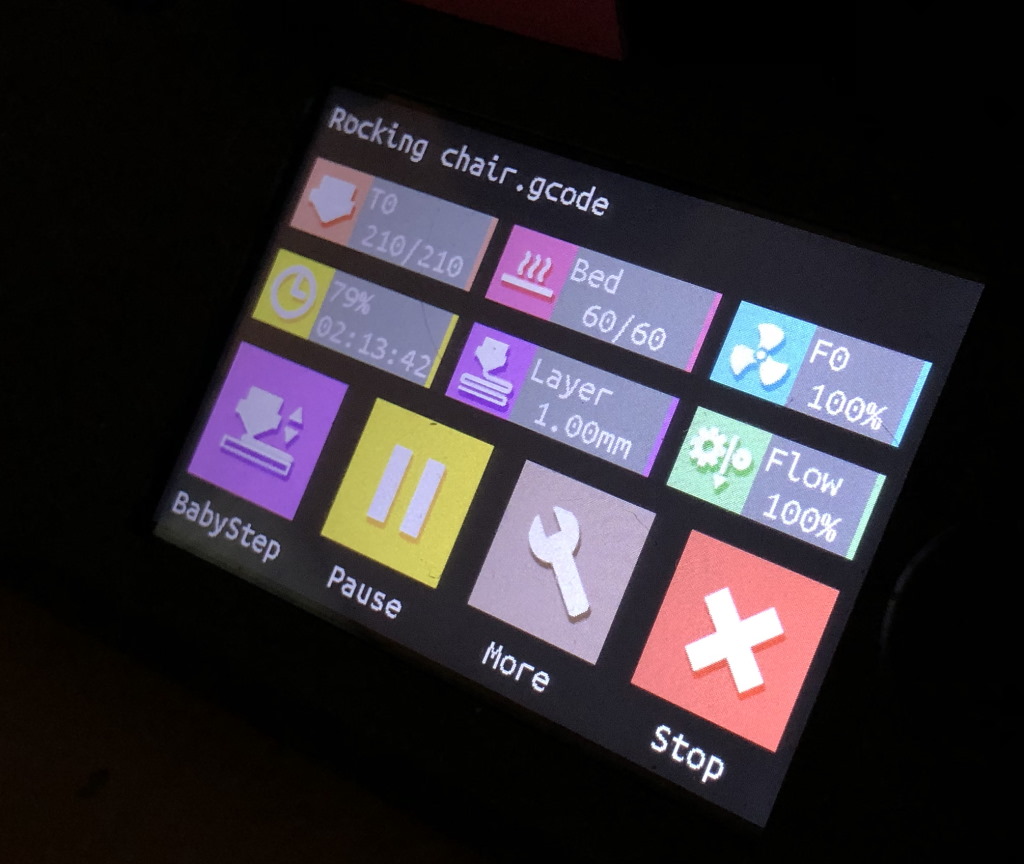
The touch screen has two modes: Touch screen “BIQU” mode, with large icons, vibrant colors and a hierarchical menu. You can also use Marlin mode, which shows the menu as the firmware displays it. If you’re modern or old fashioned, you can switch to the mode you like best.
First startup
For the first startup, I upgraded the firmware to the latest version. For both touch screen and the mainboard itself, BIQU offers regular firmware updates on Github. Both the firmware of the main board and the touch screen is open source. This not only means you can modify the firmware yourself and easily report issues, this also means that you are easily able to upgrade to the latest Marlin version. This is a big plus in my book, because you can always be in control. - not that you need that, because BIQU has been providing regular firmware updates.
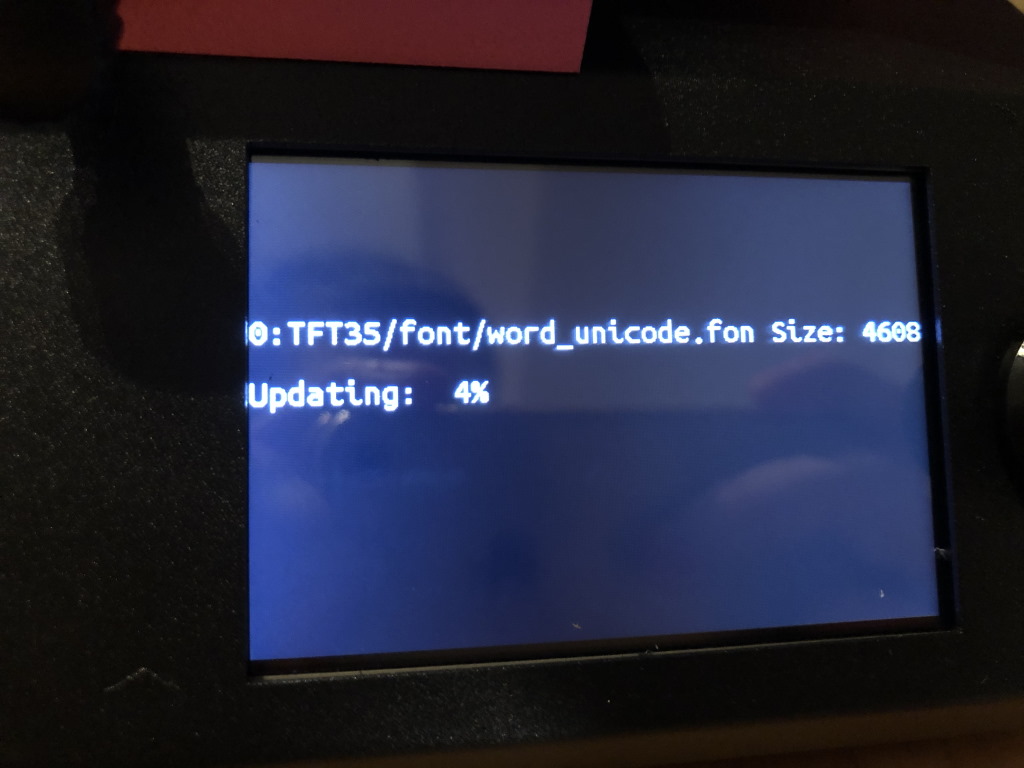 Upgrading the firmware of the touch screen - just a matter of putting the files on an SD card, and restarting the printer.
What no review talks about, is how easy the process of upgrading the firmware is. When the firmware is upgraded, the file is renamed with a “.cur” extension so you know the upgrade has been performed. This also prevents the same firmware image to be applied over and over again.
Bed leveling
By default this printer is leveled manually. Although it supports connecting a bed leveling probe like a BLTouch, I didn’t want to buy such probe for the review. Manual bed leveling is still a good option, and a printer should work without it. Still, there are so many horror stories about bed leveling. Is that the case for this printer as well?
I never leveled a print bed before so this was a new learning experience for me. I started by tightening all the bed screws, and letting the printer home.
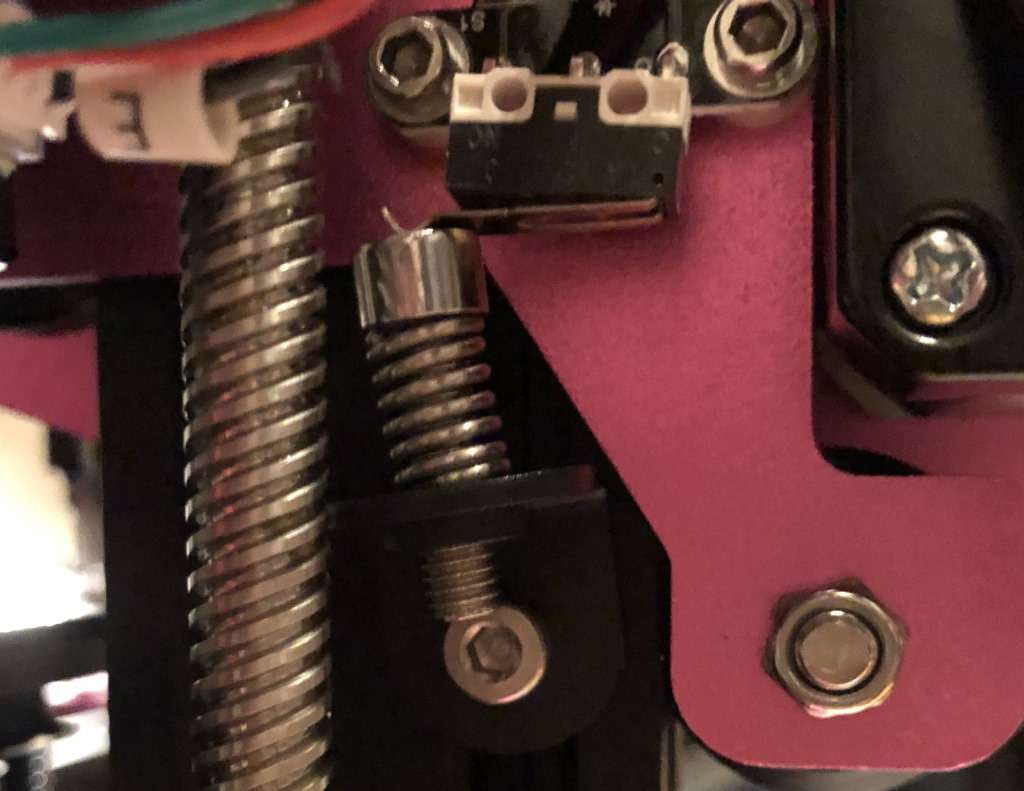 When you home the printer, you need to get the printer as close to the bed as possible - you want the bed leveling springs as tight as possible. I needed to adjust the endstop switch to allow this.
Then using assisted leveling and a piece of paper, like the manual the BIQU comes with, you can adjust each screw until there is some drag when moving the paper under the nozzle. When everything feels (more or less) right, it is time to do some test first layers.
I have used multiple options for this:
- The BIQU touch screen has a leveling test. Very useful as a first test.
- Teaching Tech First Layer calibration guidance. This is the next test to perform.
 My first test using the Teaching Tech calibration gcode - before I discovered that BIQU actually had built-in leveling test
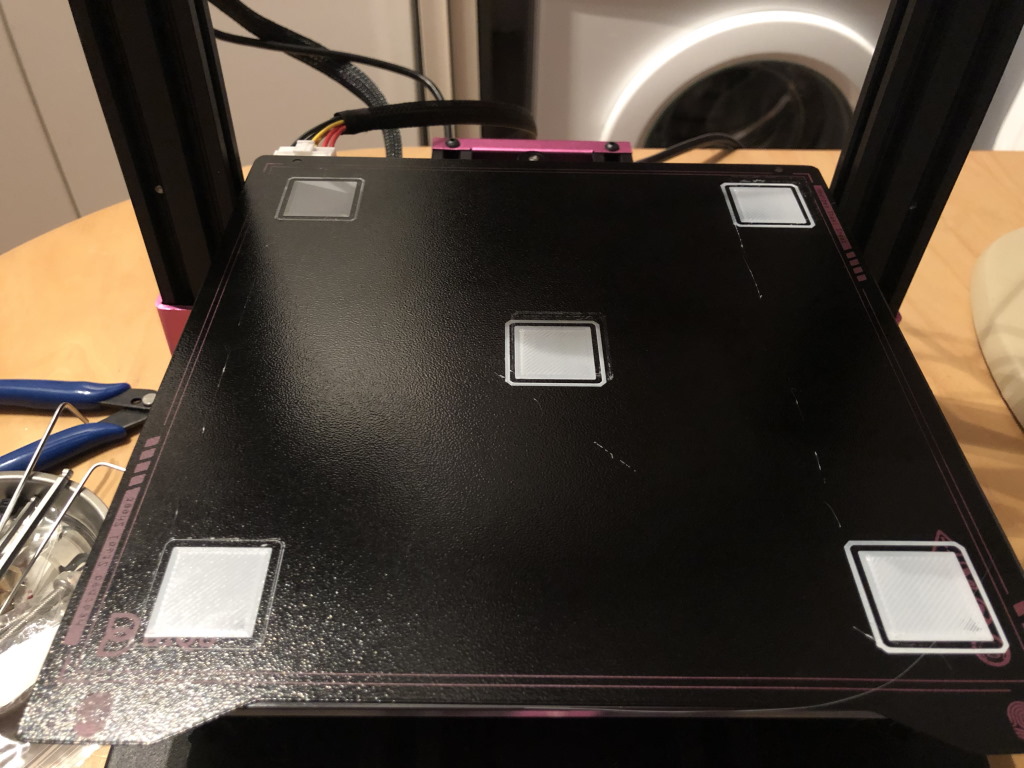
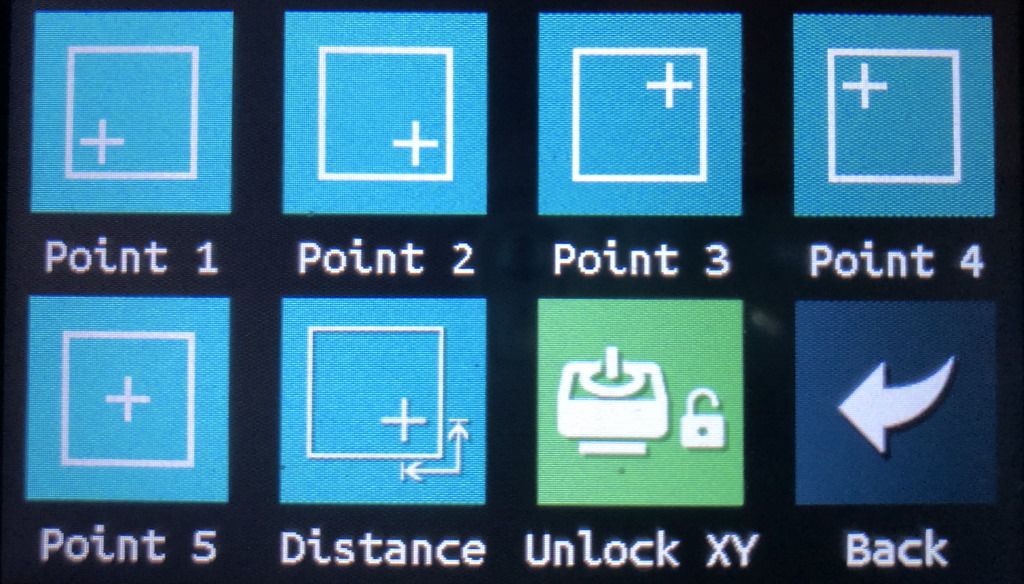 Assisted bed leveling using the touch screen. Levels not only at four points, but also at the center. This was built in later firmware upgrade based on customer feedback.
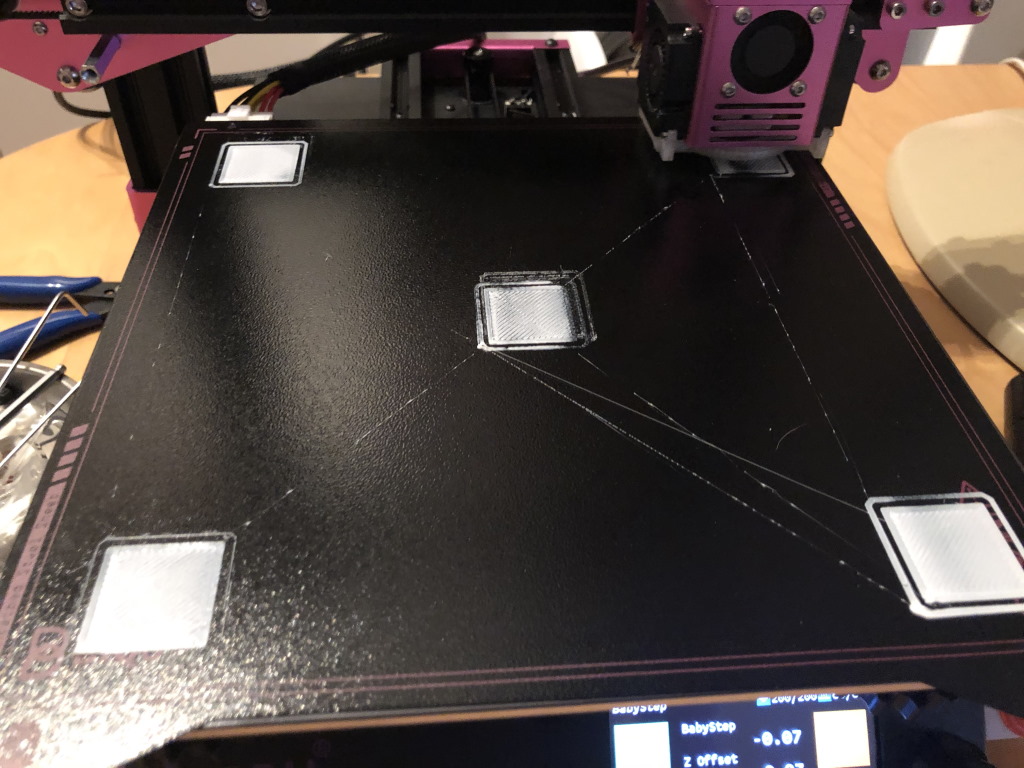
Obviously I had some adjustments to do after my first leveling test. One of my worries was that this calibration would use up a lot of filament, but it only uses very little. I was able to complete many prints with the 50 grams of test filament BIQU delivers with the printer.
 That looks a lot better!
I did end up revisiting my bed leveling later - and uses Marlins manual bed leveling feature to further refine the bed leveling.
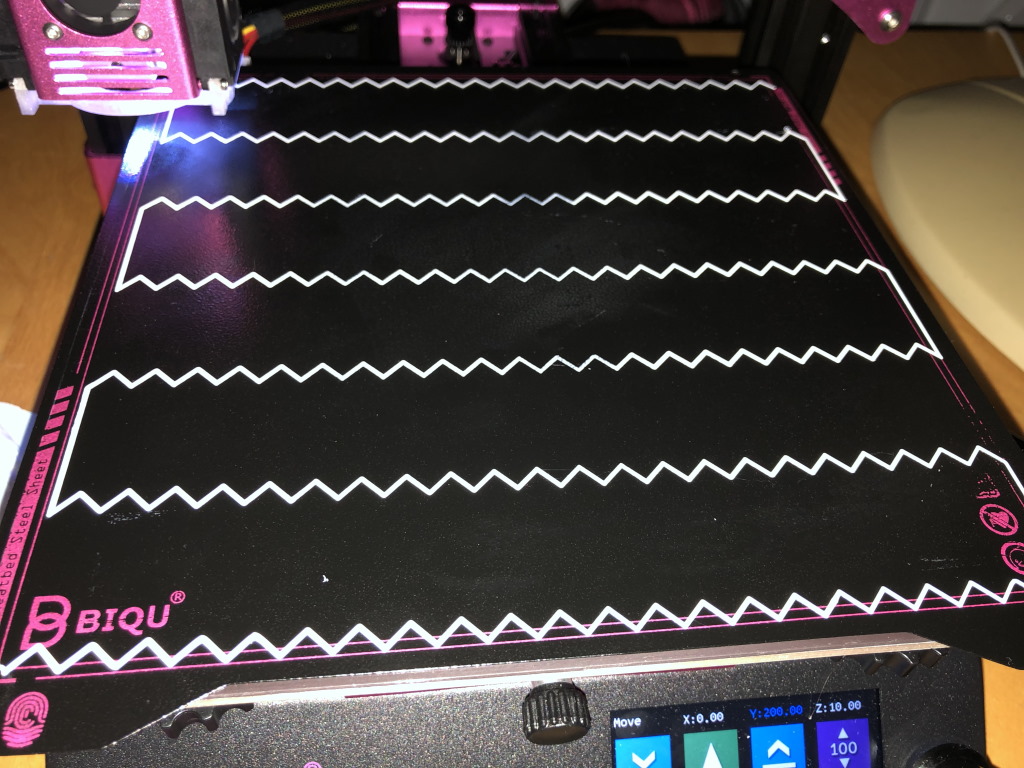 This is the bed leveling test built into the BIQU B1 touch screen software. Quite useful to get a first impression at your bed leveling efforts.
First prints
When the bed is level, you can make your first prints. BIQU included some models on the SD card to print with the 50 grams test spool.
So I did:
 That’s quite some detail - and that for €220 euro!
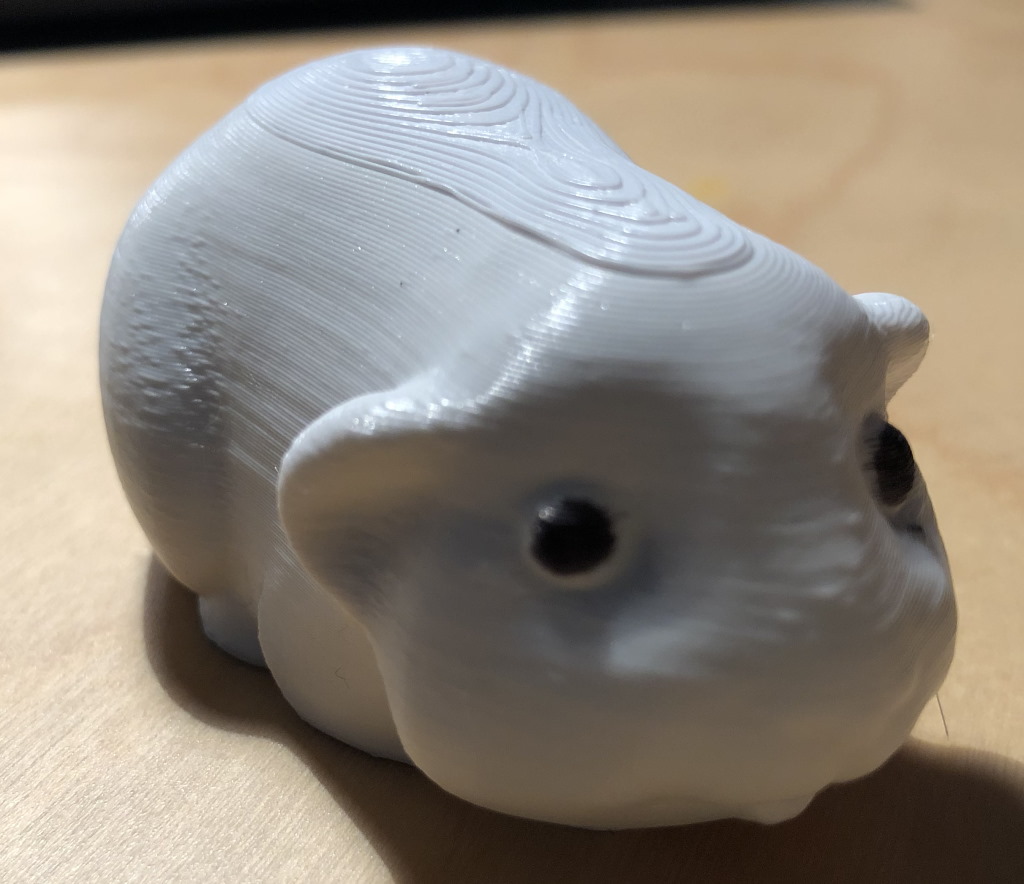
 “Little bear” - I added the black eyes with a sharpie after the print completed
The BIQU B1 offers a filament run-out sensor. This came in quite handy - because at some point my 50 grams roll of filament was gone and I needed to load new filament.
 Oh ooo… time to load my first 1 kilogram spool
 After I loaded new filament, the printer did resume at the right location - but this filament was completely new to me and required a much higher temperature. I did not know that at the time, that is the sole reason the transisition between the two filaments is quite sharp.
Practical prints
Benchmarks are one thing, printing practical things is where it matters. For this reason, I like to look at any printer from the practical side. My first print was some braces I designed to be mounted on top of a book case.
A short video of the printer doing this print - using the BIQU filament. I used quite a high printing speed, and still, you can hear the printer is fairly quiet!
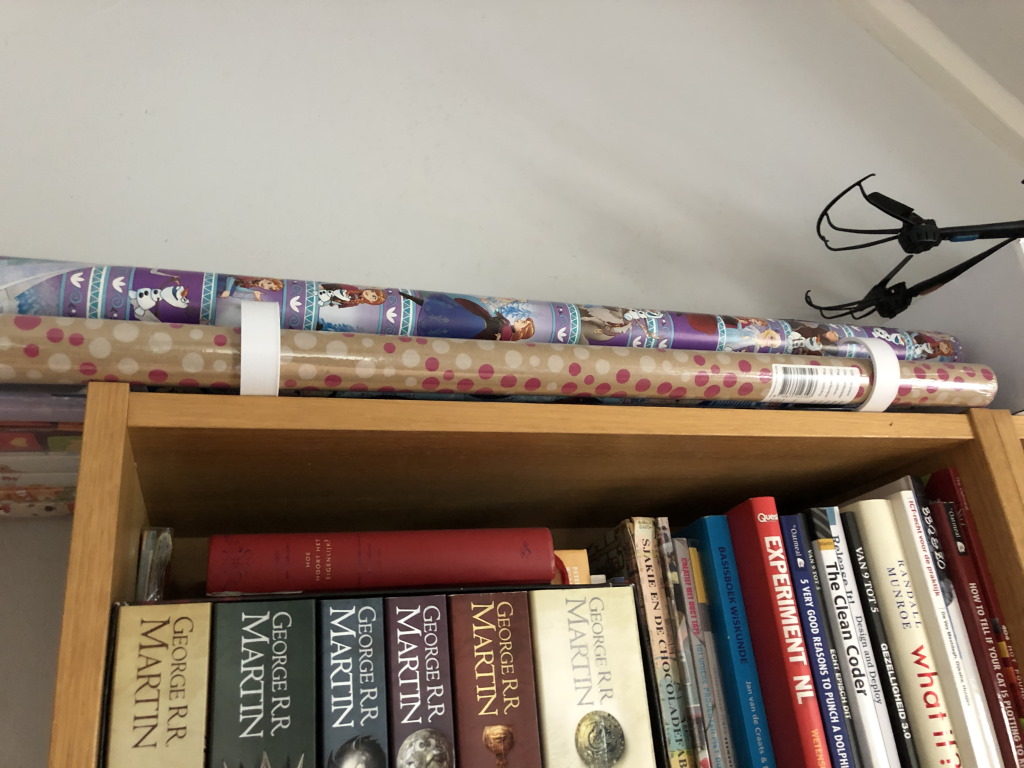 The final product. Does look pretty decent, doesn’t it?
This print has a fairly small footprint, yet it did not lift from the print bed. That is one of the things that is so awesome of this printer: the print bed. When printing PLA at 55-60 degrees Celcius, it sticks very well to the bed. When the print is finished, the print detaches from the bed by itself. If you take the print bed off the printer and flex it, it also detaches.
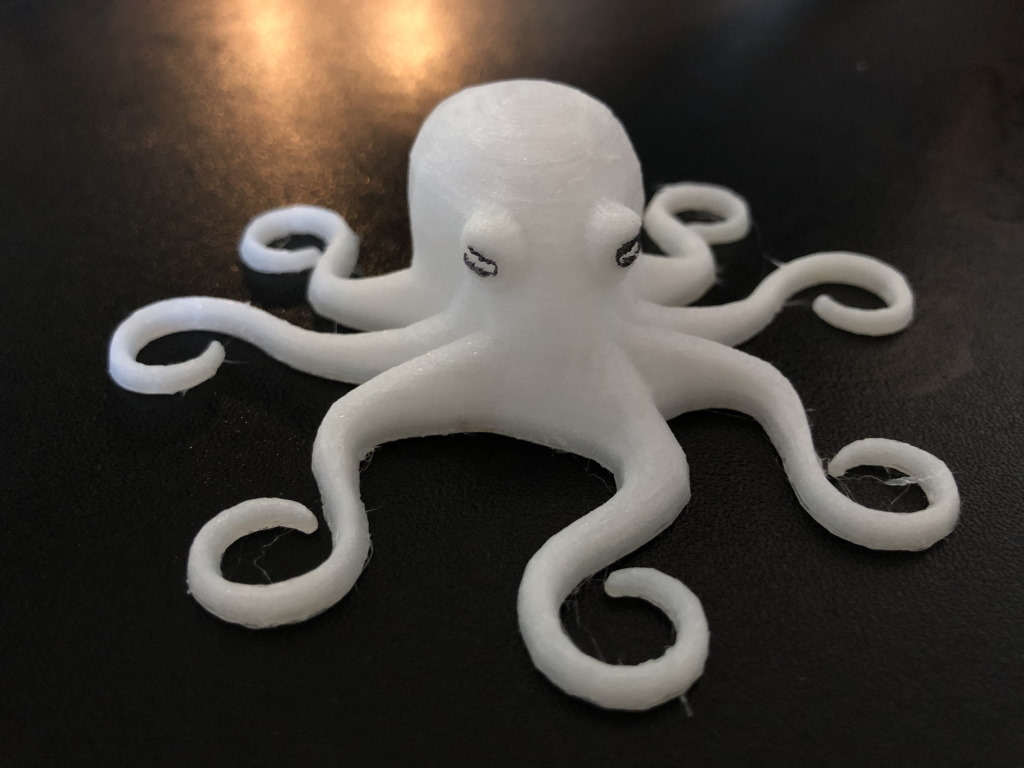
For my daughter, I printed a test octopus, which she absolutely adores. I printed it on a high layer height, so the layer lines are quite pronounced. But, this octopus has print-in-place joins. It came out perfectly, the joints were not fused and immediately worked.
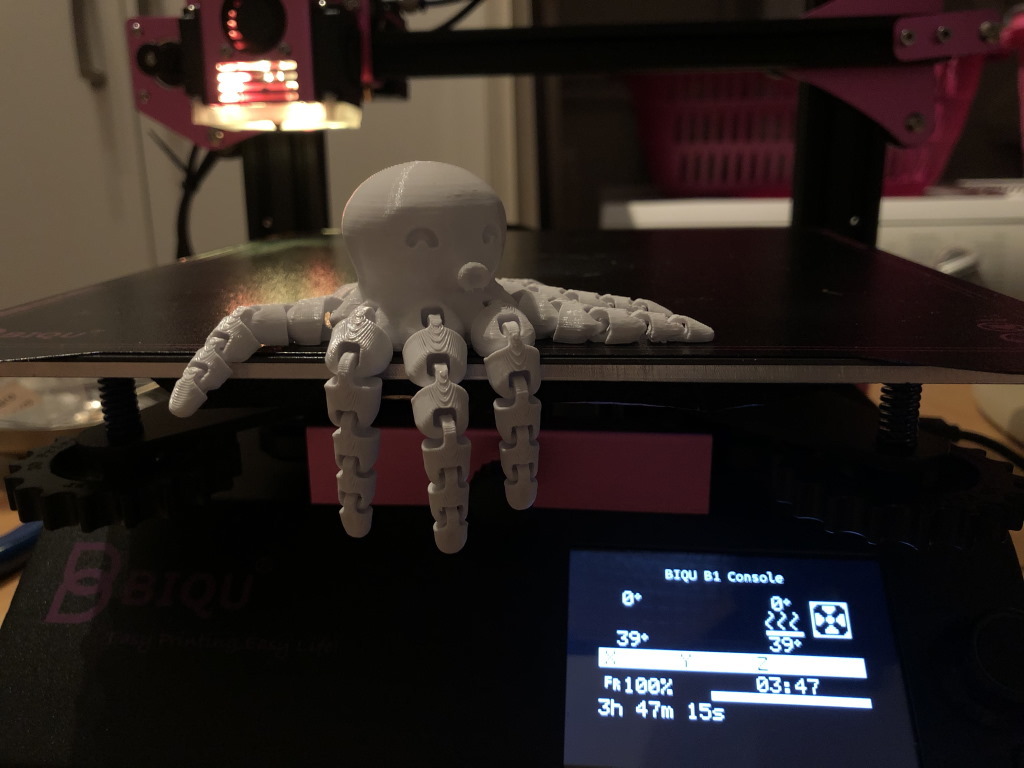 Note that in this print I used the classic Marlin mode. It has its charms.
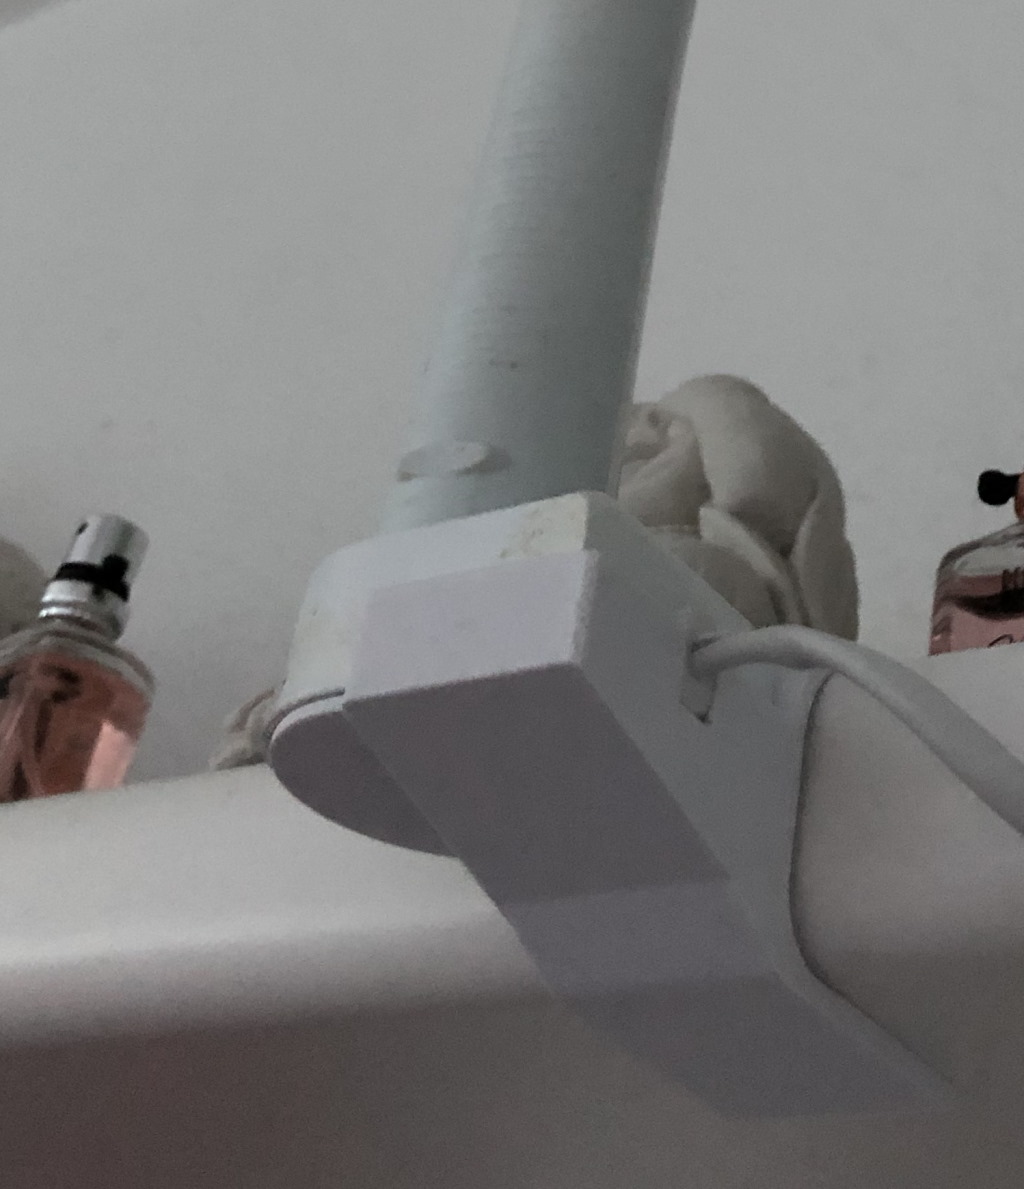
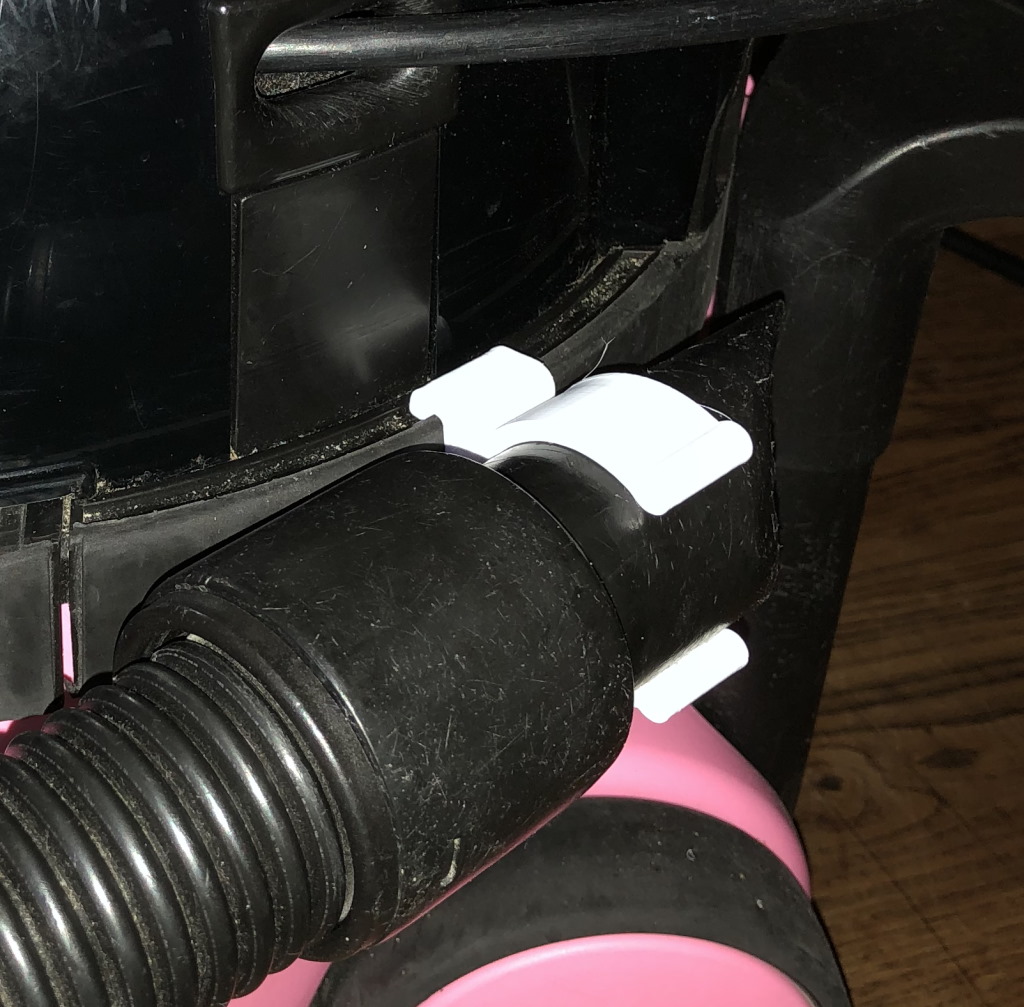 A holder for a vacuum cleaner hose of the Neumatic Hetty (Henry) - snaps right into place!
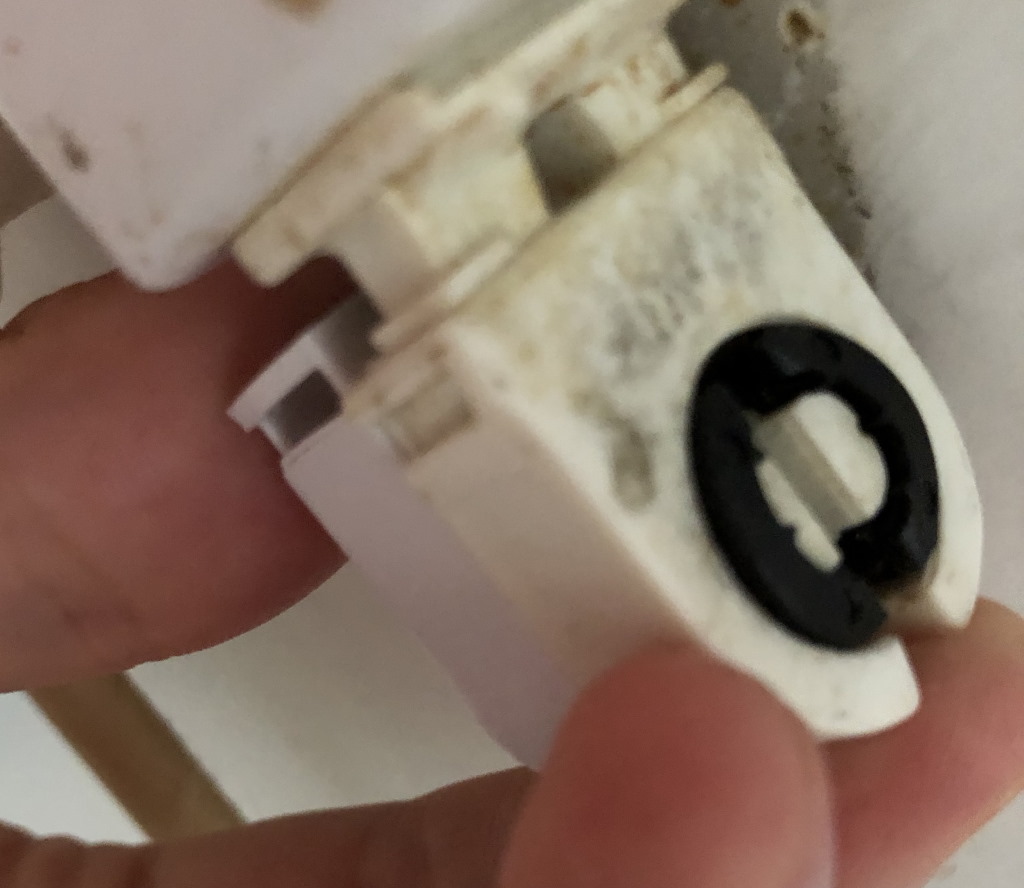 Designing a replacement end-cap for a fluorescend tube - I published this on Thingiverse
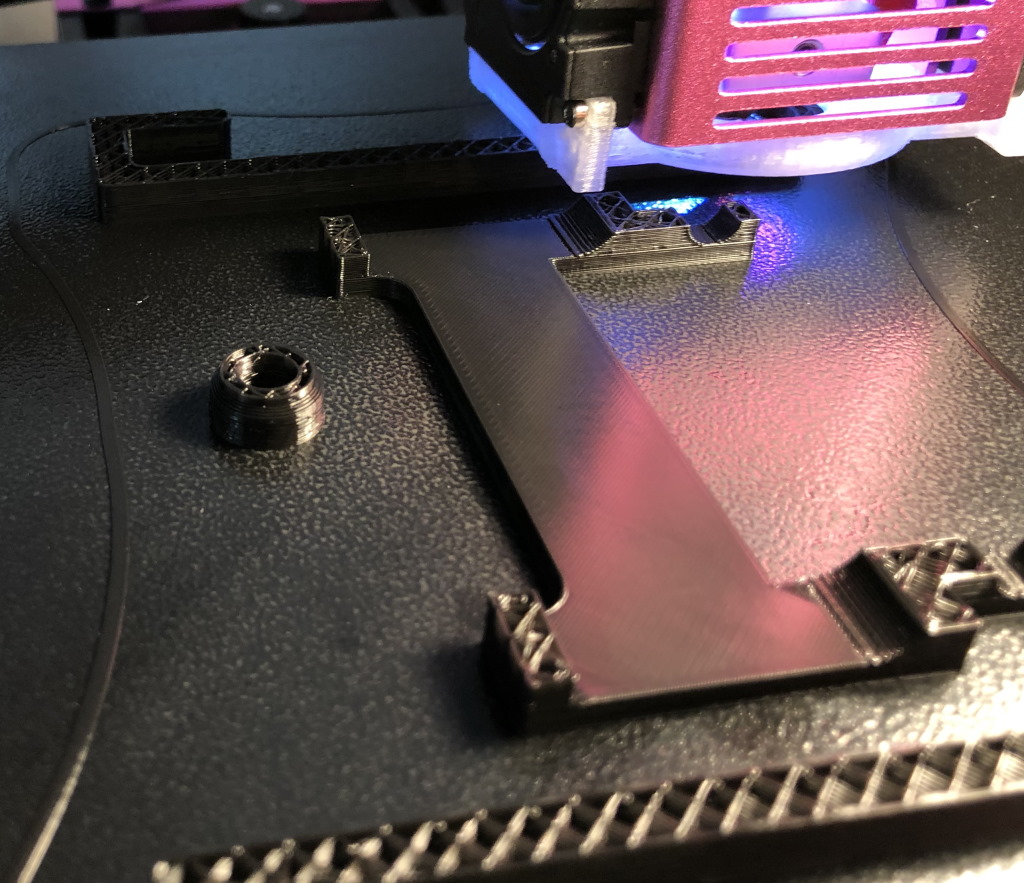
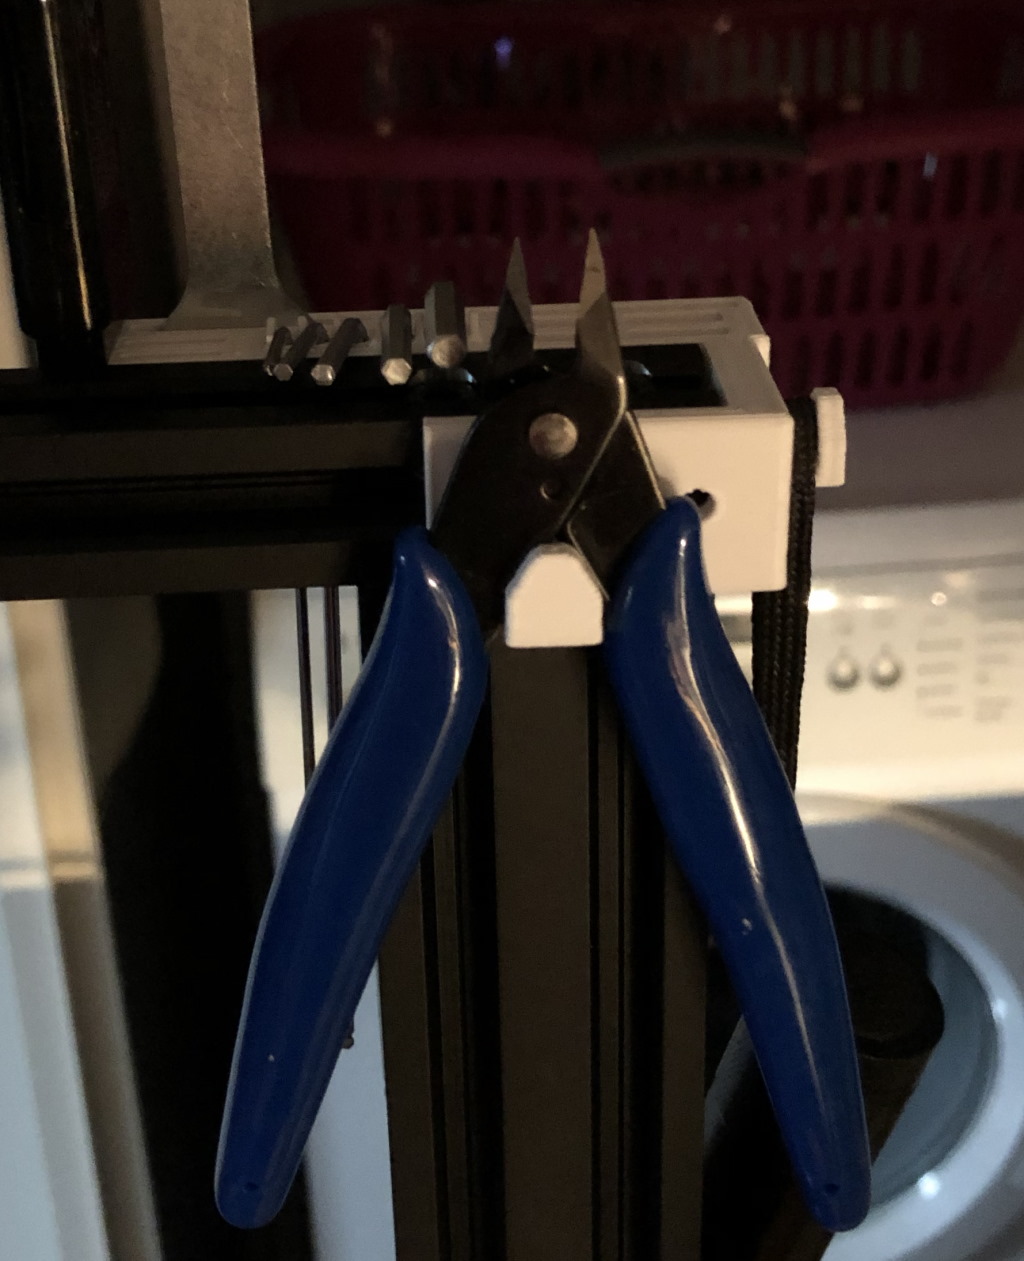 A print with a focus on speed to save time - so quite rough - but also a practical upgrade to collect your tools!
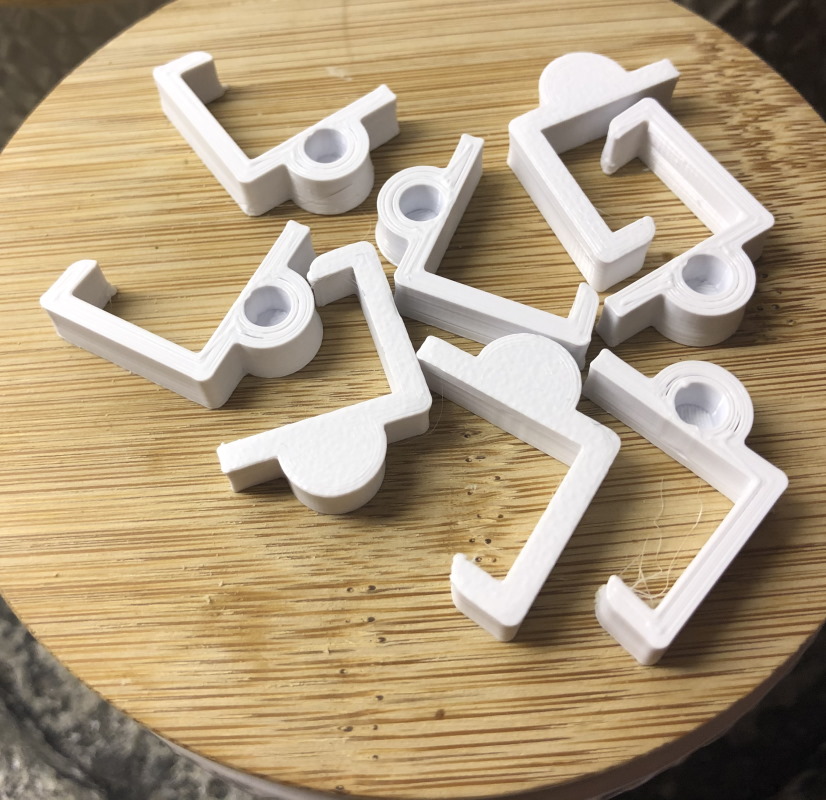
New hooks in the kitchen - printed in eSUN PLA+, 0% fan speed, 5 hooks at a time
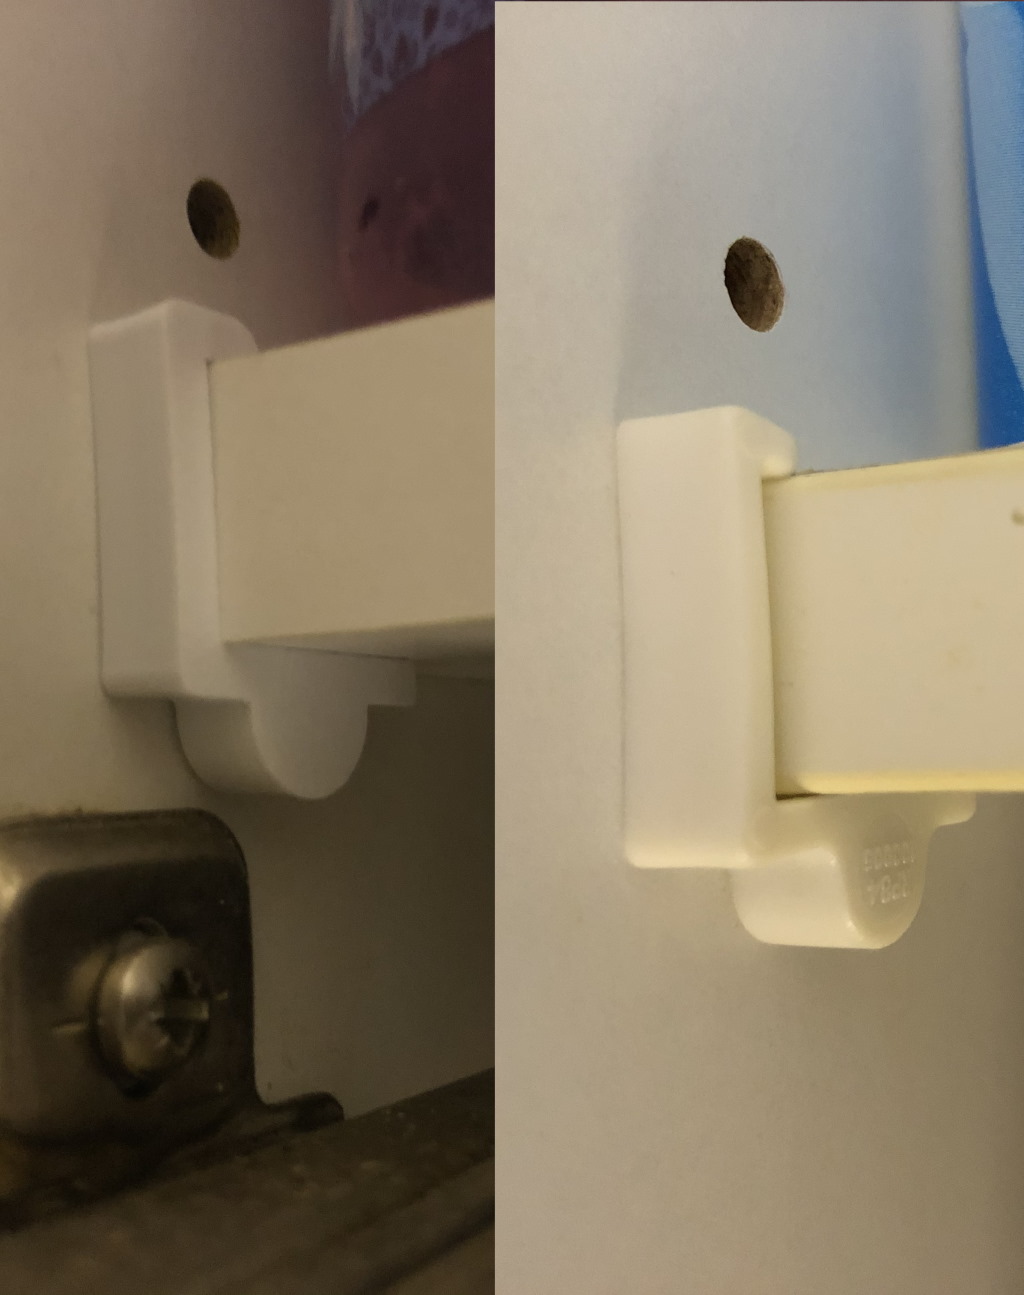
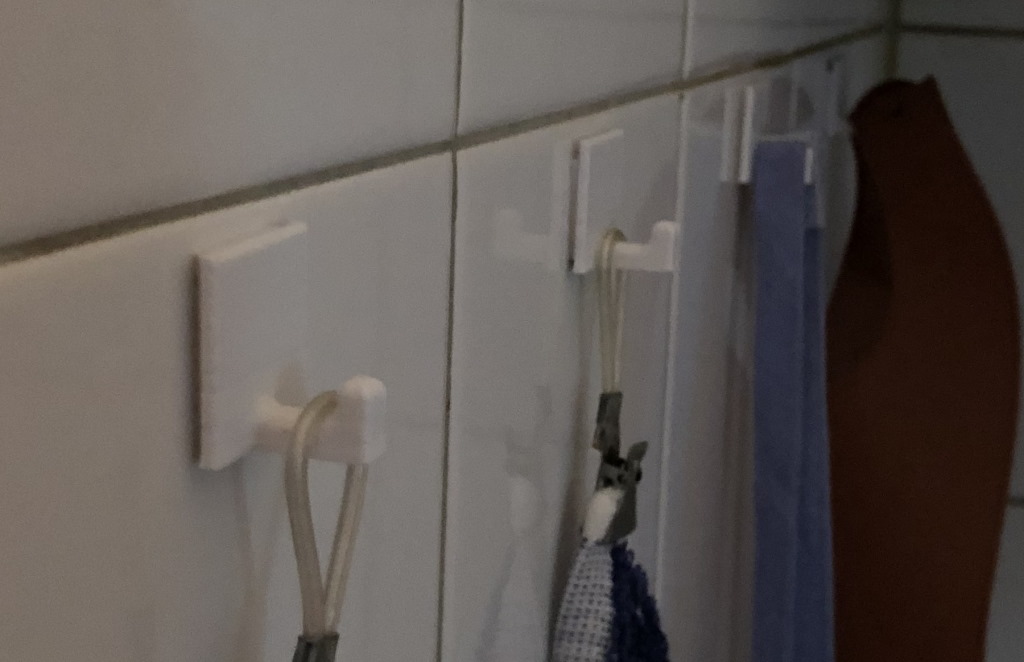
Replacement holders for a kitchen cupboard - look how clean these came out and it looks even better than the original!
A holder for a toothbrush charger - I made this design available on Thingiverse
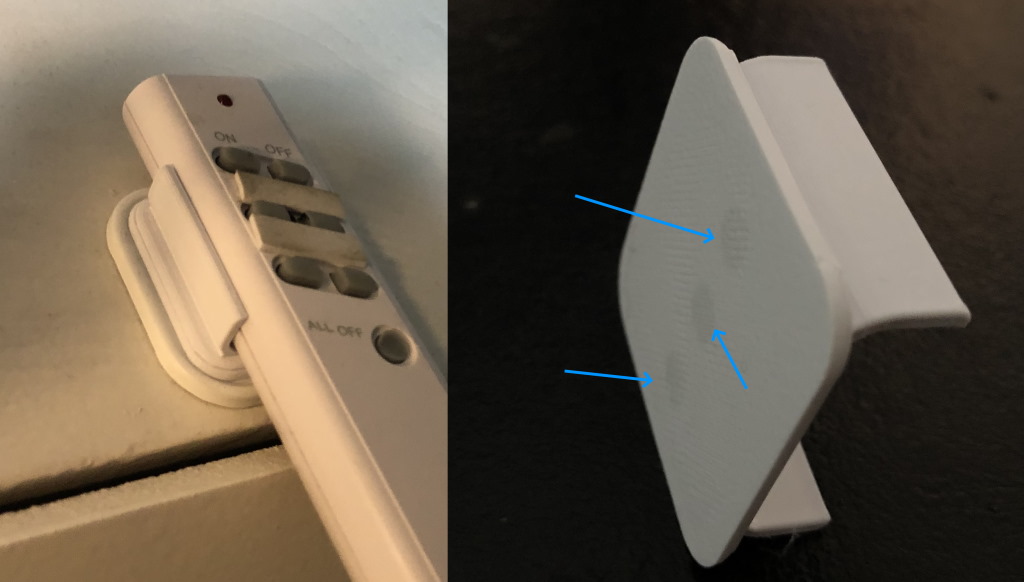 Magnetic holder for a remote control - I paused the print and inserted magnets - then continued the print. Available on Thingiverse.
Printing a AA and AAA battery dispenser at high speed to save printing time. 80mm/s
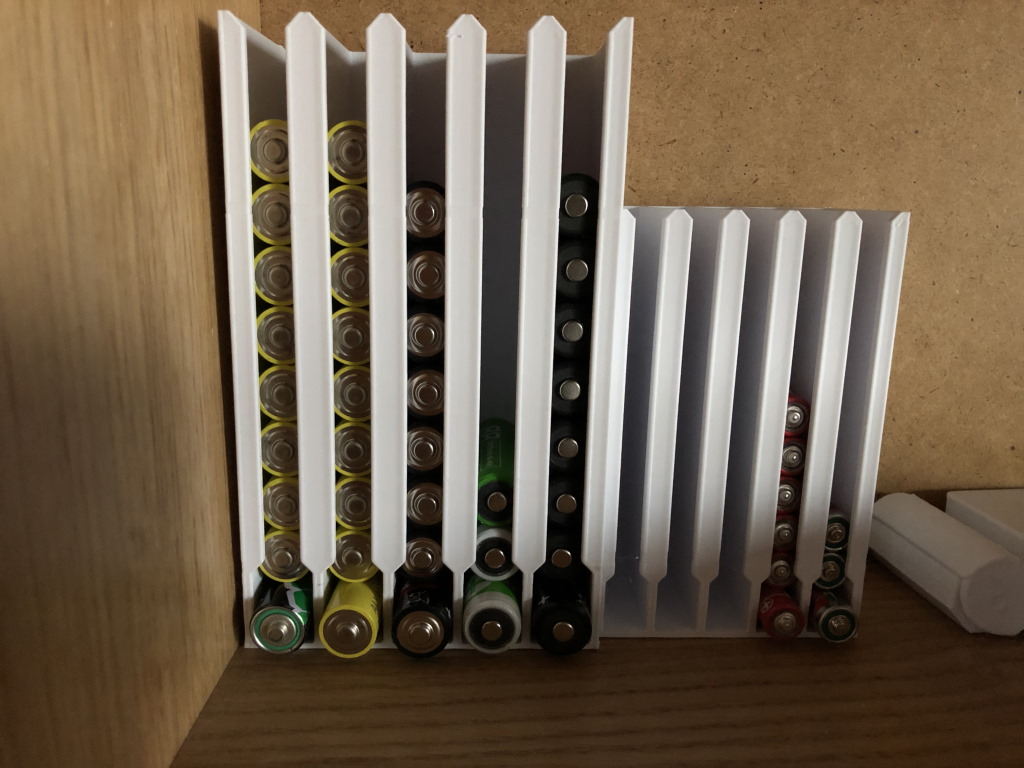 I printed a battery dispenser overnight. I chose to sacrifice looks for printing time - but it still came out very decent.
 A sheep to keep our toilet rolls safe. This composed of three prints, almost spanning the entire printbed: two prints in white eSUN PLA+ and one print in SUNLU PLA+
 Printing a phone holder for my computer screen - so I can use the phone as a webcam. Look at that top layer, how smooth!
TPU prints
Flexible filaments like TPU can also be printed using this printer, albeit at a slower speed. I printed the prints below in 95A SUNLU TPU.
 A plug/stop for the sink in the bathroom
 An angry octopus printed in flexible TPU - I used no infill so it is quite squishy! This printer has handled that overhang quite well.
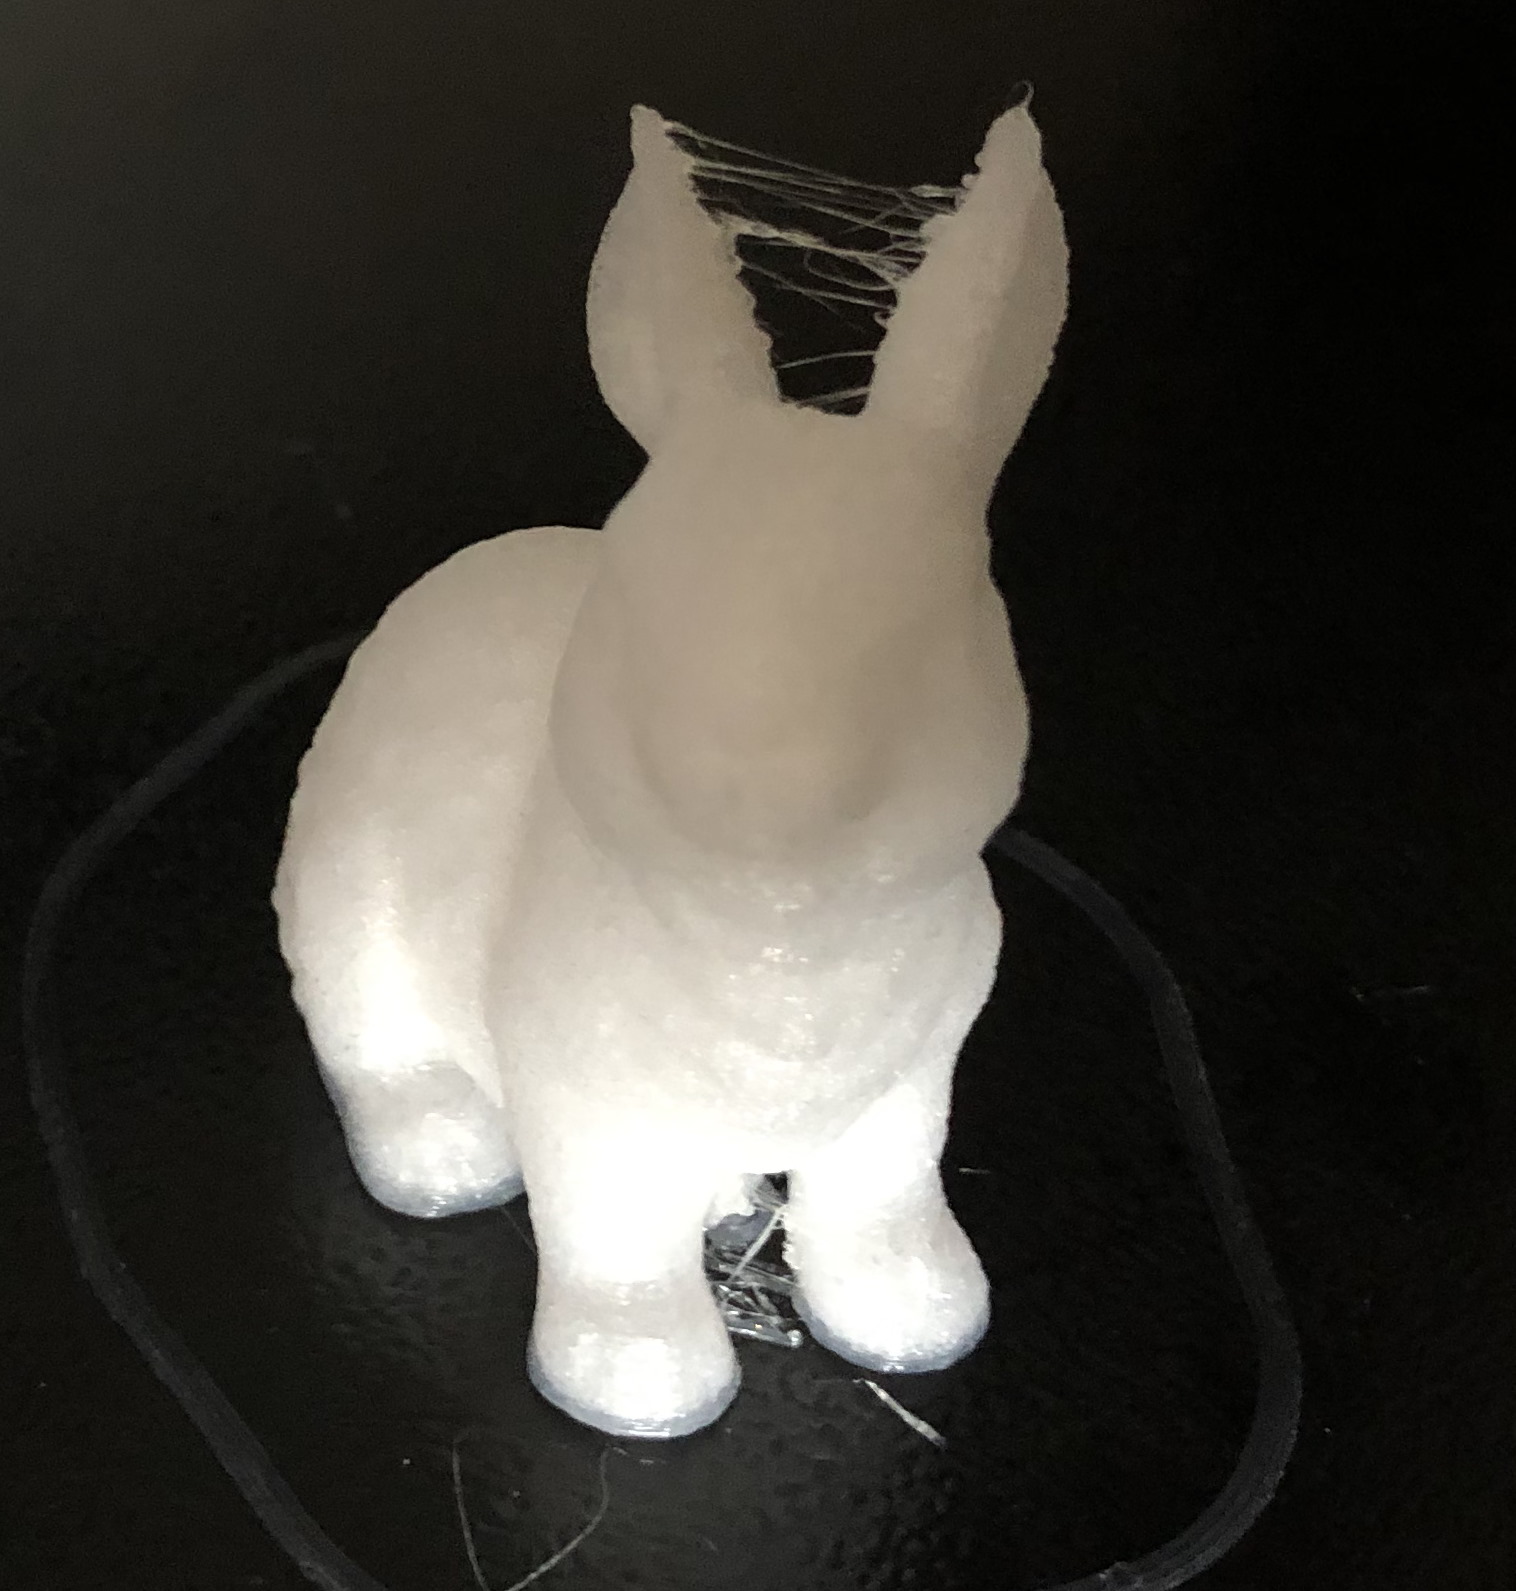 A rabbit in TPU. A bit of stringing between the ears, but I had retractions not tuned in yet. It was also easy to remove this using side cutters.
These are just a handful of prints I made using this printer. I have had almost no print fail, which could not be accounted to mistakes I made with slicer settings.
For the kids…
Some extra prints made in TINMORRY silk copper filament.
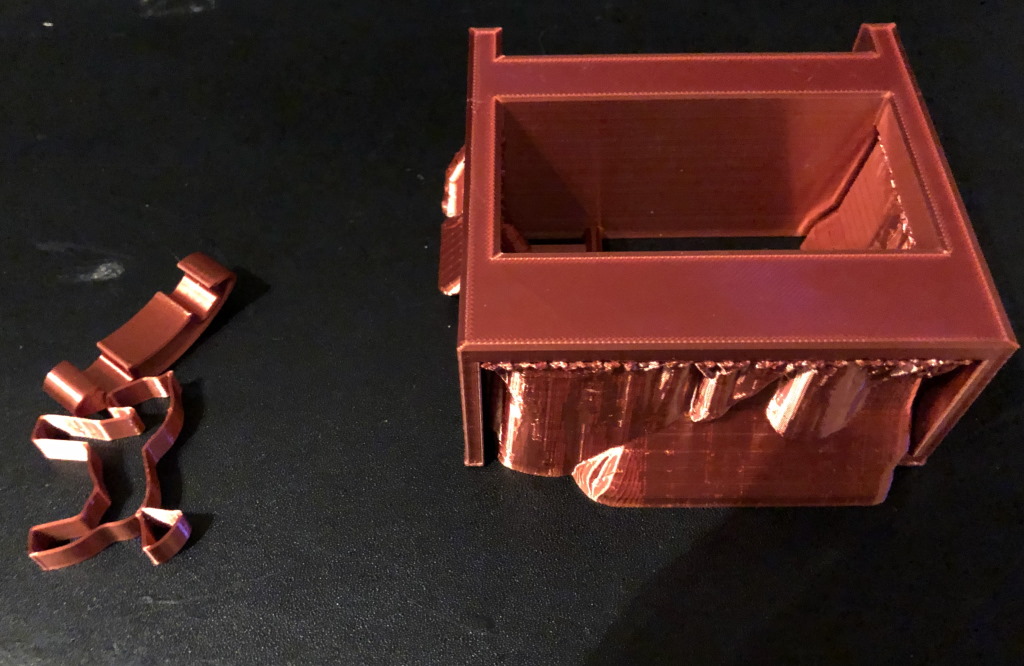 A bed and rocking horse for a doll house. Due to the design of the bed it was impossible to print without supports.
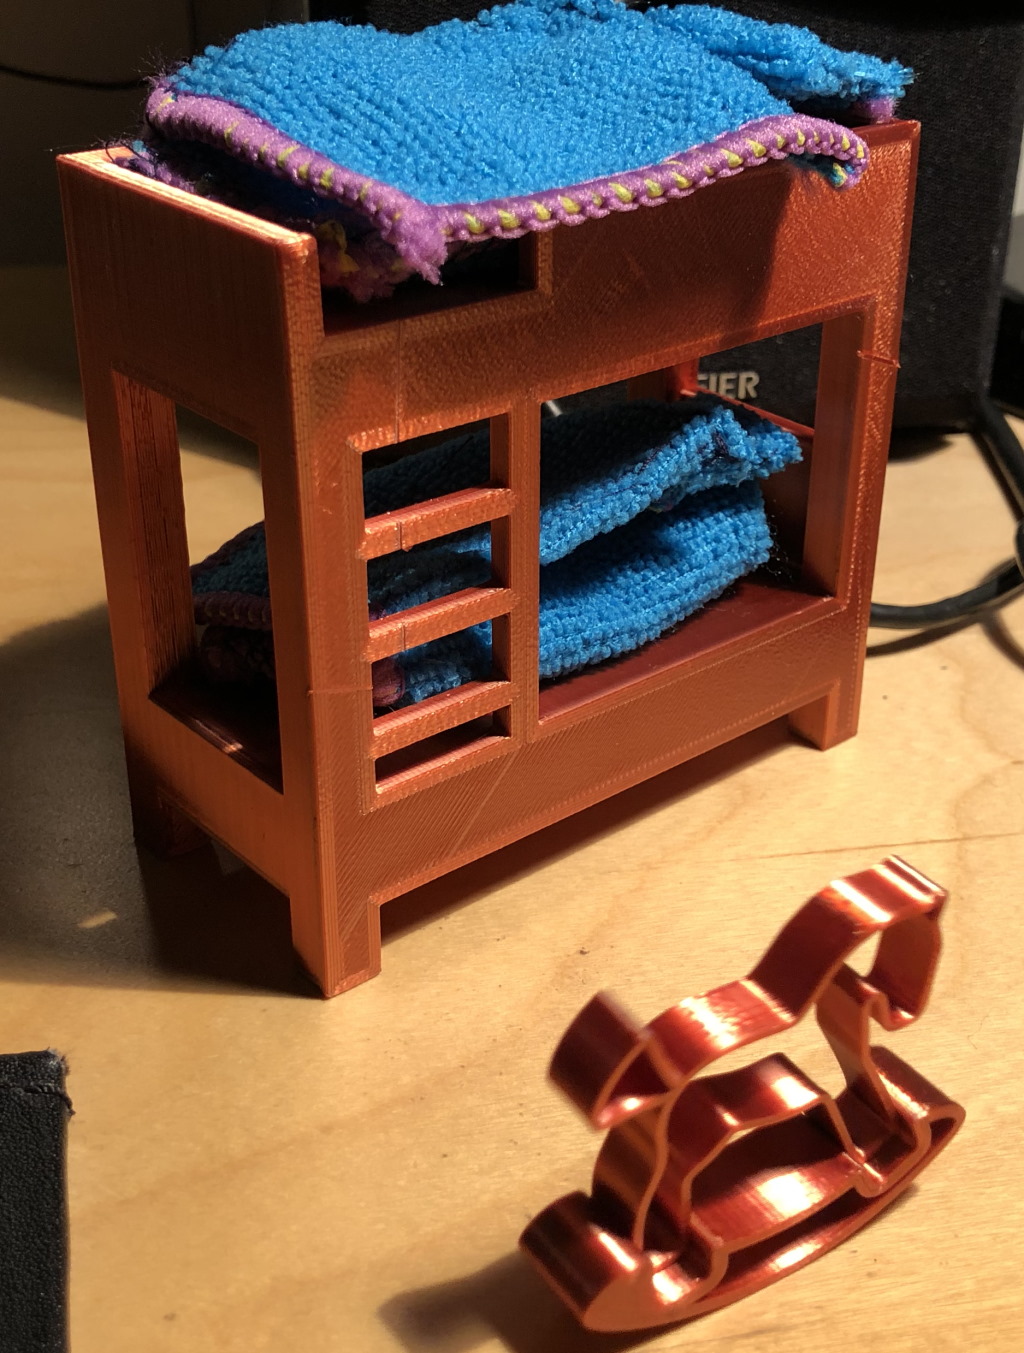 …but after removing supports it came out very nice considering I didn’t tune this filament in yet. The kids are happy with it!
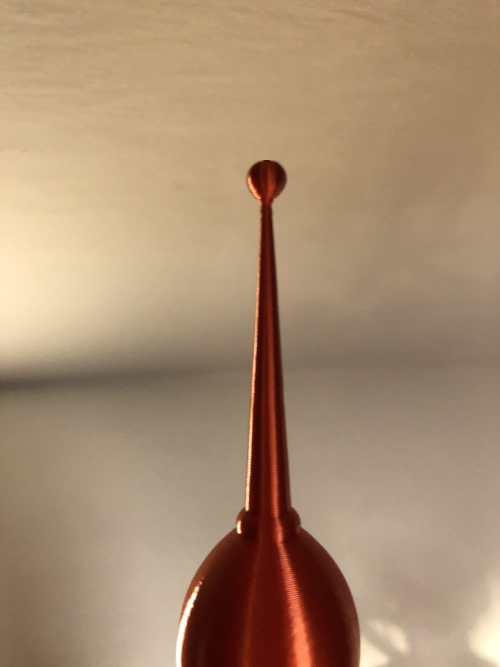
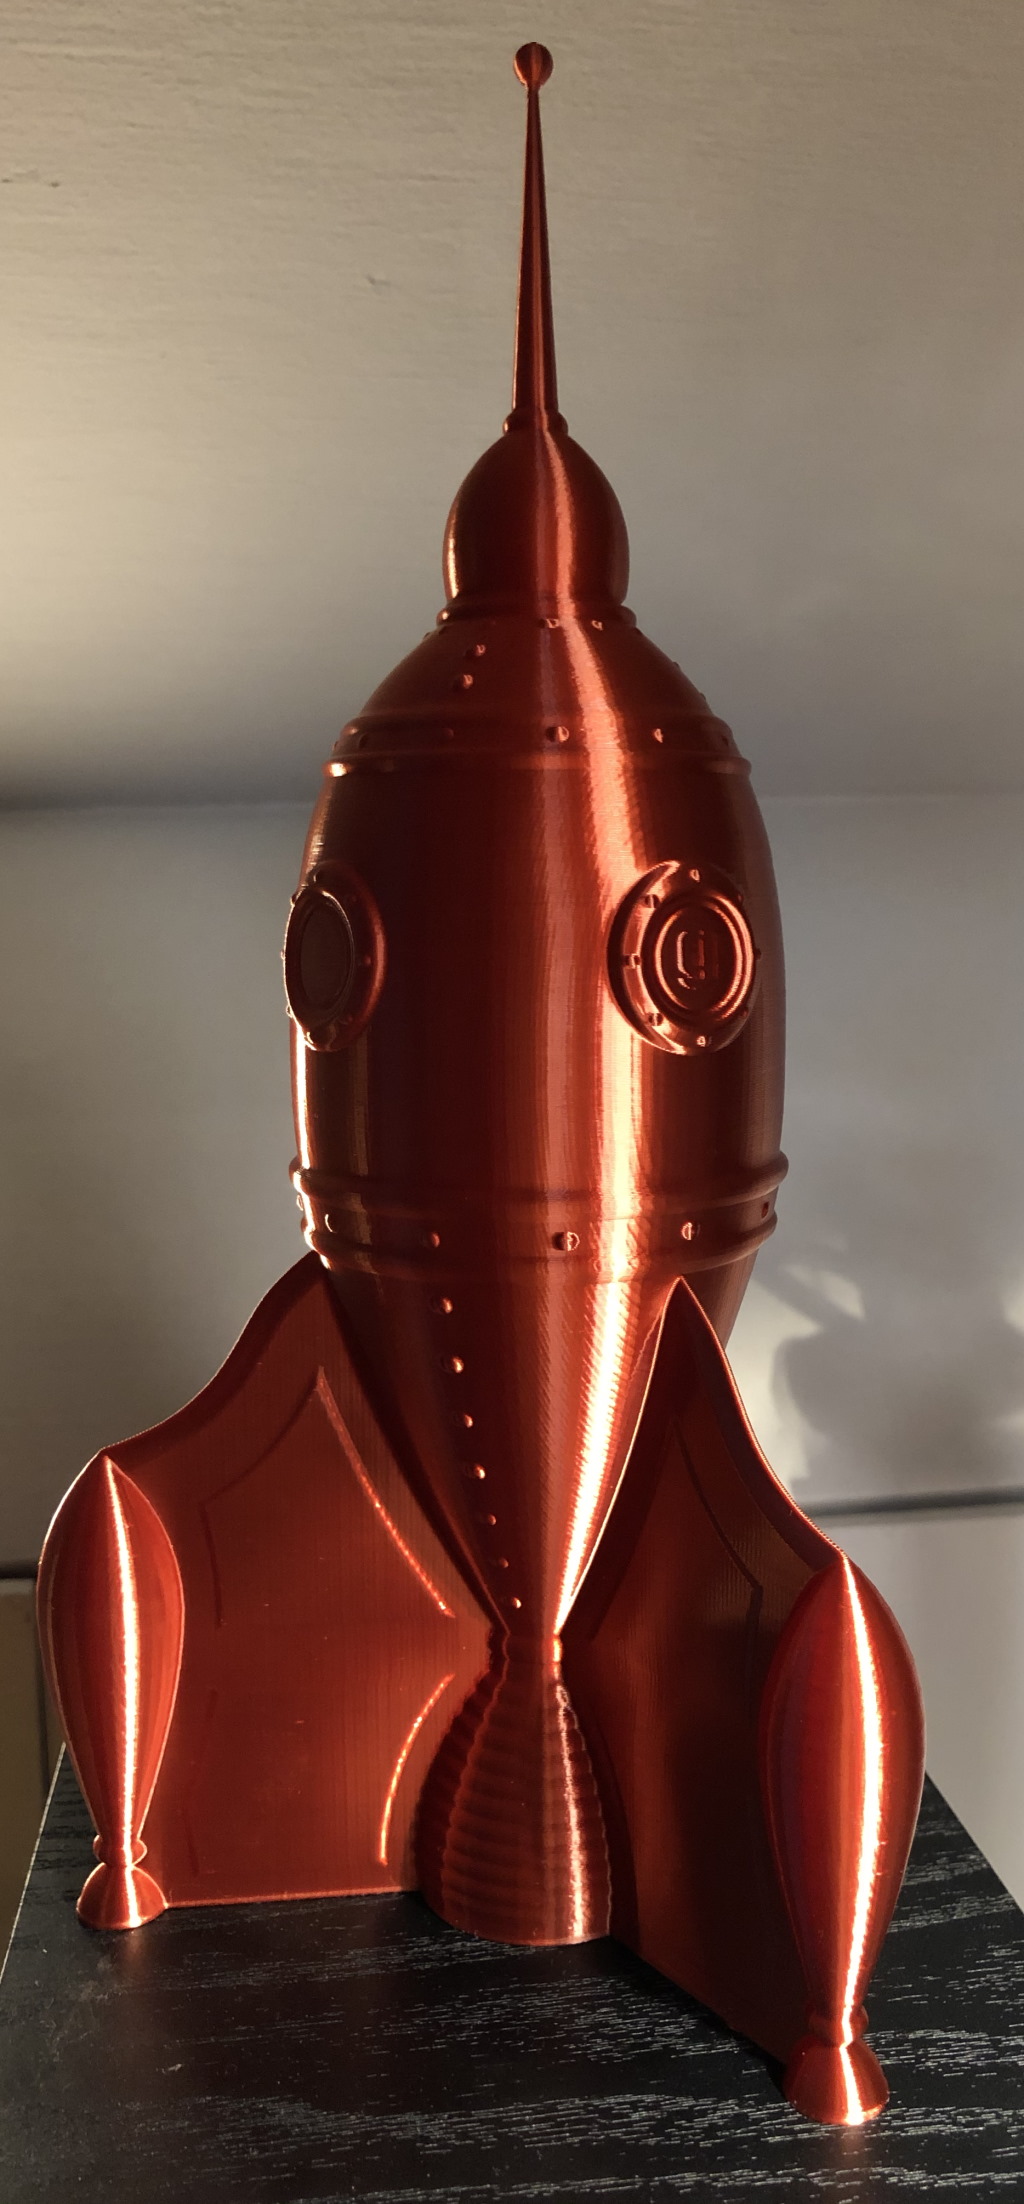 A space-ship printed in vase mode - it came out very clean and looks beautiful. Note how the tip and the little ball at the top came out perfectly due to the good cooling.
A close-up of the tip. Note that it is very sharp, and there are no melting artifacts at all on the tiny shaft leading up to the ball. This was printed at 200 degrees Celcius.
Pros and cons
Based on what I have seen, the pros and cons of this printer:
Pros
- Offers very good print quality right out of the box.
- Very good cooling of prints.
- TPU printing is possible.
- Customizable and easily upgradable.
- First class support for a bed leveling probe like a BLTouch.
- Very low price point.
Cons
- Due to a limitation in the TMC2225 driver of the extruder I was not able to get linear advance working. However, you can upgrade the stepper driver of the extruder easily if you want to use linear advance.
- It doesn’t look as “premium” as some of the more expensive printers - but that only matters if you care about how it looks.
- Manual bed leveling takes a bit to get right - but this can be mitigated by using a BLTouch.
Conclusion
As you have seen, I have made a lot of prints on this printer in less than a month. This printer has been very reliable, and offers nice features like a full color touch screen, open and actively developed firmware, and a very practical build plate. During my time with the printer I’ve had no clogs, no jams, and nearly none build plate adhesion issues (not counting the times I tried to use a too low build plate temperature).
This raises the question: Why would you go for an more expensive bowden-style printer?
For me, the answer is: You wouldn’t. More expensive printers would not offer much more than this printer. The print quality of this printer is fine, you can’t get much better with a bowden style printer. You can print TPU with it, just not so fast. This printer might not look very expensive - but it packs enough features of expensive printers.
If you do have more money to spend, look for a direct drive printer (for instance the BIQU BX), which offers better retraction and faster TPU printing. But if you don’t want to spend €500 euro’s or more, stop here at this printer. Don’t go for an Ender 3, or anything else. This printer offers out of the box good quality - and if you want anything else, you can easily buy upgrades like new stepper motors, stepper drivers, linear rails or whatever you require. But a good start is this printer.
The less money you spend on a printer, the more money you keep in your pocket for actual printing. And I assume, printing is what you want to do with a printer. 😉 And this printer is cheap, and it prints and it prints well.
What’s next?
That’s it for this review. The next article will be a comparison between the Creality CR-6 SE and this printer - since I have now both printers to play with.
What are your thoughts?