Bondtech LGX extruder: First impressions and installation on the Creality CR-10 Smart (also CR-6)
The Creality CR-10 Smart shares many components with the Creality CR-6, including the new plastic extruder that locks open or closed. However, this extruder is not without its issues. Some users have shown that the unit may crack over time, and being a single-geared extruder without any gear ratio it has little resistance against issues in the filament path. I want to minimize that chance large prints fail due to extrusion issues, so I purchased the new Bondtech Large Gears Extruder (LGX). Let’s look how to install it as a Bowden extruder! This guide applies to both the Creality CR-10 Smart and Creality CR-6 since they share the same design.
The Bondtech LGX is a successor to the well-known Bondtech BMG extruder. The main differences is that it is designed to be light and suitable for a direct drive, but also has much larger gears that are supposed to have better grip on the filament. Filament loading should also be easier compared to the BMG extruder, where you need to hold the extruder open and resist the force of the strong spring.
 The Bondtech LGX comes in a non-bleached, non-coated cardboard box. They make a point of this, but that makes me wonder: why don’t they change the packaging of their other older products as well?
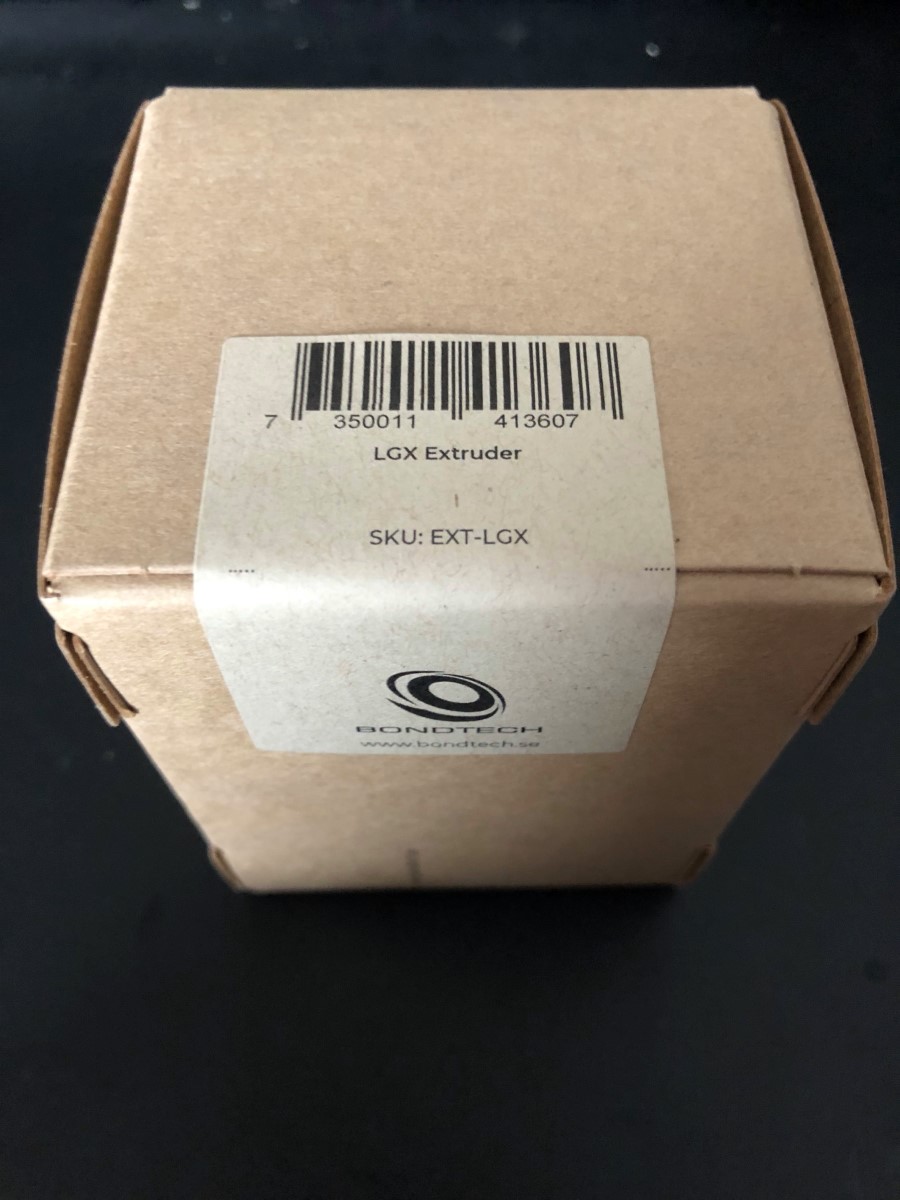 The LGX box is sealed.
Unpacking
What you find in the box is:
- The LGX itself, already mounted to a custom 25mm pancake stepper motor (note: possibly they are not purchased separately)
- A Bowden interface adapter
- A Direct Drive interface adapter (mounted)
- 2mm allen key
- A basic information bronchure
- A branding sticker
There are also some additional accessories:
- Hex screws that allow for additional mounting points on the stepper motor
- Long M3x30mm screws to allow mounting with a metal plate (like on the CR-6/CR-10 Smart) sandwiched between stepper motor and extruder
- A PTFE tube for use with the direct drive
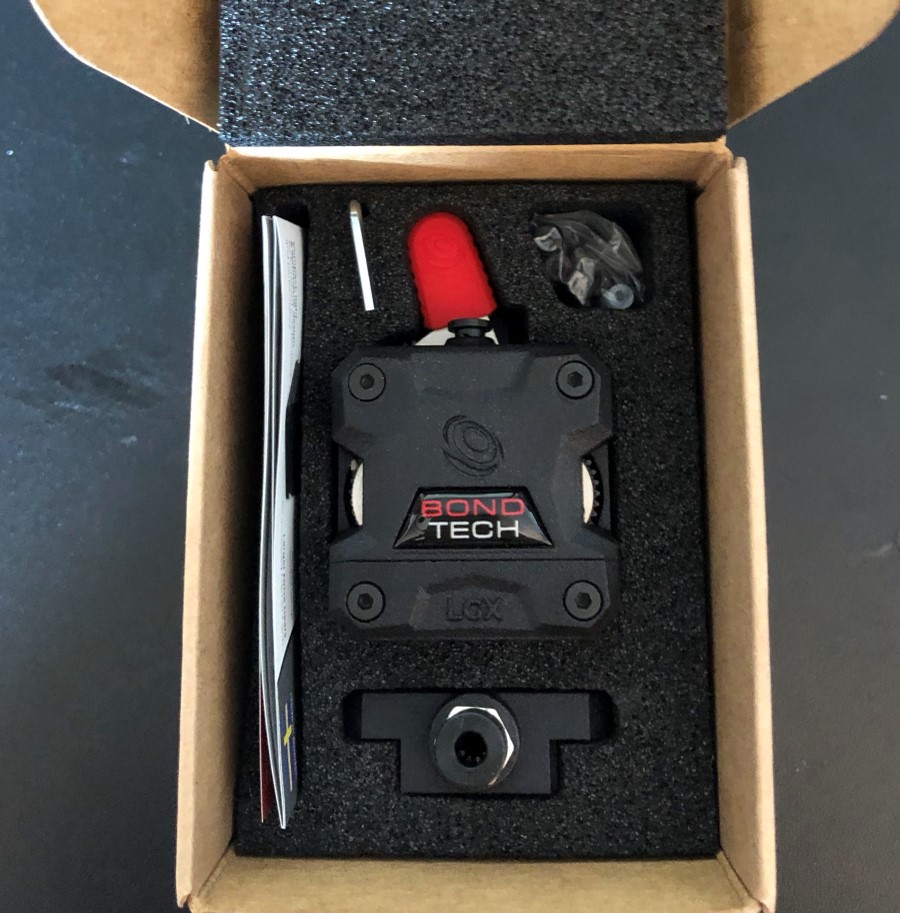 Nicely packaged, with plenty of (non-recyclable) foam to protect each part.
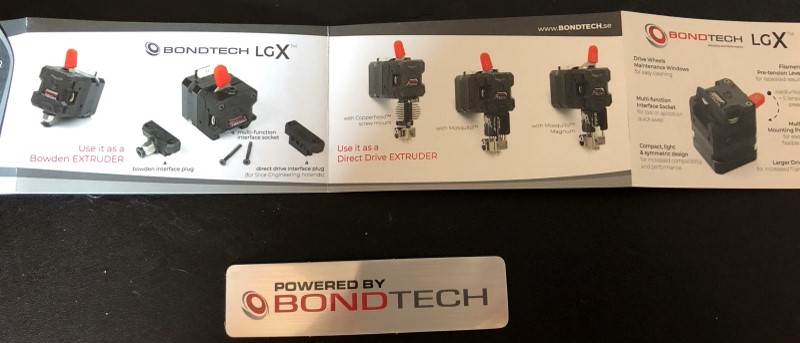 The product bronchure shows how it can be used with both Slice Engineering Mosquito hot-ends and as a regular Bowden extruder
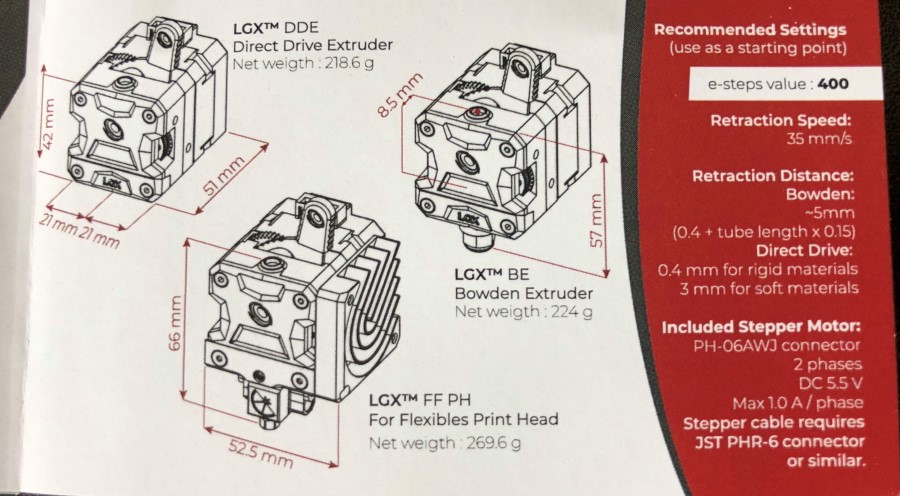 Some recommended settings are given for both direct drive and Bowden setups. A e-steps of 400 is given with further calibration recommended.
There is a strong warning on the stepper motor: 1A current maximum. On boards where the stepper motor current isn’t adjustable by the firmware (like on Creality stock boards, which run the steppers always too hot), you need to adjust the vref to prevent stepper motor damage.
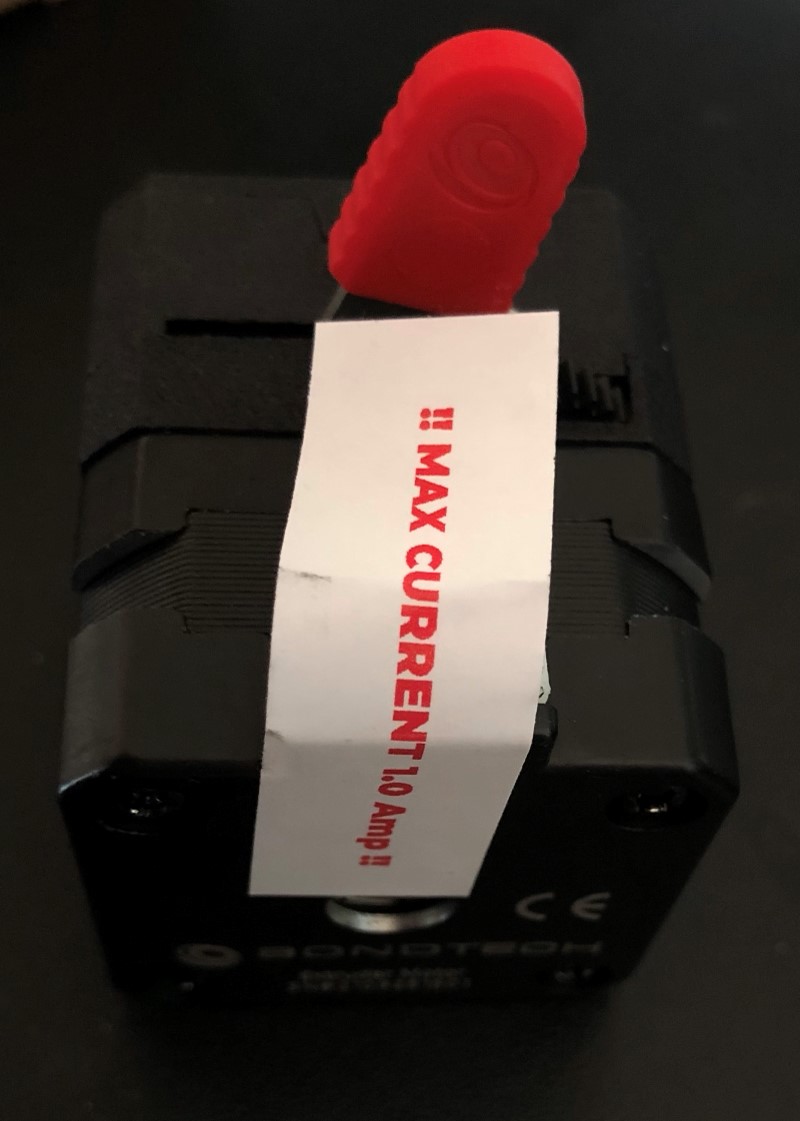 The LGX itself features a strong warning: “Maximum current 1 ampere!”
Installation
First disassemble the current extruder. Be careful when unscrewing the last screws, so that the heavy stepper motor does not fall.
Untension the LGX. If it is untensioned, you can put a piece of 1.75mm filament through it without resistance.
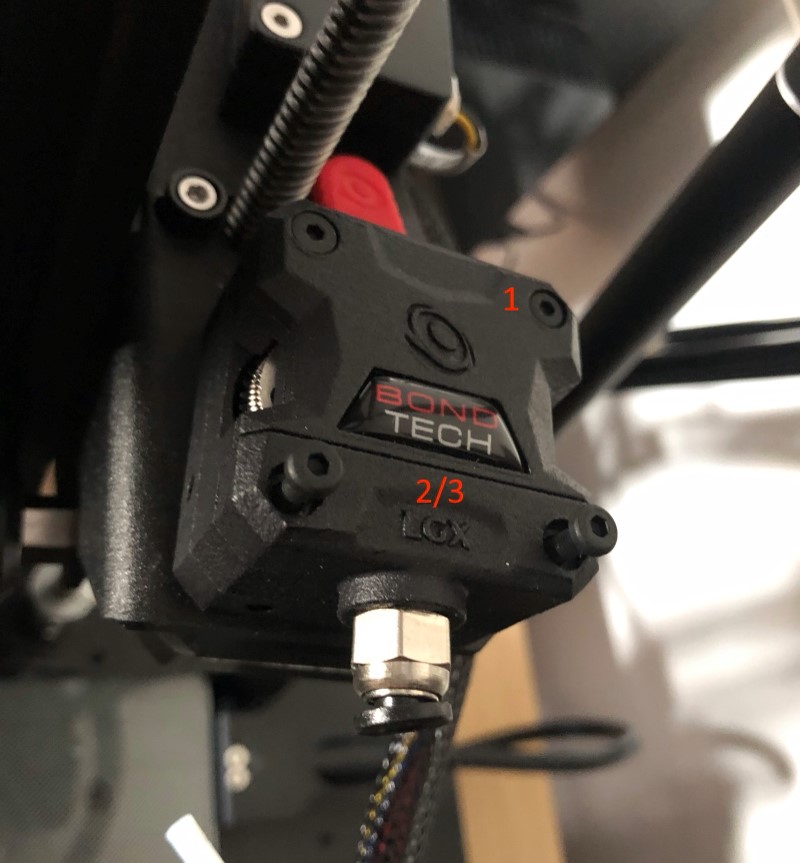
Next, unscrew the bottom two screws that hold the direct drive adapter in place. Remove the direct drive adapter, but don’t replace it with the Bowden adapter just yet. Also take out the screw at the top right.
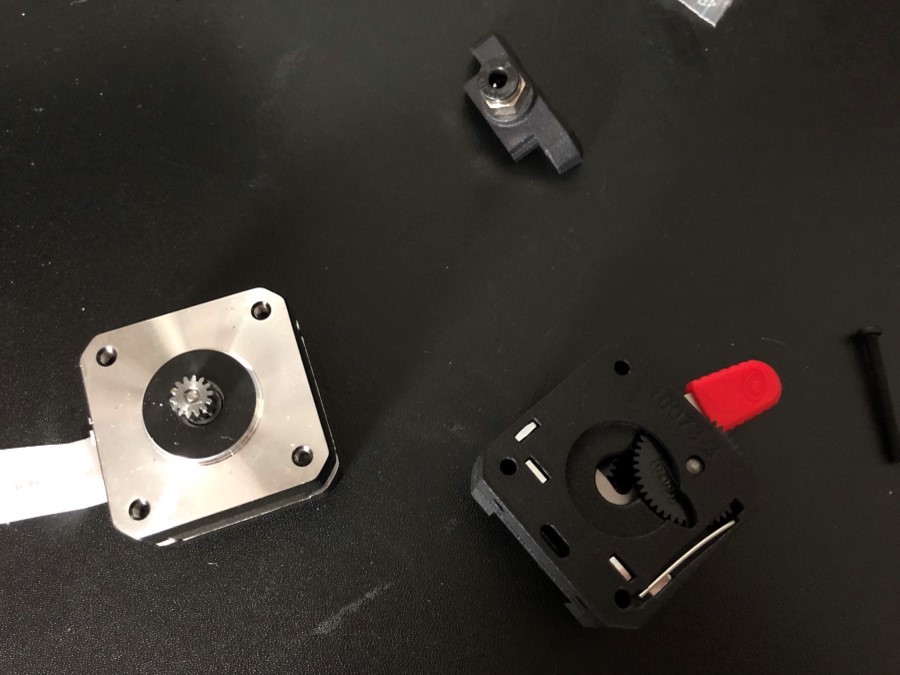 The stepper motor is held in place with three screws.
Carefully hold the plastic part that touches the stepper motor, and slide it carefully from the stepper motor.
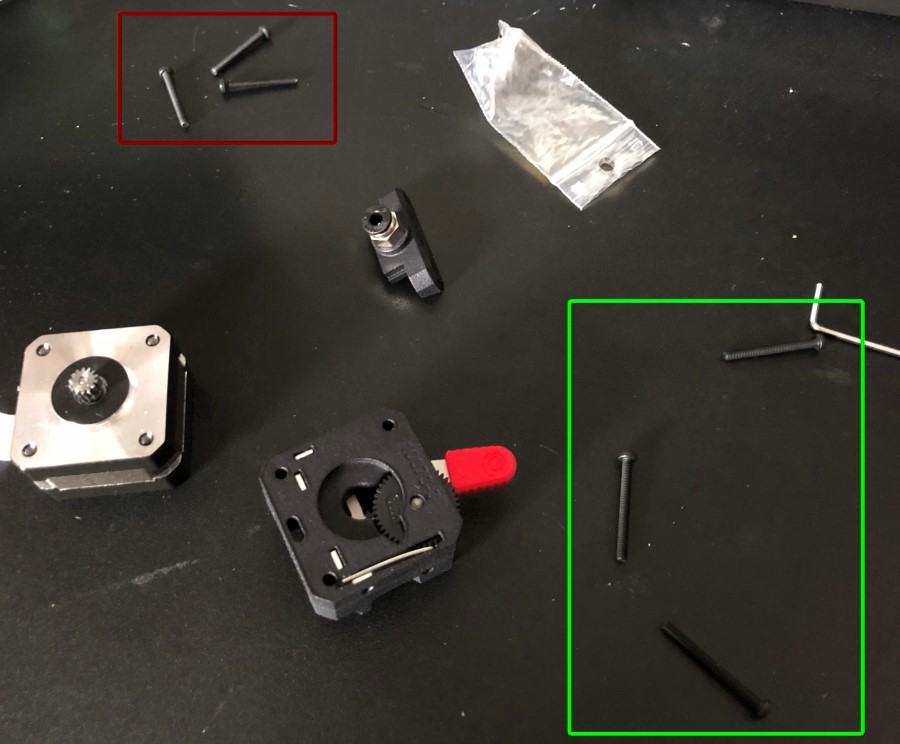 There are two sets of screws included. Make sure you have the longer ones (M3x30).
While Bondtech recommends to prefer an installation with the LGX and stepper together without metal plate between, I’ve found this significantly decreases the Z-height of the printer. For this reason we’re going to sandwich the metal plate of the original extruder between the LGX and the stepper motor.
 By first installing one screw, then the other two, you ensure the stepper motor does not fall to the ground.
There is one more step to take: swap the pins of the stepper motor. You’Il find otherwise that the stepper motor is unable to turn.
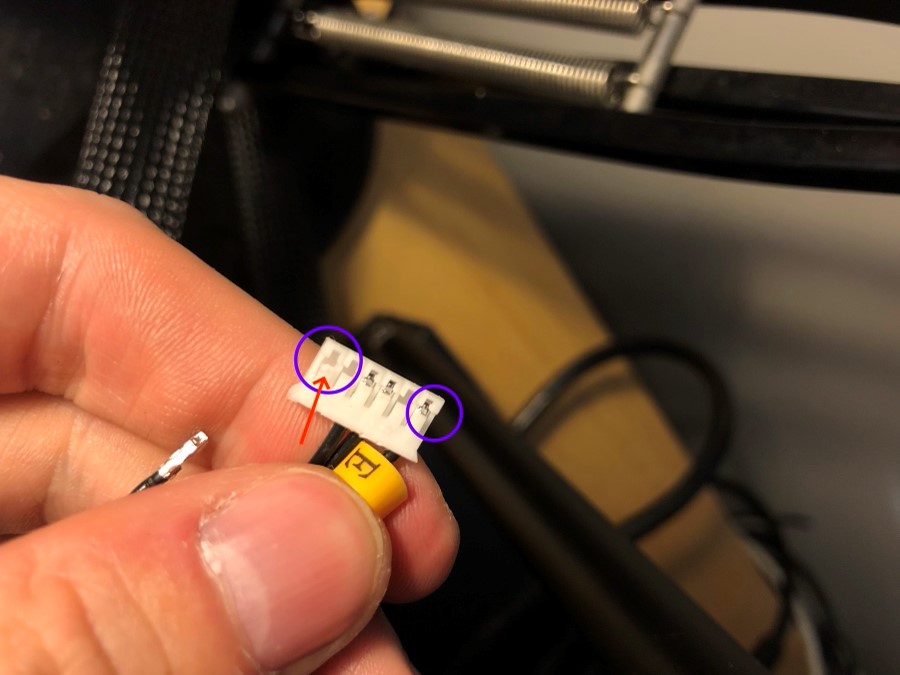 Swap the marked wires. To slide the connector out: Lift the plastic tab marked by the orange arrow.
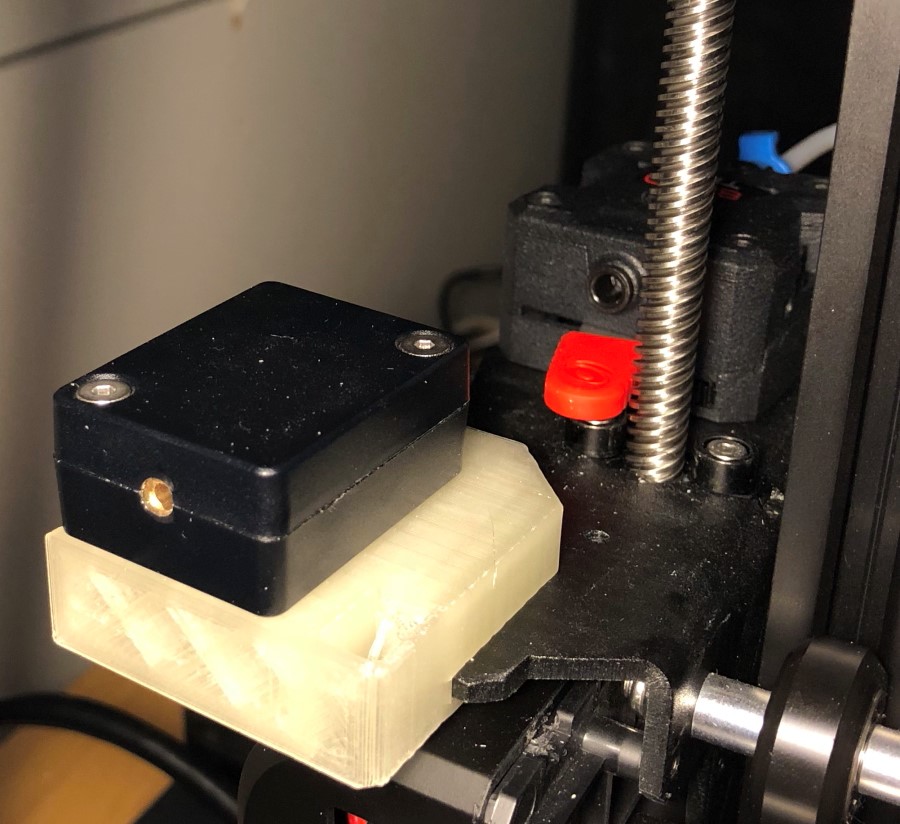
To allow easier swapping of filament, I recommend to print and install this filament sensor platform so the filament sensor is on the same level as the Bondtech LGX.
 That’s it - it is finally installed!
Finally, ensure that the correct steps/mm are set in the firmware:
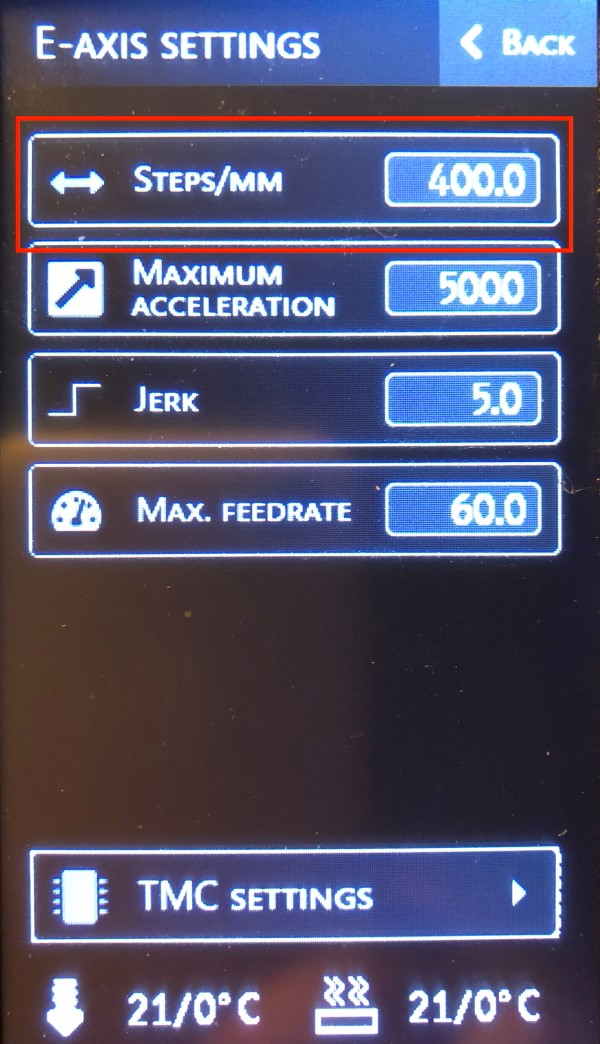 You can do it either through the menu or through gcode M92 E400
You might want to recalibrate it later with the built-in e-step calibration in the firmware.
Summary and conclusion
My initial impressions of the Bondtech LGX are good, it feels like a reliable product. I did my first test prints
I can also see why Bondtech recommends to keep the stepper motor and extruder together: the way it is mounted, it is very difficult - if not impossible - to access the manual feed gear.
Happy printing!
What are your thoughts?