Filament review: Creality HP-PLA 3D printer filament - Creality stepping up their filament game?
Creality does not only manufacture 3D printers, they have also sell and produce filament. With both of my CR-6 printers I got a roll of white Creality filament. Although this filament hasn’t been successful for everyone, I liked it very much. Creality has asked me to review a new line of filament they’re bringing to the market: Creality HP-PLA 3D printer filament. Is this filament any good? Let’s take a closer look!
Creality HP-PLA
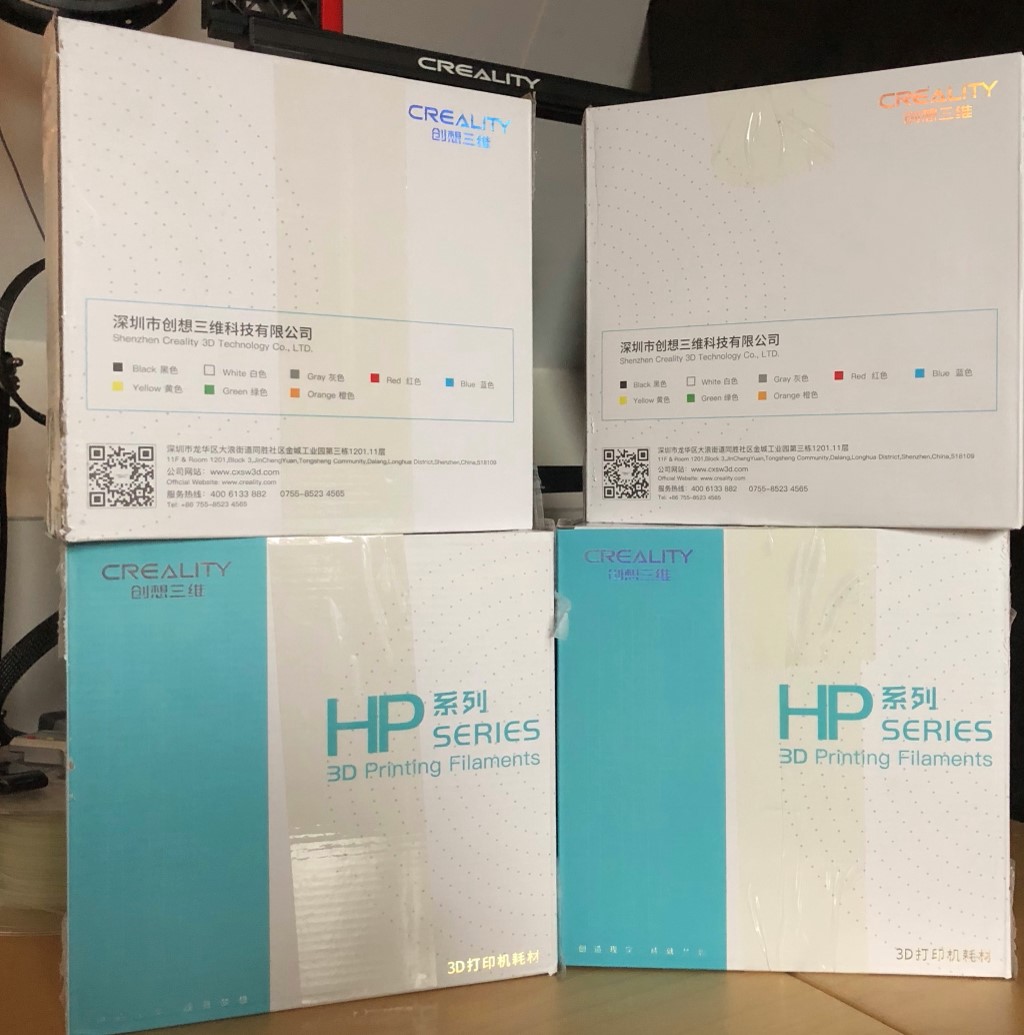 Creality filament comes in a cardboard box. I received four rolls of 1KG each: Rose red, black, gray and white.
“HP PLA” stands for High Performance PLA. Creality detailed on their website the features they want to distinguish this filament with:
- No warping
- Precision
- Strength
- Supports are easy to remove
It currently sells for 30 dollars from a local EU warehouse.
Packaging
Creality PLA comes in a standard cardboard box, with a QR code pointing to a (for me unreachable) website. Within you find a resealable plastic bag with the filament within. The plastic bag appears to have been vacuum sealed, but the vacuum seal isn’t very strong. There is also a bag of desiccant inside to keep the filament dry during transport. The desiccant can be reused when you store the spool of filament later.
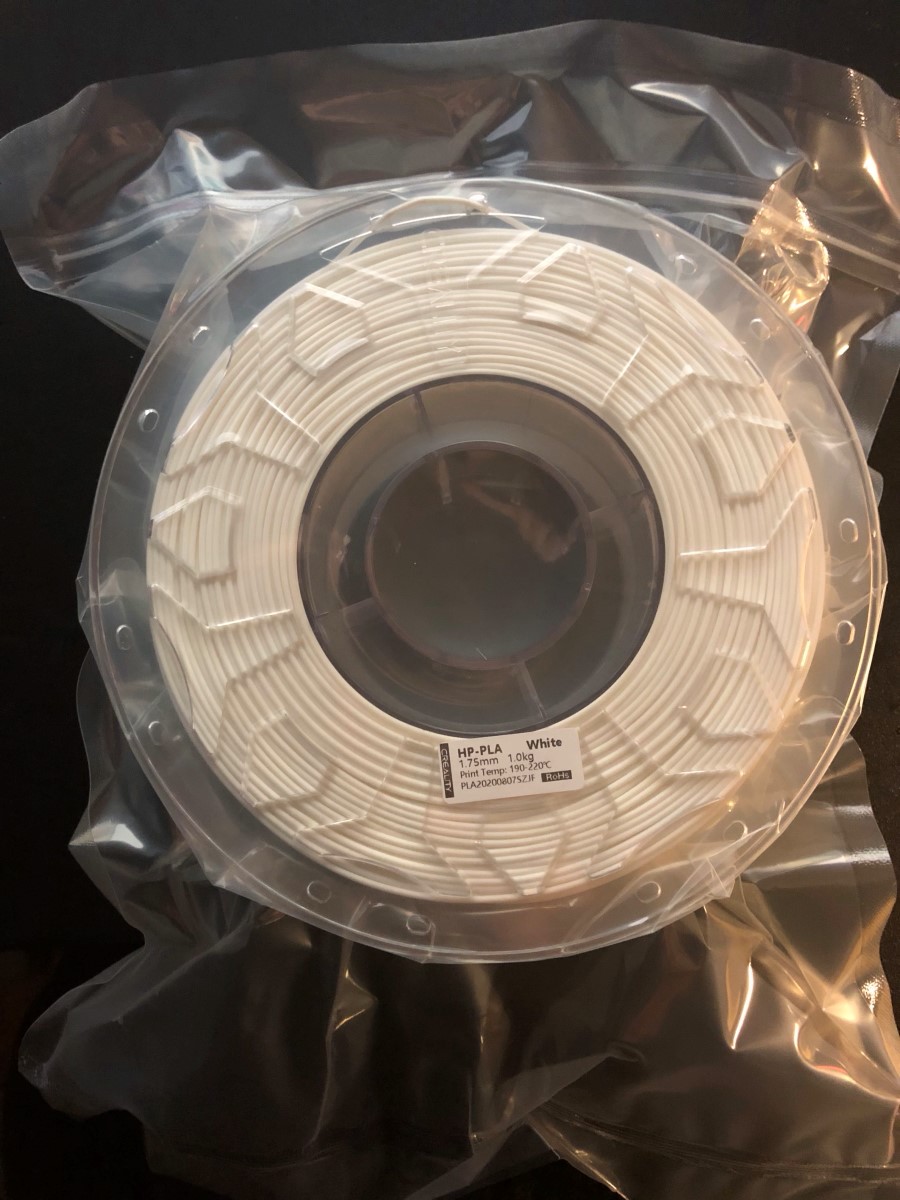
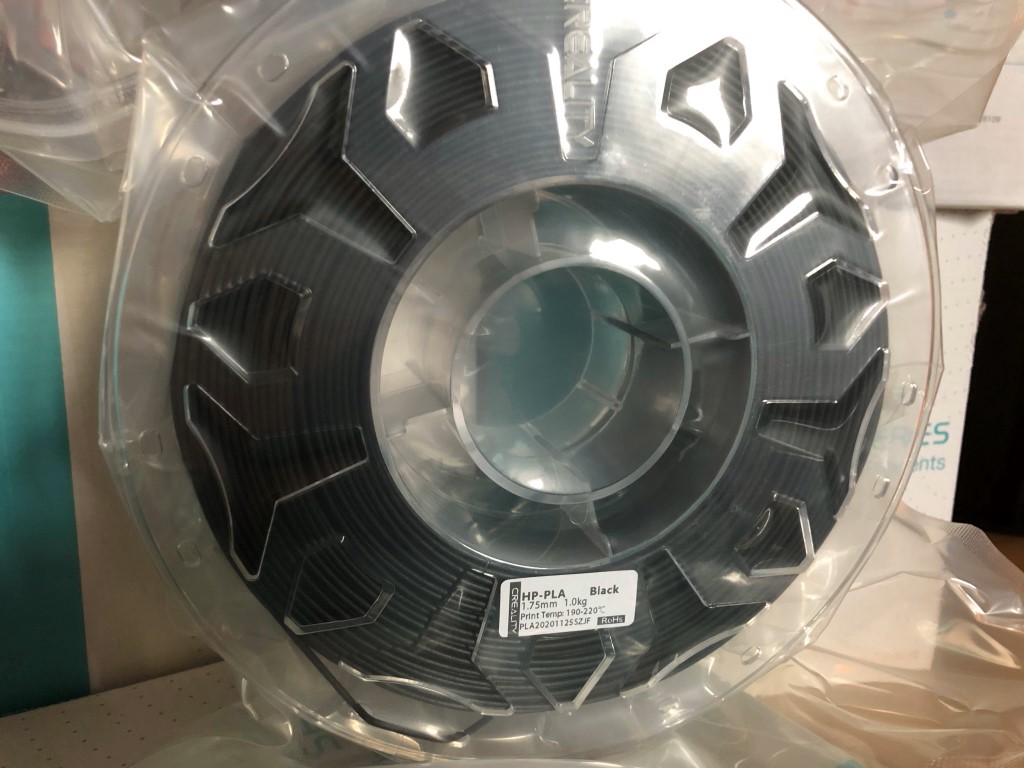 The spool states the color of filament and recommended printing temperatures. Creality recommends a temperature between 190-220C.
 The strip that supports resealing the bag can be seen at the top.
Spool
I always have some attention for the spool. Some brands, like SUNLU, have spools that are more cumbersome to use because there are only two holes in the spool to stick the filament in. I also find the reusability (master spool) or recyclability (cardboard) of importance.
The Creality HP-PLA comes on a standard, non-reusable, non-recyclable spool. However, the plastic of the spool is quite thin and there are holes in the plastic so the amount of plastic waste is minimized. It is not as well as a spool of Prusa, but better than some of the competition.
In terms of usability, the spool does well: all around the spool there are holes where you can stick filament in. The spool is transparent, so you can see how much filament is left. There are no weight marks on the filament spool, so exactly knowing how much is left is not possible.
Prints
I made several prints using this filament. Let’s go check it out!
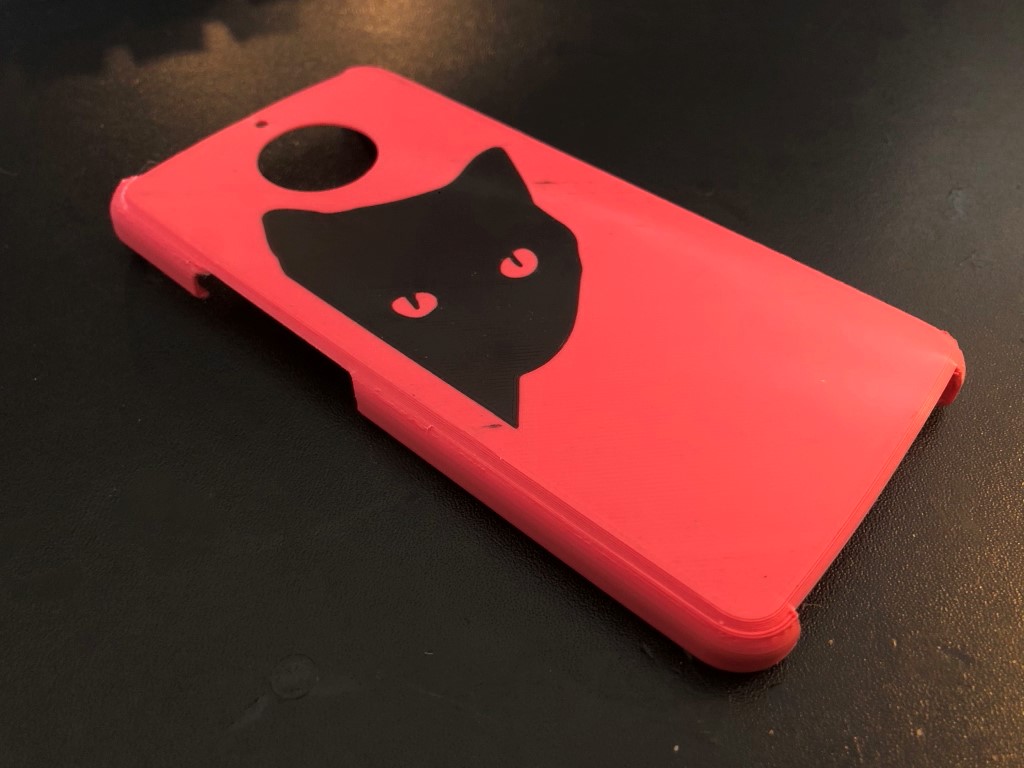
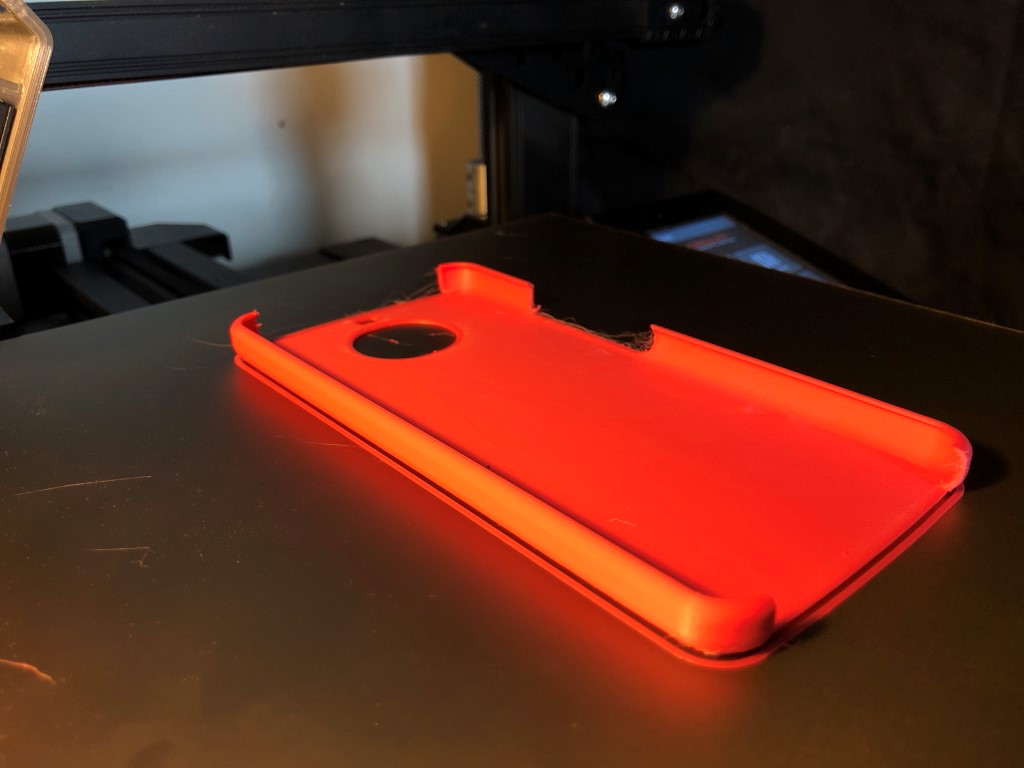
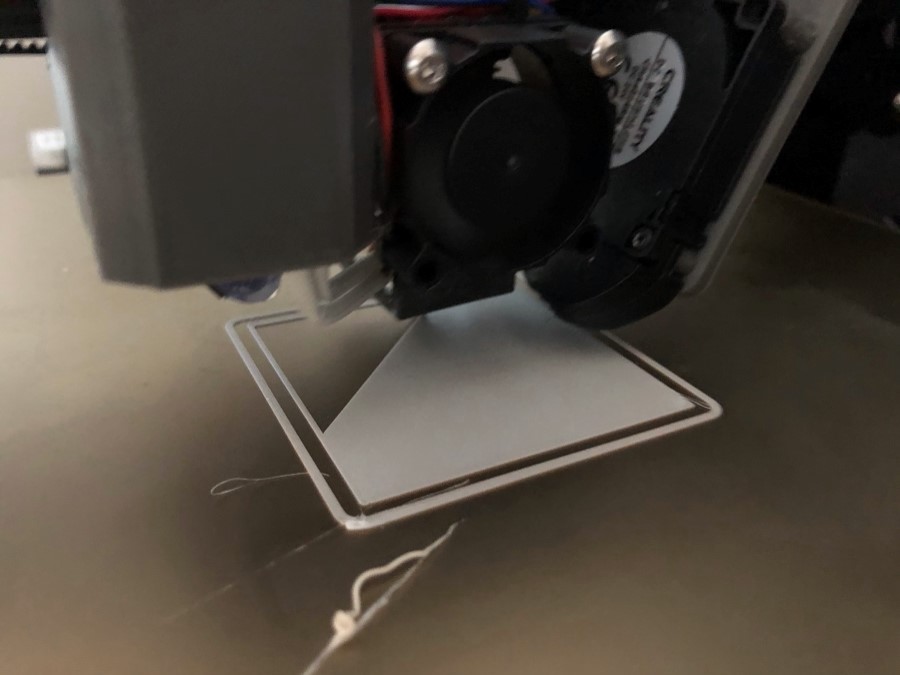
Mobile phone bumper
Using a M600 filament swap, I designed and printed a bumper for the mobile phone (Moto G5S Plus) of my wife.
 The corner looks a bit rough - temperature too high?
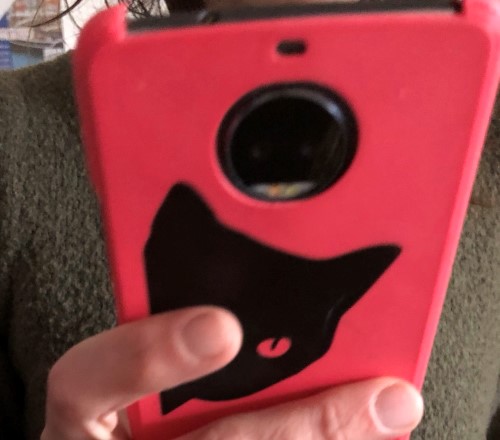
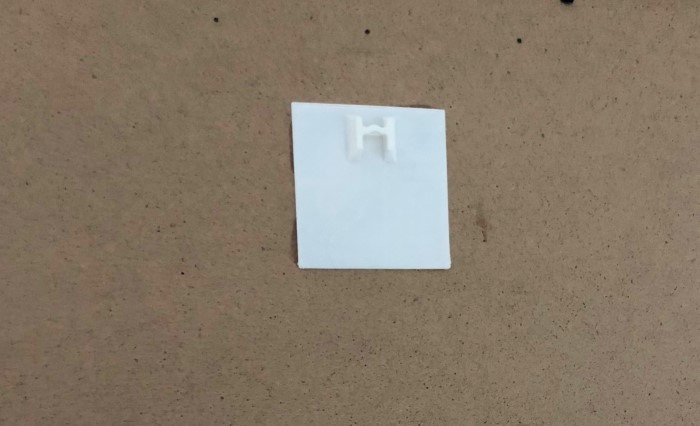
 Second attempt was better, and she loves the end result. Note a bit of stringing happening here
One thing that stands out with this filament: The perfect smooth finish. Where are the layer lines?
 In use
Stanford bunny
Both a retraction test and overhang test: the stanford bunny but as a wire frame. I might want to print this on a resin printer instead, but here we go…
 Laying down the bottom surface. Excellen adhesion, also thanks to the flexible Energetic PEI build plate
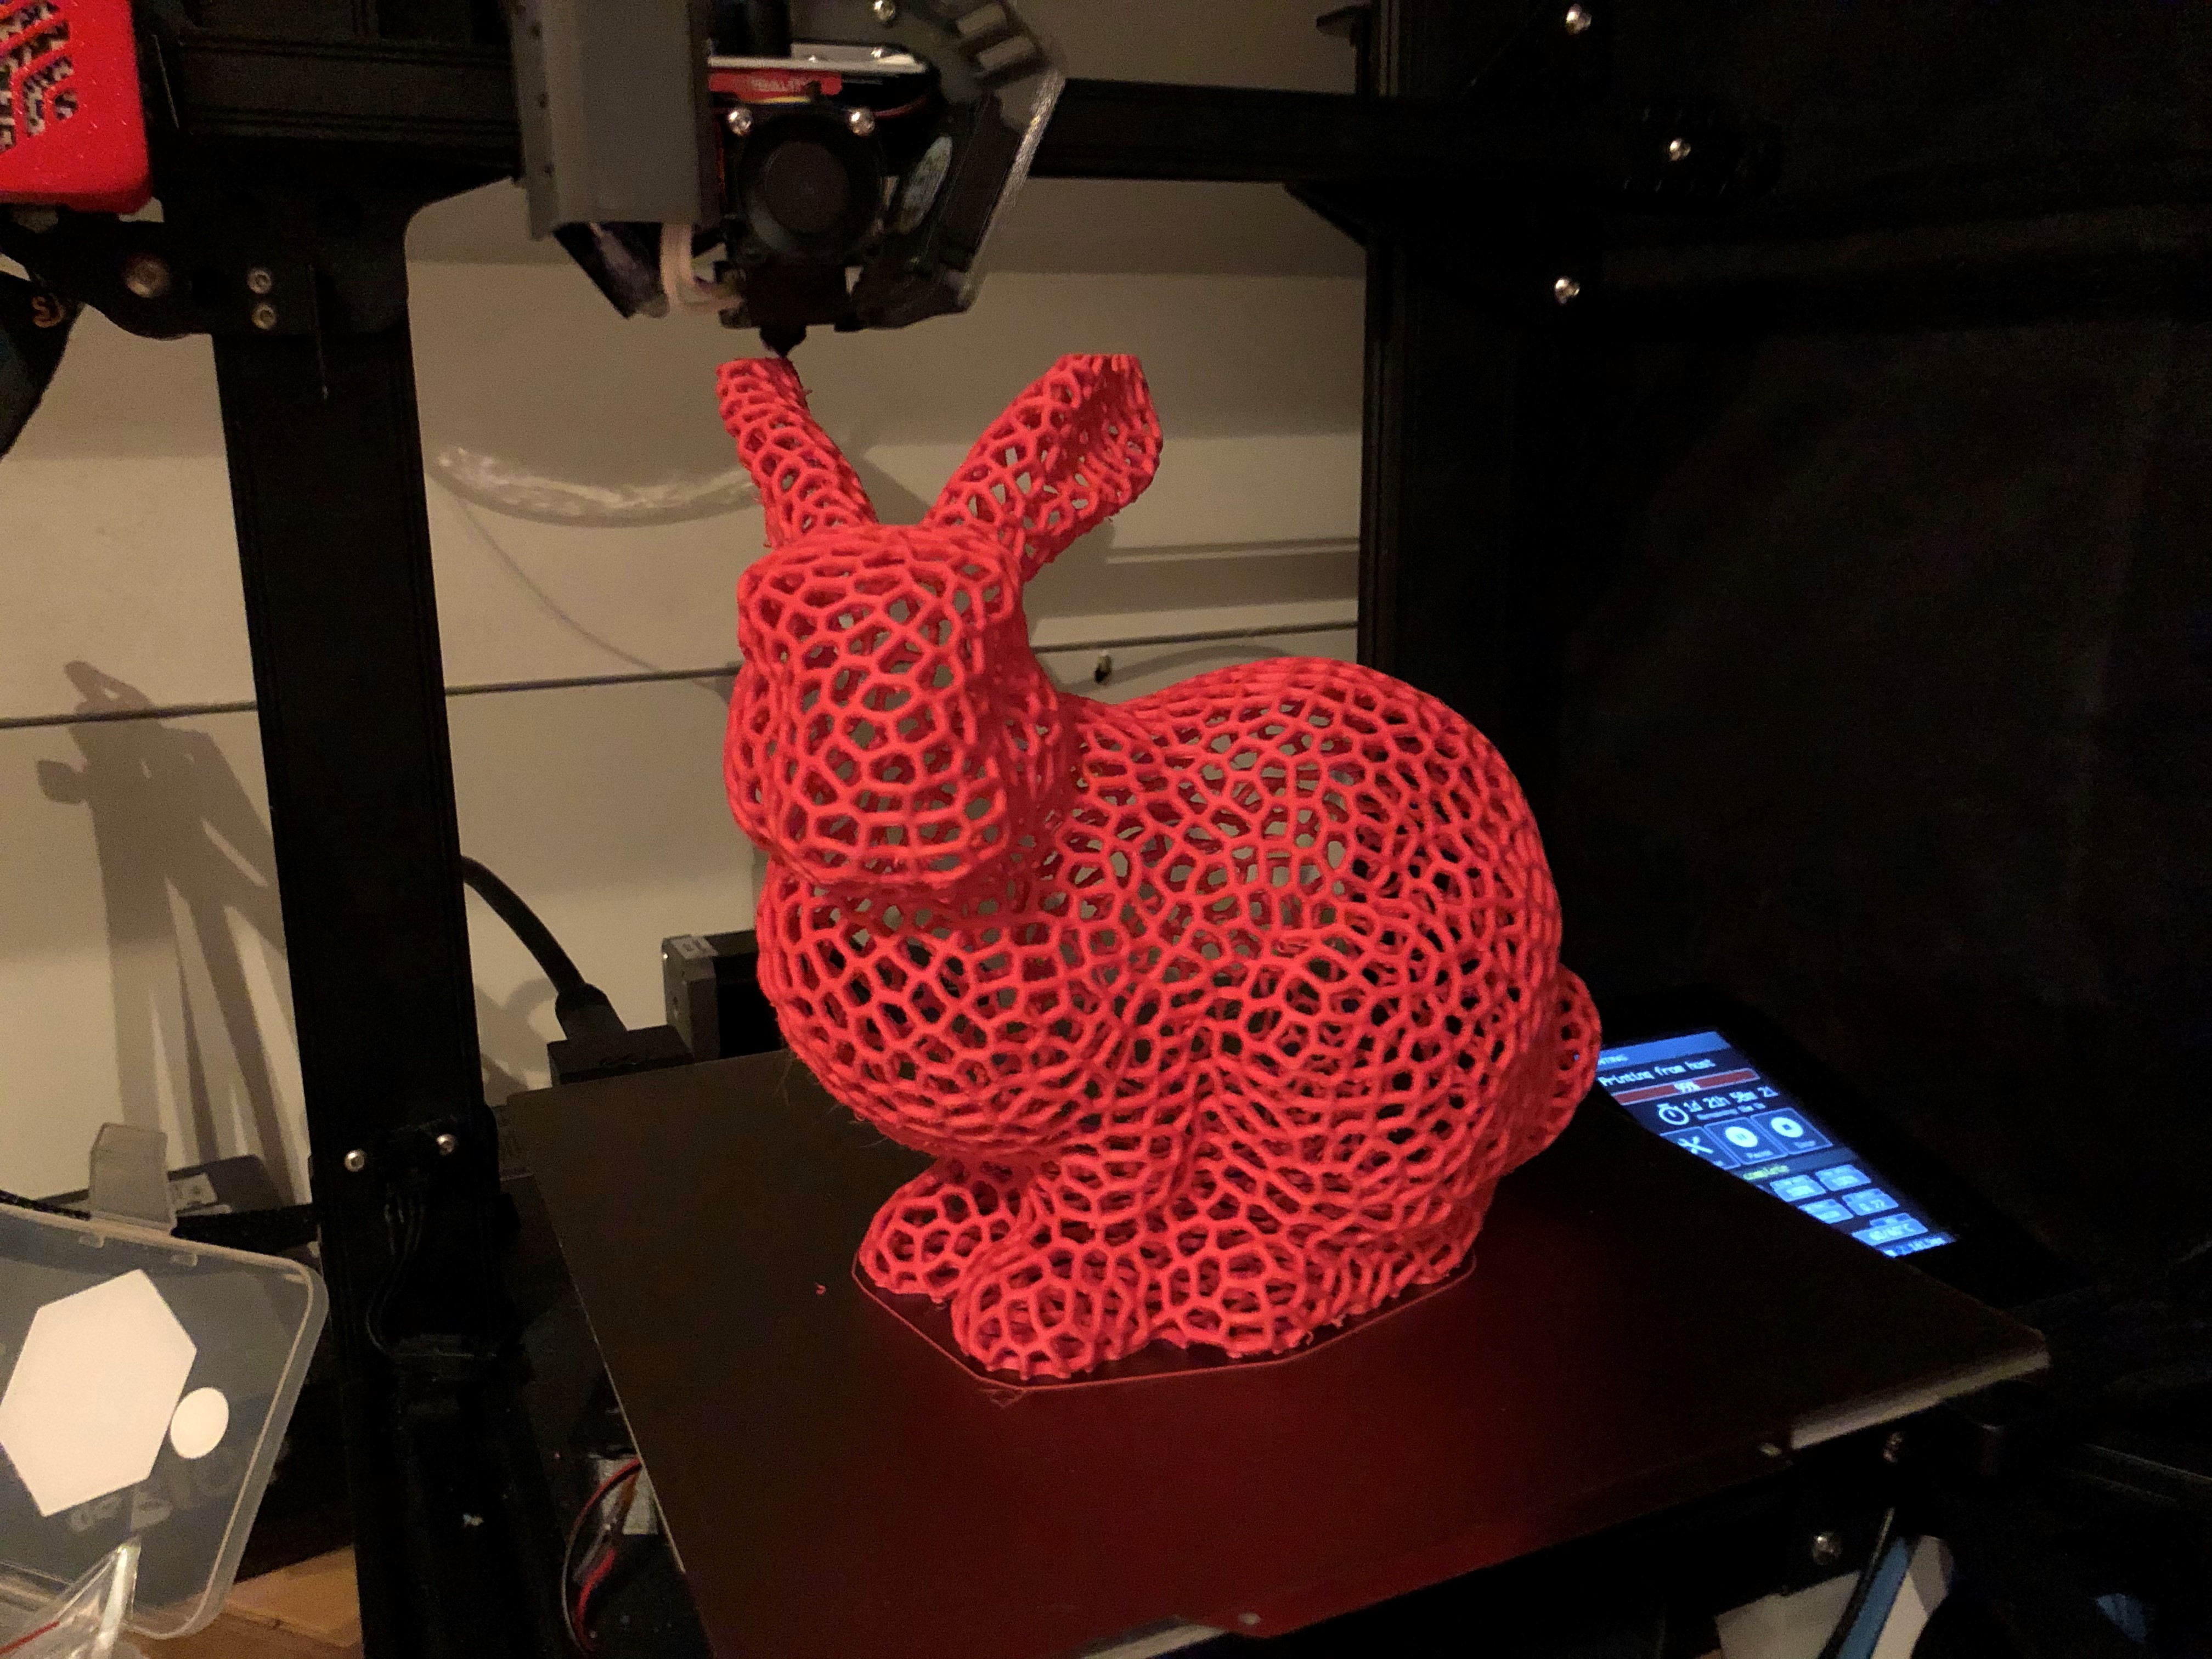 Bunny completed. A bit of droop here and there, and also some stringing. I lowered print temperatures to 213C and that got rid of it
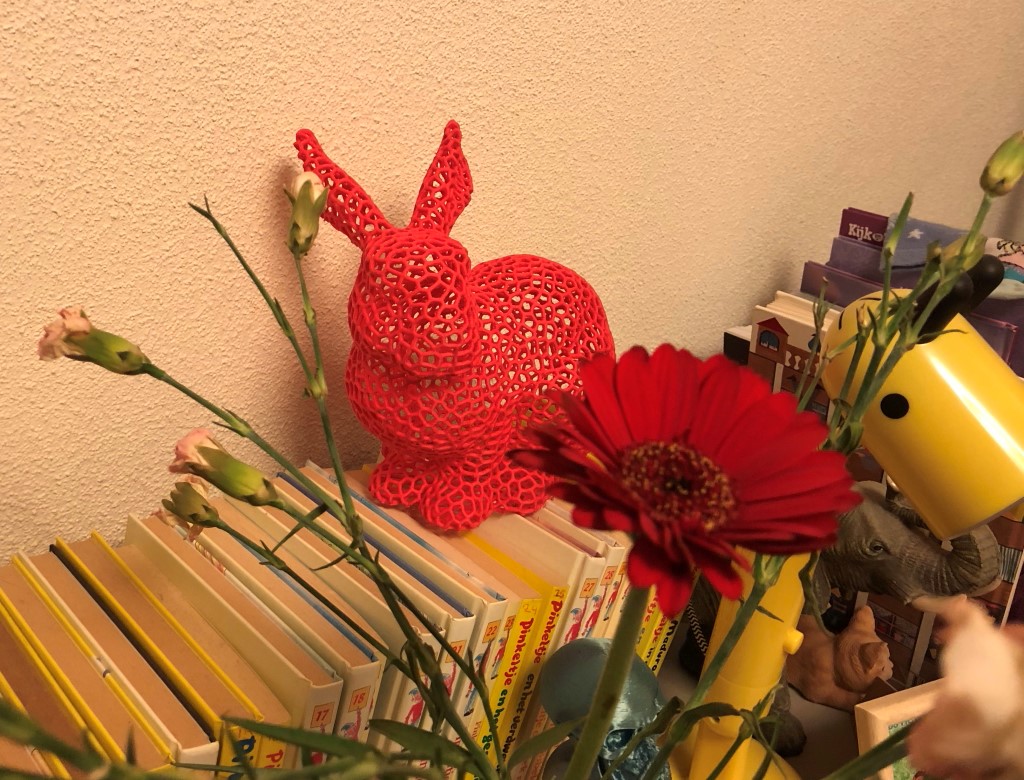 In its final location
Don’t forget to brush your teeth!
I printed a nice cup for toothbrushes. No stringing here, and a very nice smooth finish. Once again, no layer lines.
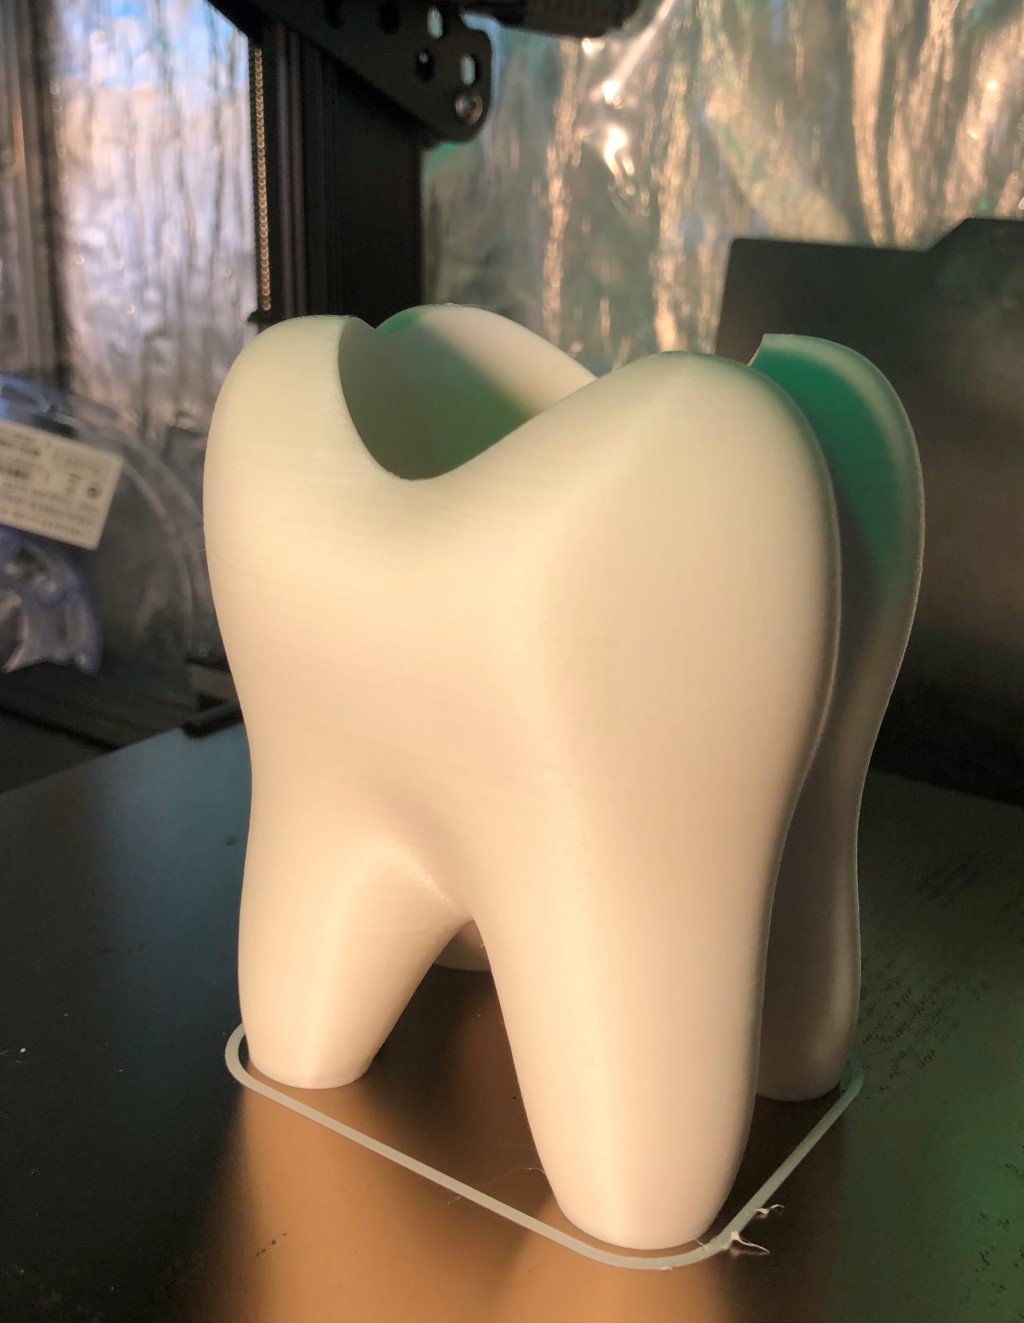 Printed on the plain steel side of the Creality PEI plate, 3dlac for adhesion
I did have some Z-banding issues with this print, but I believe this due to this particular CR-6 SE printer: I don’t have have Z-banding with my other CR-6 SE.
Later I found out this was a PID tuning problem. Interesting fact though: Not with all filaments this Z-banding issue turned up at this degree.
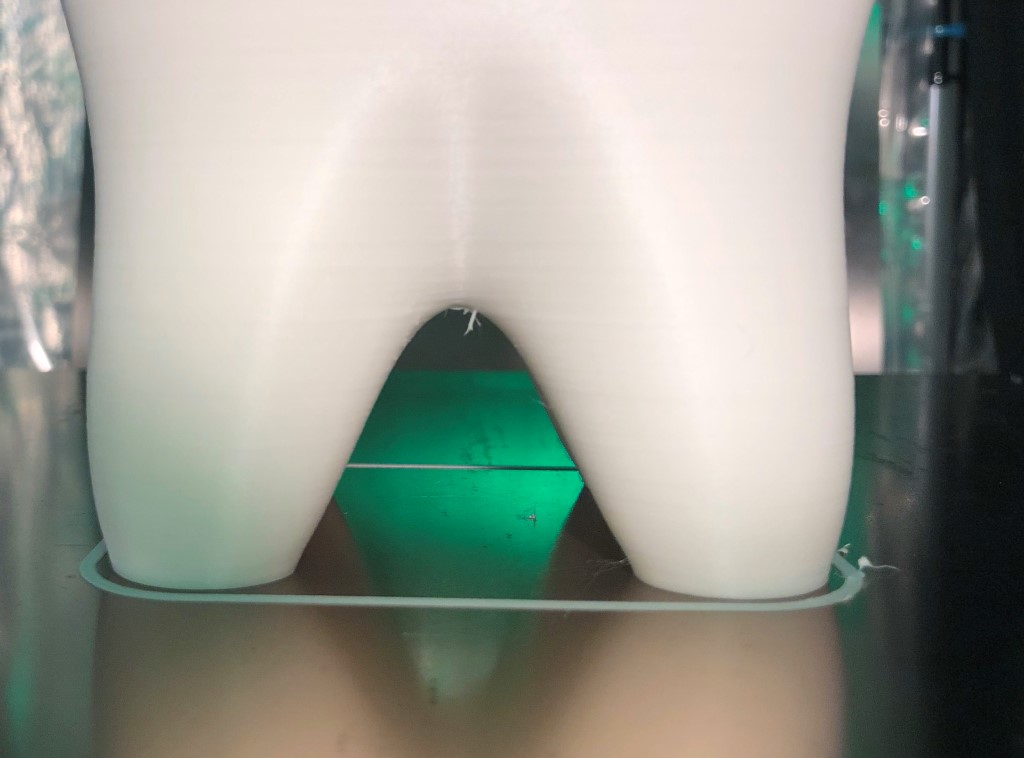 A tiny bit of droop there
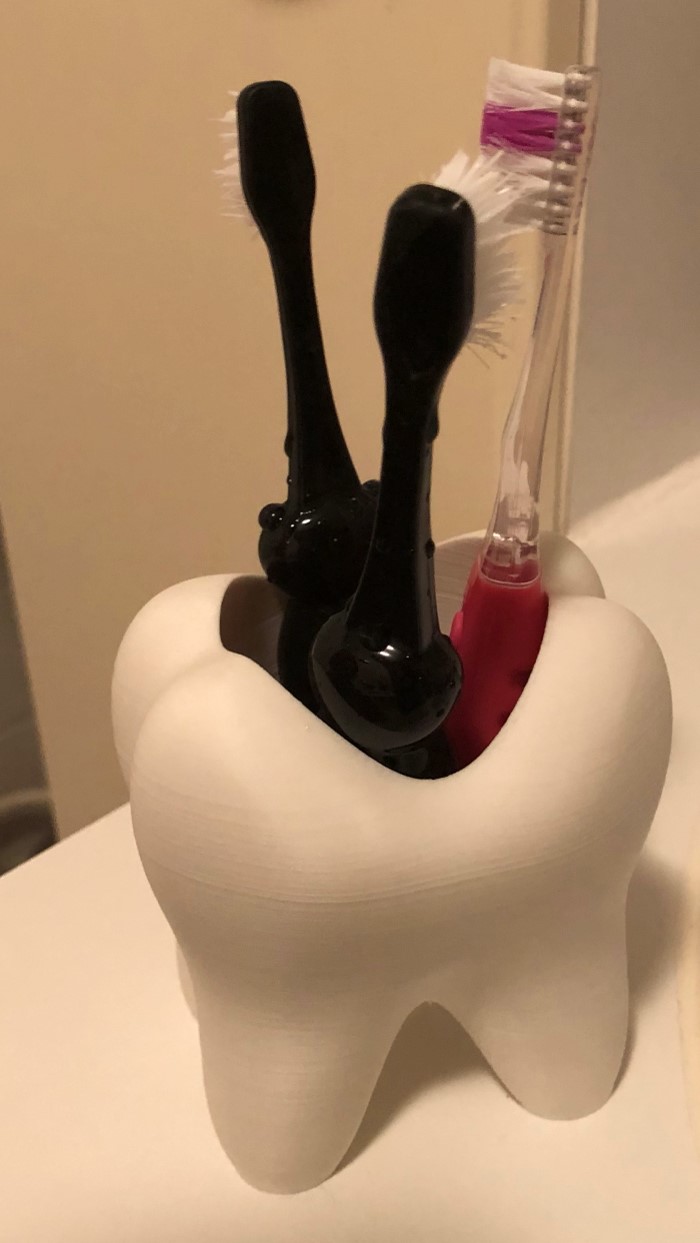 In use
Stack ‘em
These boxes are trickier to print than you might initially expect. There are a lot of small details in the mesh at the sides and these are retractions all around.
 Three boxes stacked on top of each other. Note the stringing on the white box.
 That is a smooth finish on the bottom
Picture work
I needed to hang a picture to my wall, but it didn’t have anything to hook it into. So, in white Creality HPPLA I printed a hook I designed.
 Say what you will, but that is a smooth first layer
 Some super glue and it is glued on forever
Vacuum adapter
I printed a vacuum adapter (in SUNLU PLA+), but it didn’t fit my Dyson V10 vacuum. So in black Creality HPPLA I printed an adapter for my Dyson.
 The bottom two parts are printed in Creality HPPLA. Notice the lovely matte finish.
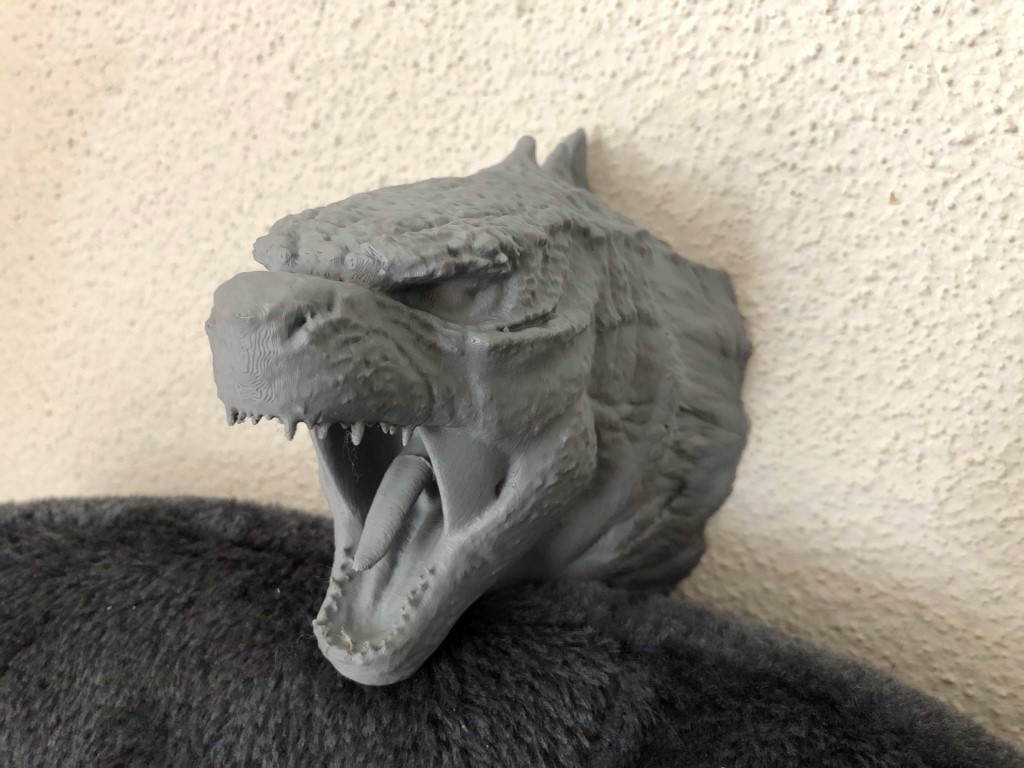
Godzilla
I printed this Godzilla wall mount on a very low layer height.
 Printed on a PEI build plate
Mid-way in the print, I had accidentally added a filament change command in PrusaSlicer, so in the morning the printer was waiting for me to insert filament.
 The final model as printed
After resuming the print, there is only a slight defect on the tongue after resuming the print, but otherwise it is flawless. This is also thanks to the matte texture of this filament.
Book stand
Using filament change I printed a bookstand in dual filament: SUNLU Low Temp Wood and white Creality HPPLA.
 Tasty, isn’t it?
 Back side
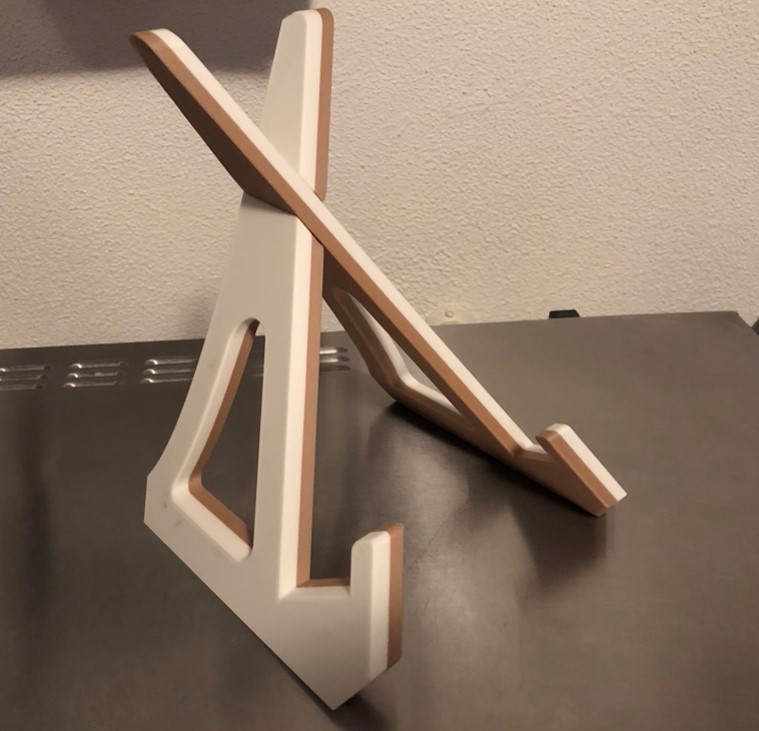 Without book. The combination of the wood filament and the matte finish of the HPPLA is beautiful.
Printing test
On a direct drive extruder with improved cooling, I’ve printed a mini 3D printer test.
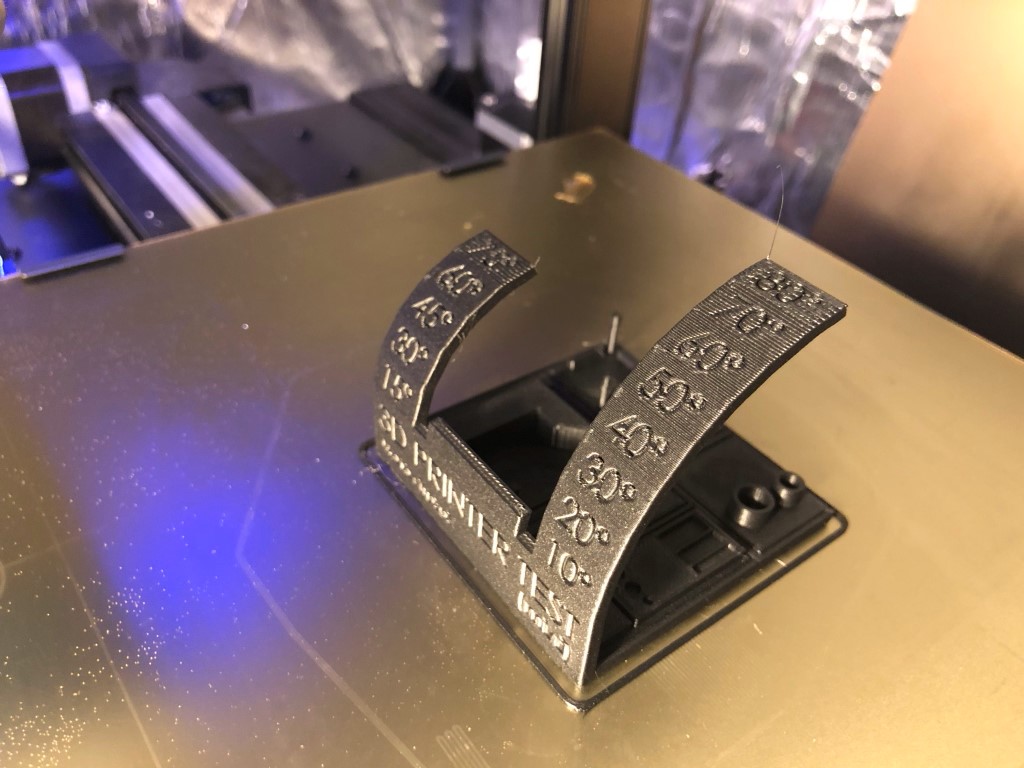 Near the overhang the top side will always look a little bit worse. This is not due to the filament: the 80 degrees overhang need to be divided over 0.2mm layers.
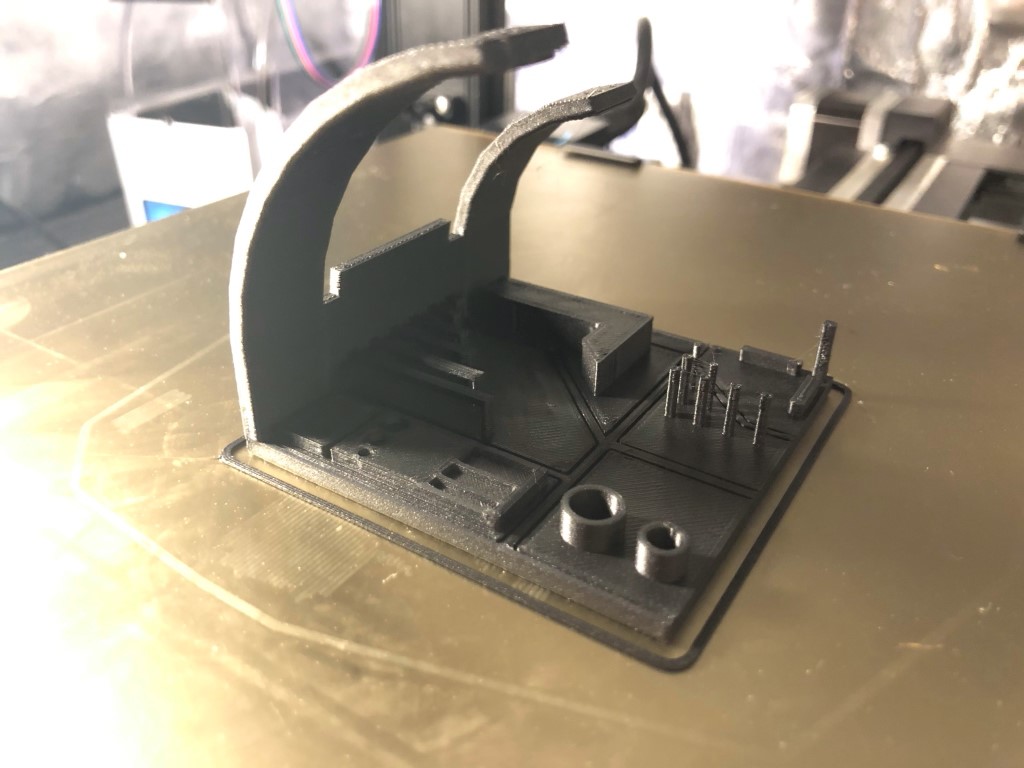
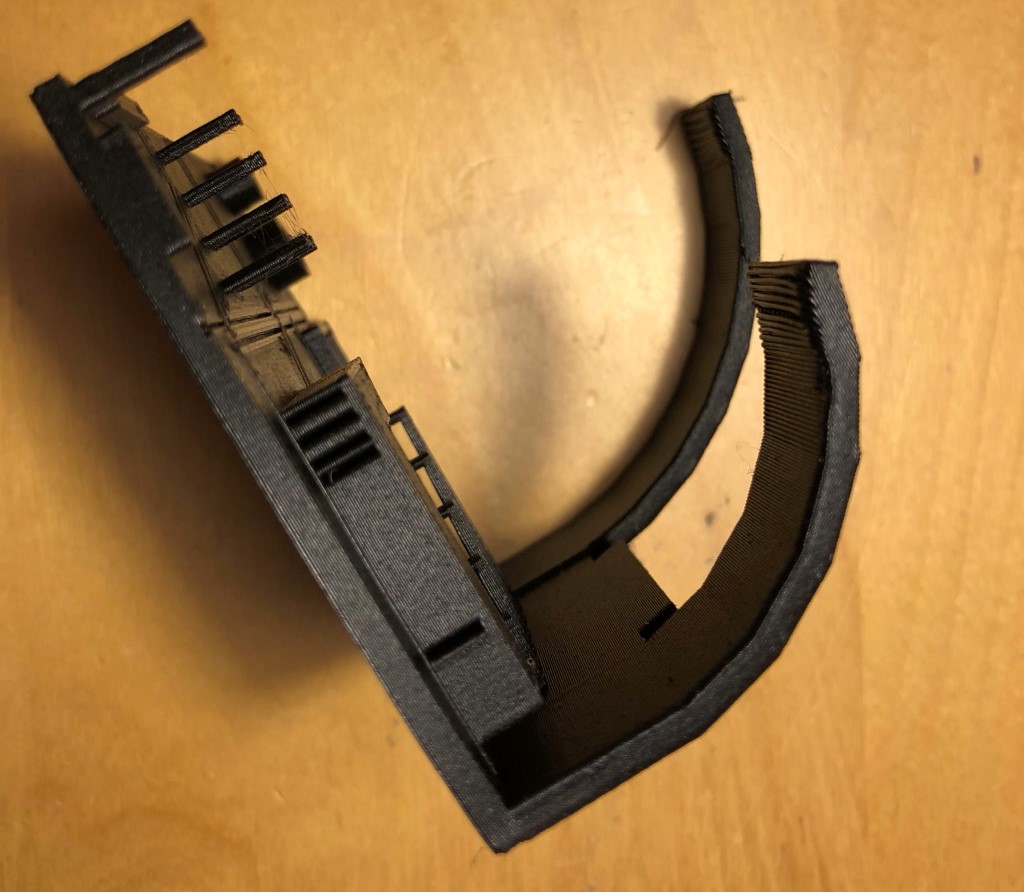 Notice the very slight stringing near some of the pillars. Bridging went well. Overhangs up to 75 degrees went perfect, 75 and 80 show some slight drooping.
Guinea pig: bottle mount
As of this writing, one of my guinea pigs is sick and in isolation, so I printed a bottle holder.
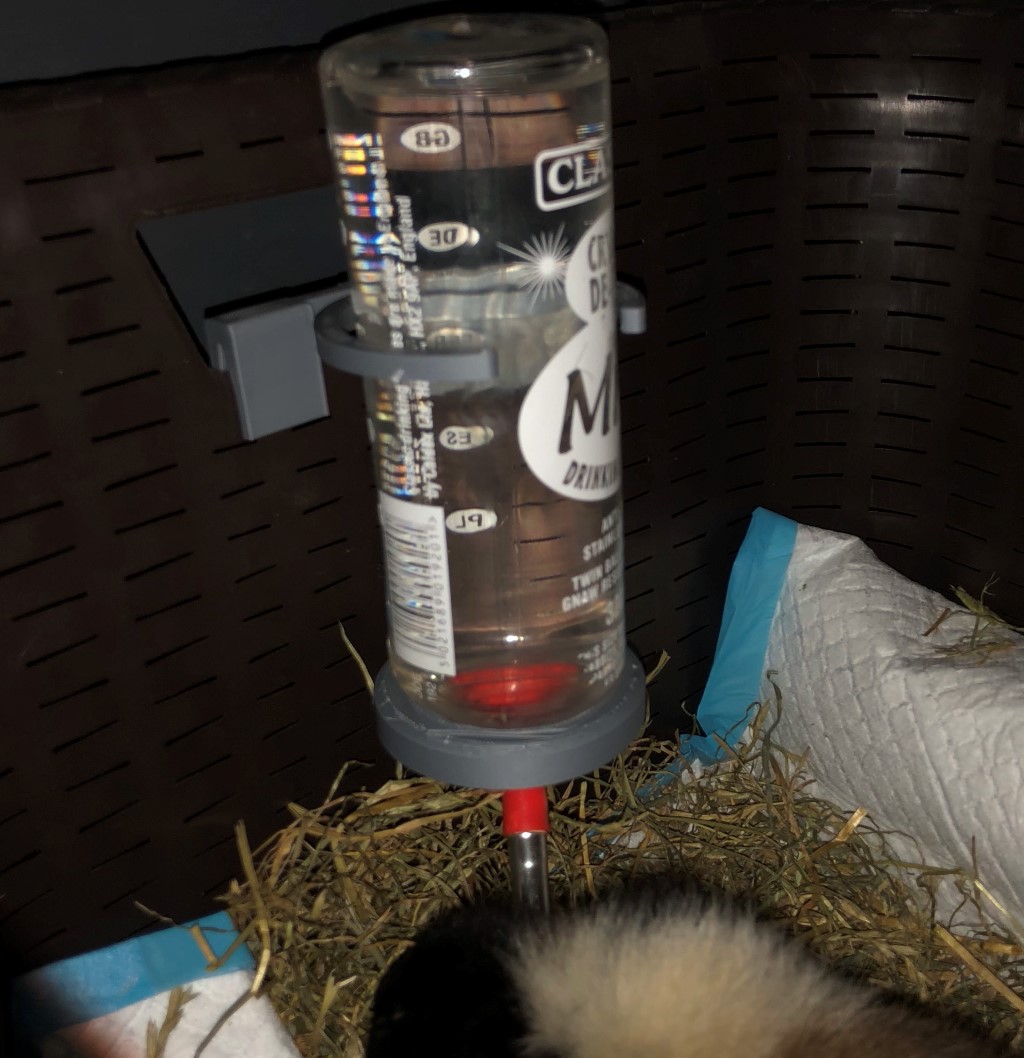 In action
The bottle holder held up fine, despite of the amount of force he uses 😉
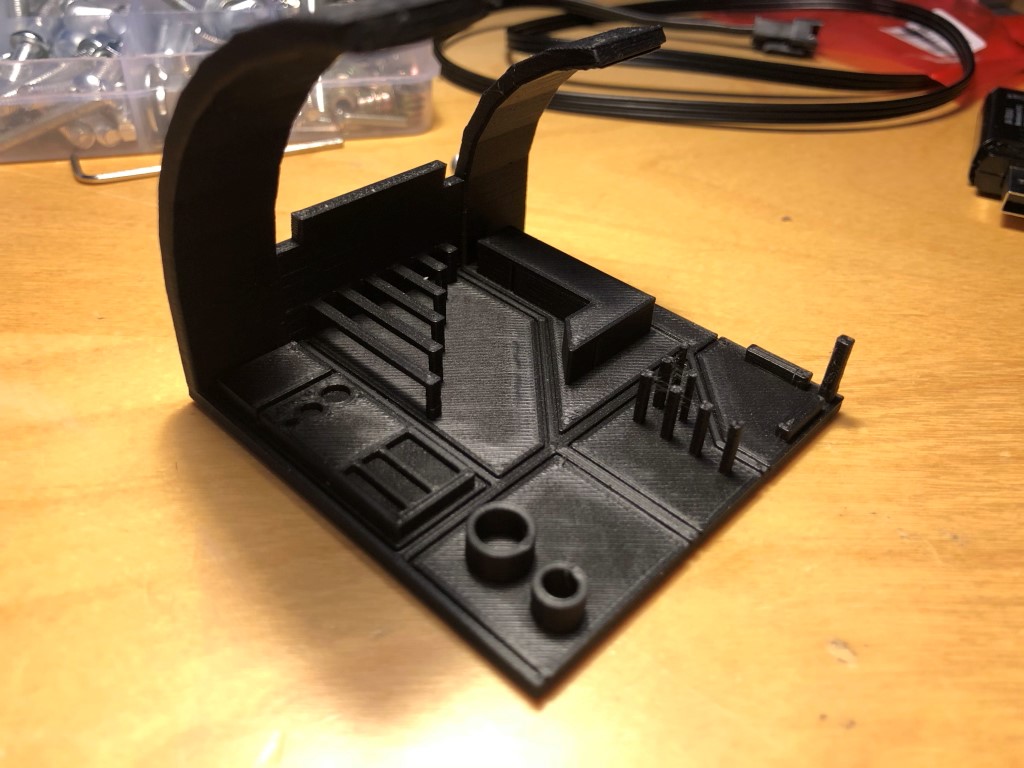
Neopixel mount
Finally, I designed and printed a neopixel mount for the CR-6 SE:
![]() You can download the mount from Thingiverse
You can download the mount from Thingiverse
Pros and cons
So, with these prints, where does this leave this filament?
Pro’s:
- The bag that the filament comes in can be resealed.
- Spool usability: There are holes all around the spool to stick an end of filament in. The spool is transparent.
- Smooth first layers.
- Beautiful matte prints.
- Perfect for functional and models alike.
- Some PLA filaments stick to an all-metal hot-end. Creality PLA works fine and does not cause jamming (tested on an E3D Hemera).
Cons:
- The spool is not reusable nor recyclable - it is a standard plastic spool.
- It tends to string a bit, on the more difficult prints. Yet despite this, it still works fine for most “normal” prints.
Other thoughts:
- I’m not sure if the filament was supposed to be vacuum sealed, because the vacuum in the bag was not very strong.
- There appears to be no material safety data sheet available.
- It requires some tuning. The line between stringing and no stringing, bad overhangs and good overhangs, is small.
- There is no “filament left” indication on the spool. It would have been a nice touch.
Where to get it & pricing
Creality sells this online on their own store, and delivers it from a US or EU warehouse. The EU warehouse is quite important for my fellow Europeans due to the new customs legislation that will go into effect this summer.
The price about €25 ($30), and this is near the price of most of the (Chinese) competitor brands.
What are your thoughts?