How-to: Filament change with the CR-6 and community firmware release 5
We’ve been working for quite some time on the community firmware release 5 for the CR-6. In addition to a whole new user interface, we’ve expanded hardware support to all common hardware configurations of the Creality CR-6. This includes the CR-6 with both types of stock mainboards, the BigTreeTech SKR CR6 motherboard with stock Creality TFT or BTT TFT, and support for the Creality CR-6 MAX. More can be read in the release notes. In addition we’ve improved the working of the filament change during printing functionality. This article will show you how it can be used in the Creality CR-6 community firmware release 5.
Choose your model
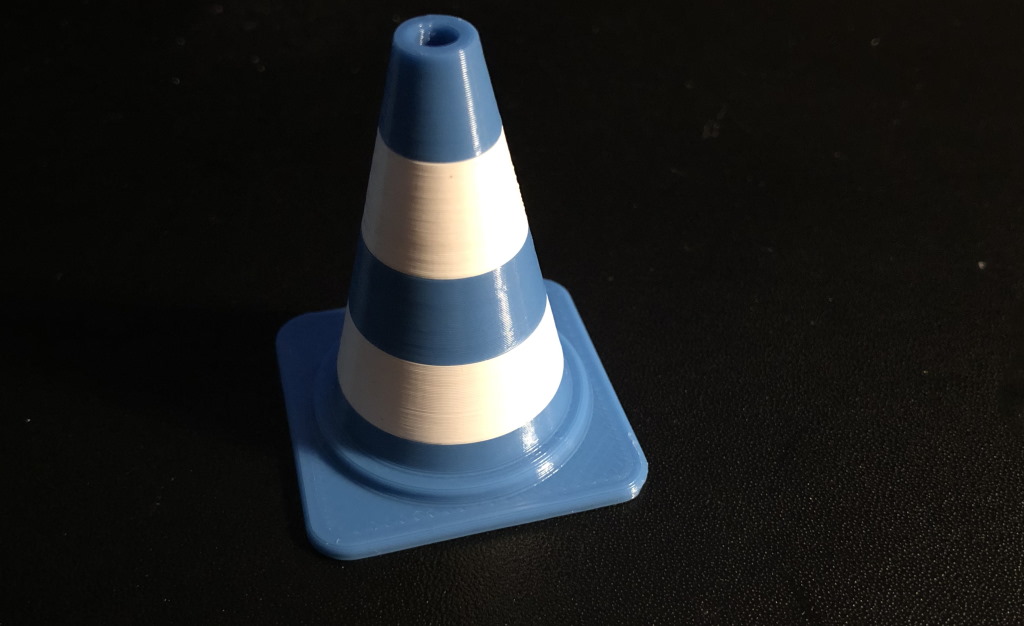
The point of filament change is to be able to use multiple filaments in a single print, without hardware changes. This is limited to the whole layers only, but can make for some pretty fun prints, like a traffic cone shown below I printed on my Anet ET4 Pro. There are also other fun prints, like this “No diving!” sign or these lab style warning signs. For this guide I use Cura 4.6.2, but this is applicable to other Cura versions and slicers as well.
Slice and determine the layers
Slice the model using the settings you want, and go into the slicing preview.
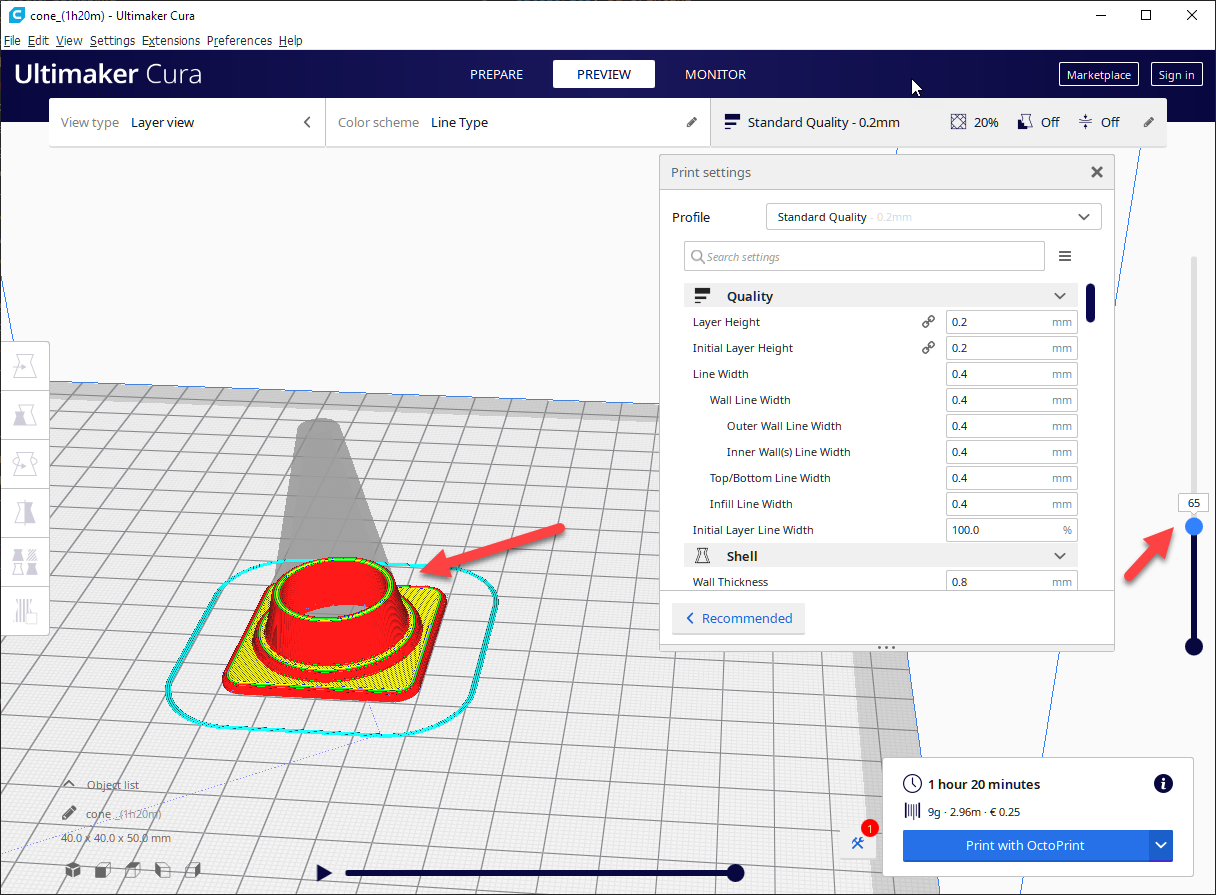
Using the slicer at the right hand side you can navigate to the layer where you want the filament to change. At the left side you can see what has been printed at the end of the layer.
Take note of this as you note down on which layer(s) you want to do the filament change - the filament change will happen at the start of the layer.
Configure the filament change
Once you have determined at which layers the filament change needs to happen, you can open the post-processing dialog.
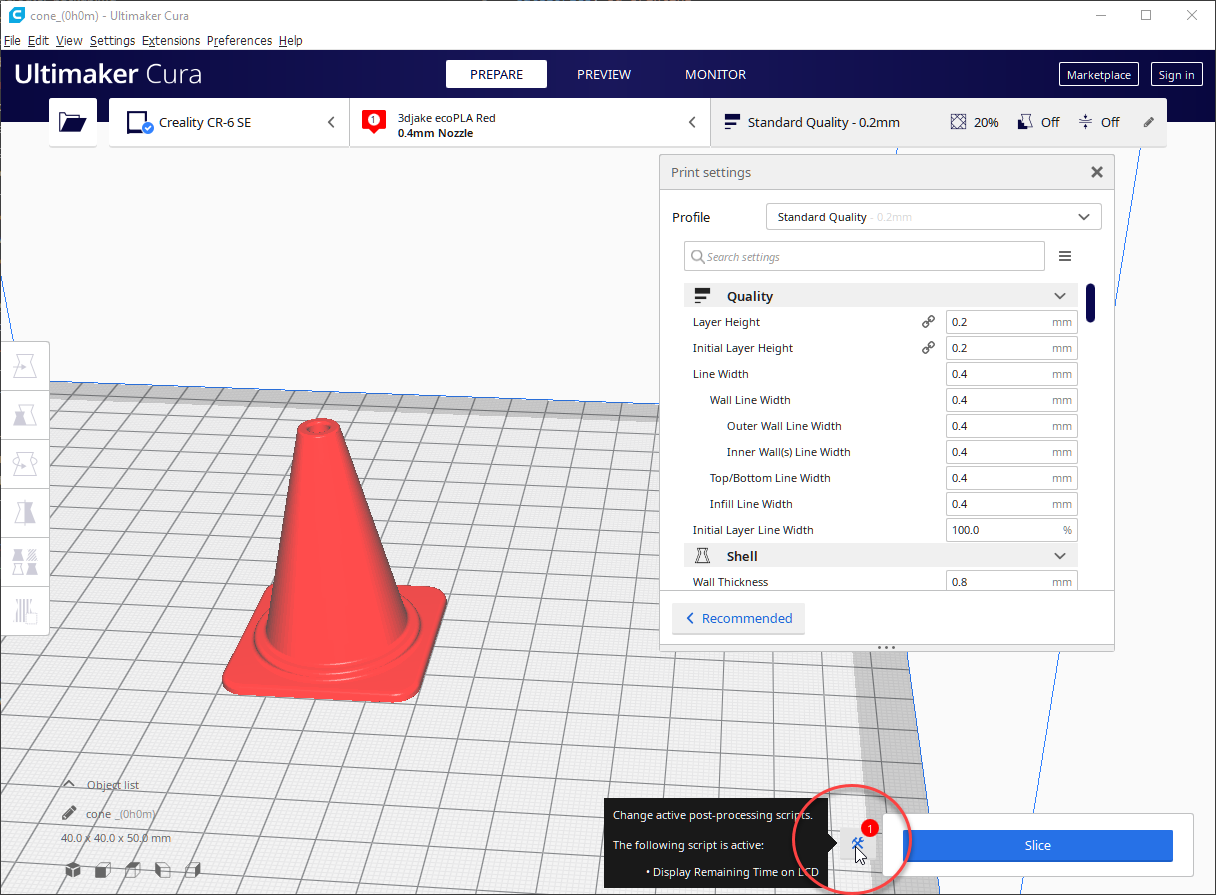 You can find it in the menu “Extensions -> Post processing -> Modify G-code” or click the wrench icon
In this daunting dialog you can add all kinds of fun things, like showing the current layer or the remaining time, which is supported from Community Firmware 4 alpha onwards.
For our purposes, we will use “Filament change”.
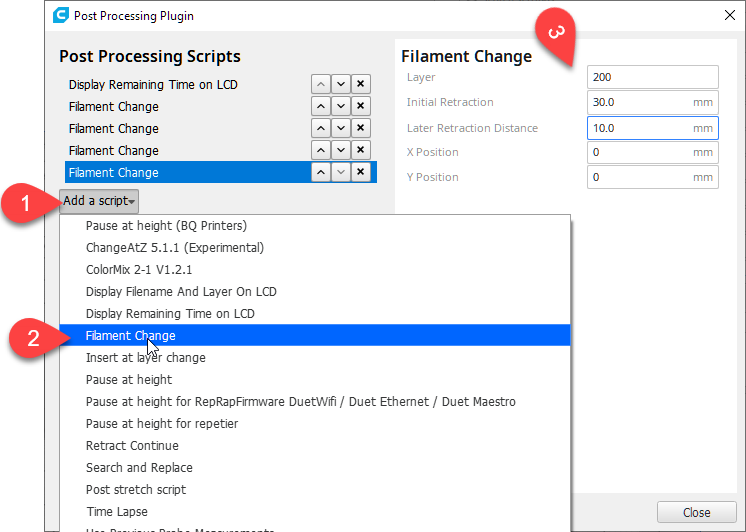 Add the script(s) by choosing ‘Add a script’, then ‘Filament change’. You can add as many as you want. Because I’m printing a traffic cone, I’m adding several scripts.
When you’ve added a script, there are several options you can configure:
- Layer: The layer where the filament change needs to happen. Note: this happens at the start of that layer. In the screenshot up in this article, Cura shows the end of that layer. Take note of that, I’ve been bitten several times by this subtle distinction 😉
- Initial retraction: The amount of filament that is initially retracted when doing the filament change.
- Later retraction distance: Although the Cura tooltip doesn’t say it, this is both used as the length for full filament unload and and filament load/purge. Due to current API limitations in Marlin, the community firmware is not able to ask you if enough filament has been purged. For this reason I recommend this to something low like 10 or 20mm - and load and unload filament yourself for the length of the bowden tube.
- X-position and Y-position: This is where the print head and bed should be parked for filament change. This number can be set to something practical depending on how you can reach your printer and not accidently bump into the bed or print head.
Once you have it all configured you can slice the file and print it. I recommend removing the scripts after you’ve sliced. Cura remembers the scripts you’ve added and the next time you’Il slice a file you will forget you’ve included the filament change. It is a bit annoying to find out in your next multiple-hours print that the printer decided to unload filament at some point. 😅
Printing
So, now you can start printing. The print will go on as usual.
 The printing progress screen in community firmware 5 and higher
When it is time to do the filament change, the print will be paused and the print head will park. This is not your cue yet.
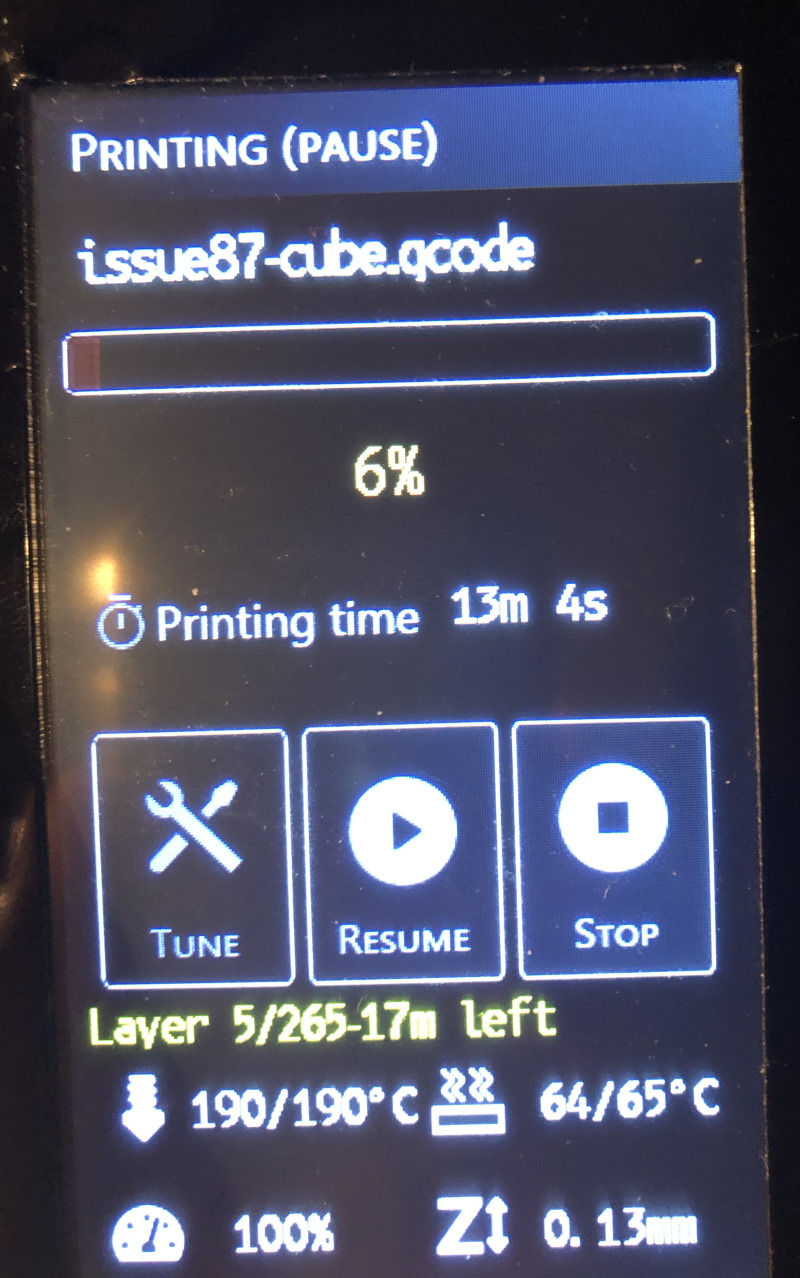 The print will show the pause screen and start unloading filament.
When the filament has been unloaded, and you haven’t turned the sound off in the settings, the printer will BEEEEEEEP impatiently (this is literally how this beep is called under the covers) and show “Load/unload filament”.
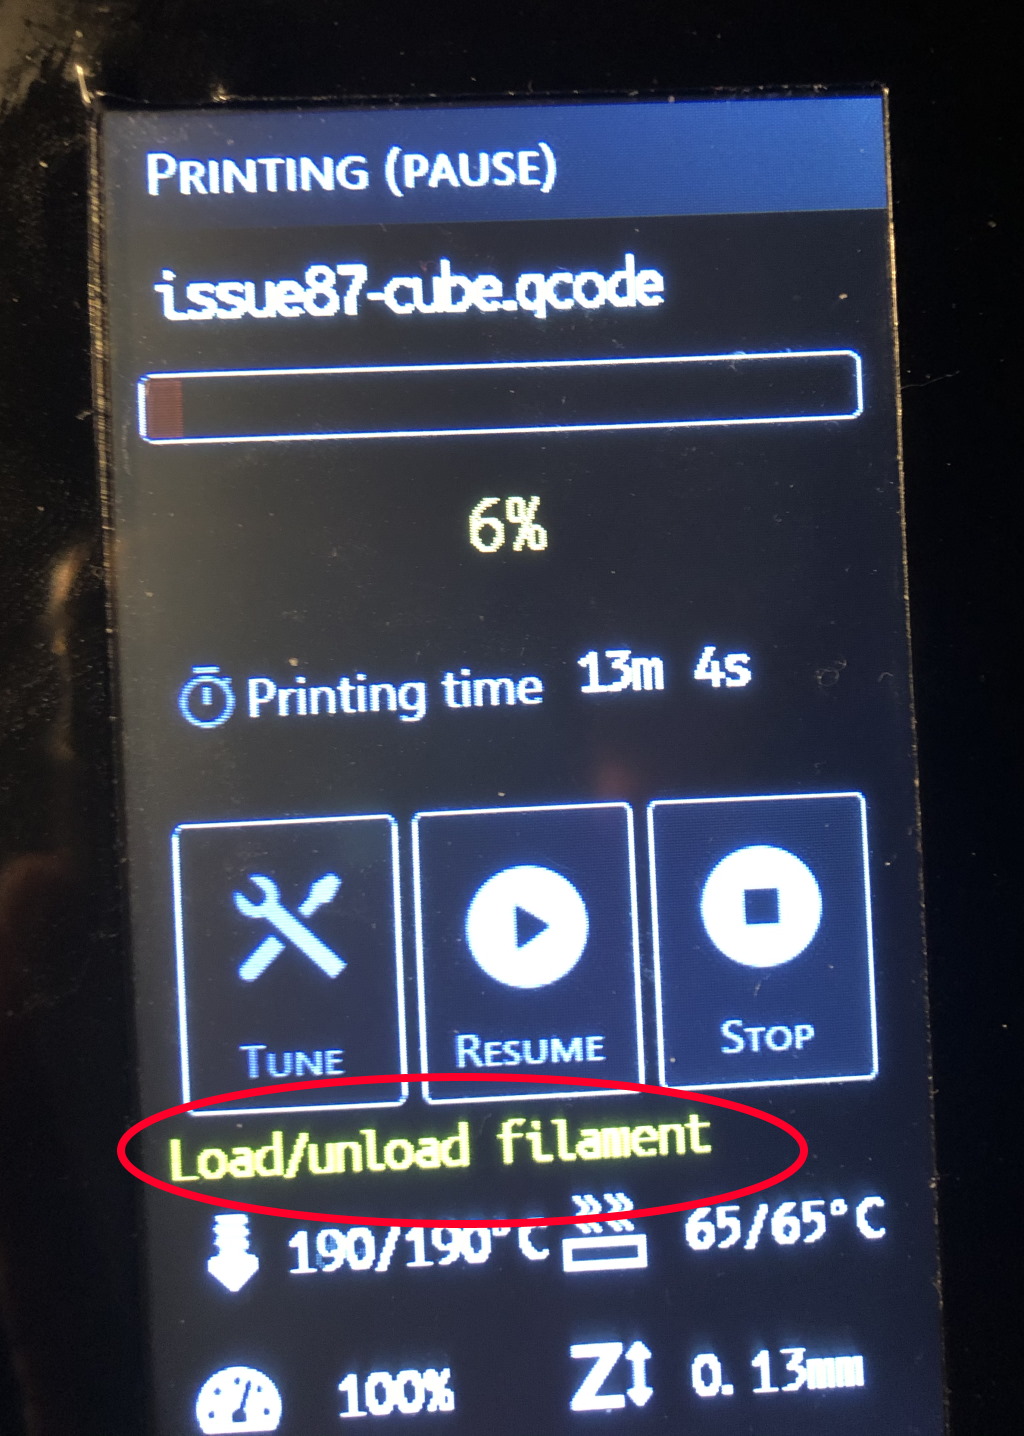 _This_ is your cue
At this point you can remove the filament and load in a new filament.
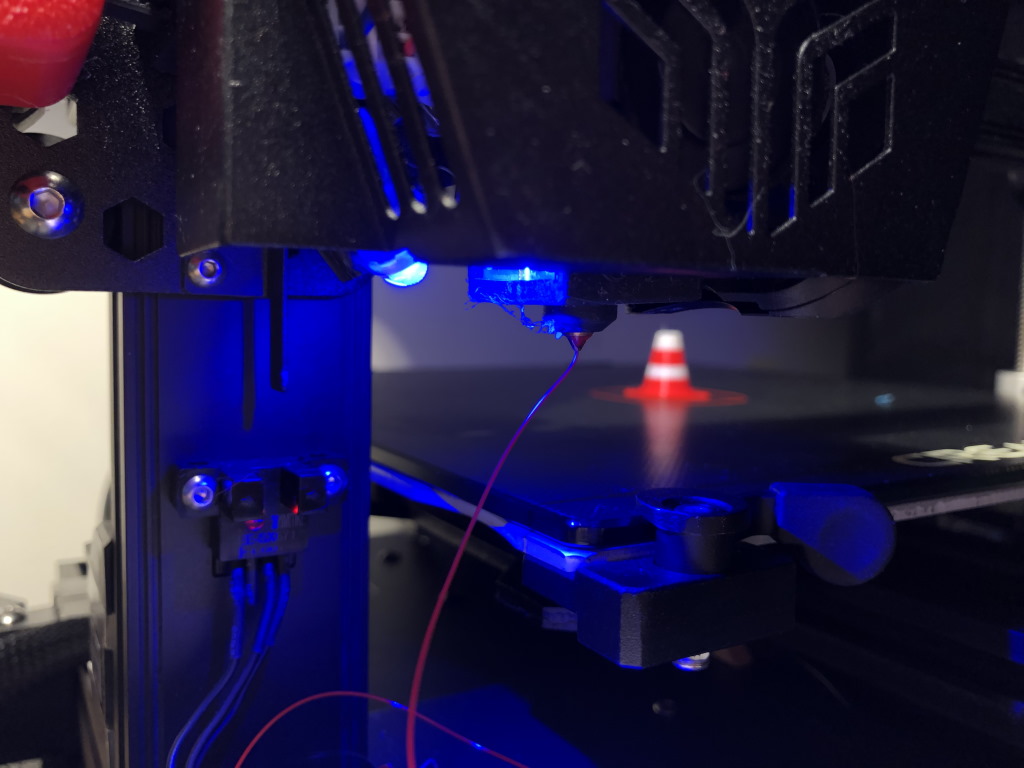 Push it manually through until you see the new filament color coming through.
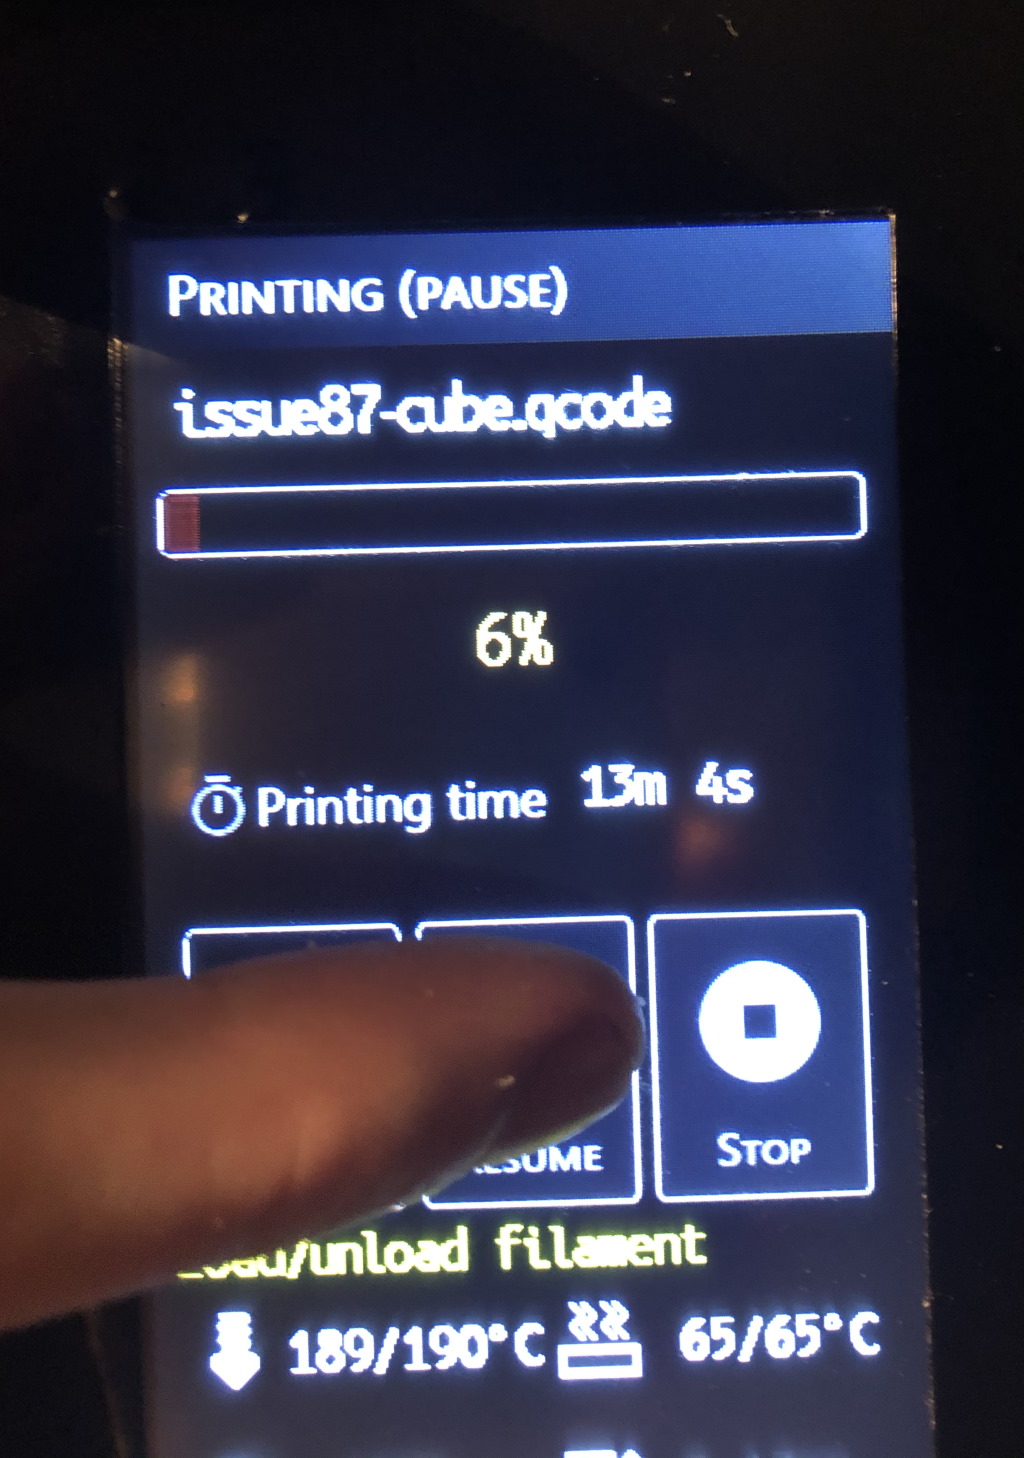 When ready, press the “resume” button on the touch screen.
At this point the printer will purge a little bit of filament and continue the print. Because the nozzle will not be wiped, make sure you have some tweezers ready to take the stray filament off the nozzle.
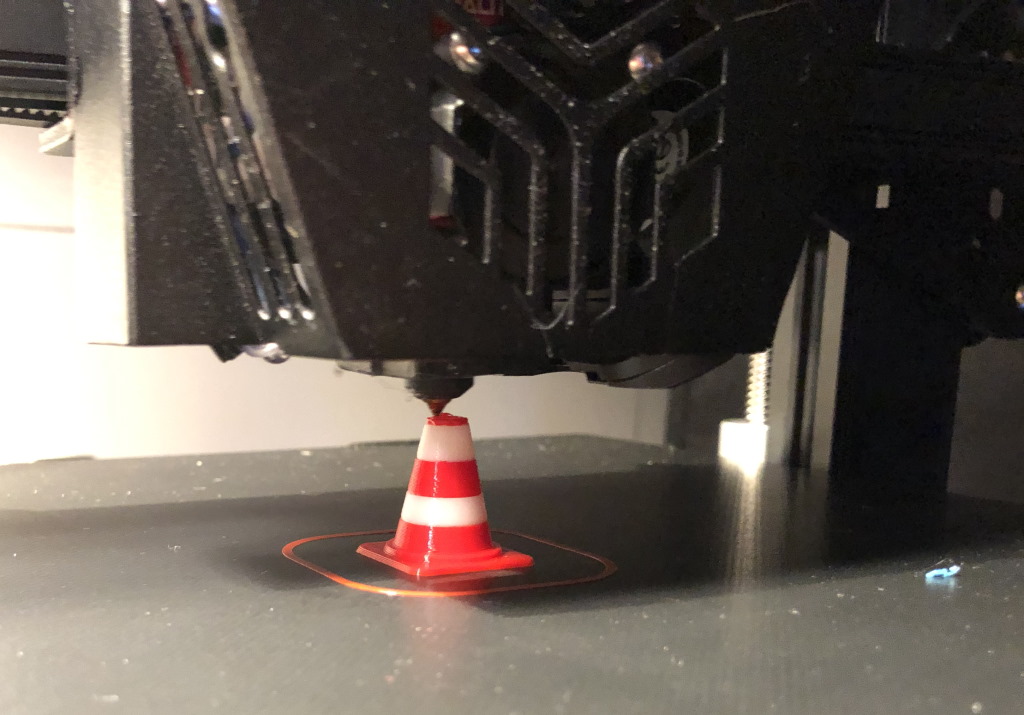 The print happily continues
End result
Eventually for this exercise, the end result is this:
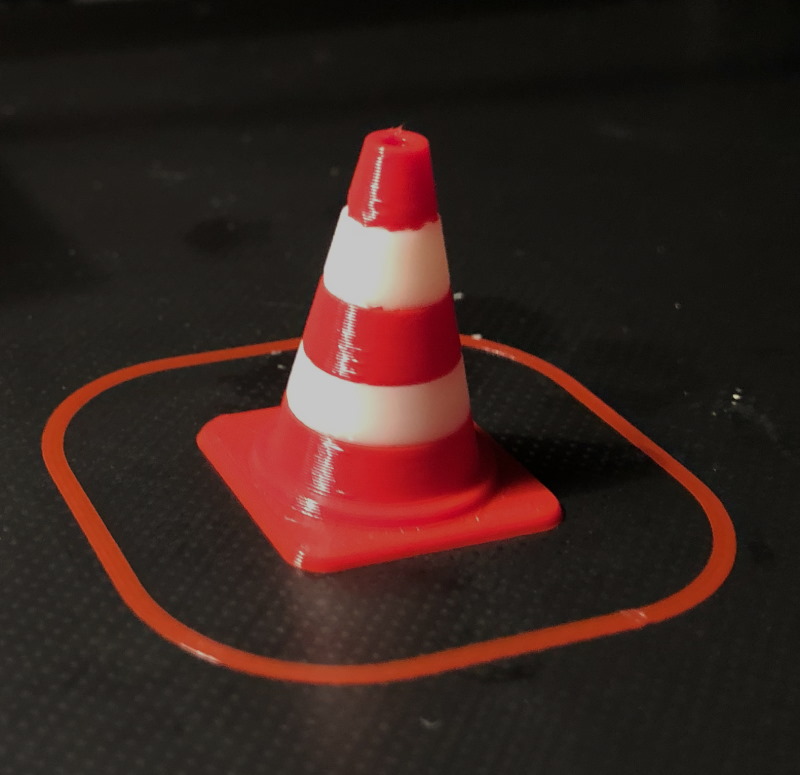 End result
Final thoughts
Because the filament change is happens on whole layers only, it is only useful for prints like these. With the Creality stock touch screen it is currently not possible for Marlin to ask if enough filament is purged. If you use the TFT from BigTreeTech, this is fully supported in Marlin mode though. If you use Octoprint, a prompt can also be displayed to continue the print.
If you’d like to help out with the community firmware, either through contributions or in other ways, please check the readme section of the community firmware home page.
I hope this is useful!
What are your thoughts?