How-to: Connect the Creality CR-10 Smart to a computer or Octopi
The Creality CR-10 Smart is a printer with a built-in Creality Wifi Box for Creality Cloud. For troubleshooting it is however more useful to directly talk to the firmware, using an Octoprint console or Pronterface on Windows/Linux/Mac. But where is the USB connector? It is hidden! In this post I’Il show you how to connect to your Creality CR-10 Smart printer!
The Creality CR-10 Smart is obviously a printer that nudges you to use it via the Creality cloud. However, when troubleshooting your printer or collecting log information, you need a bit more power. The Creality Cloud currently doesn’t allow connecting to your printer - but you can through an Octoprint console or Pronterface on Windows/Linux/Mac!
–
Warning: It is possible I had pre-release hardware and therefore in the final hardware this procedure is slightly different or not possible at all. I also can’t speak to what this change will do in terms of warranty.
–
To find the internal USB connector, remove the power plug, put the printer on its side and take off the bottom.
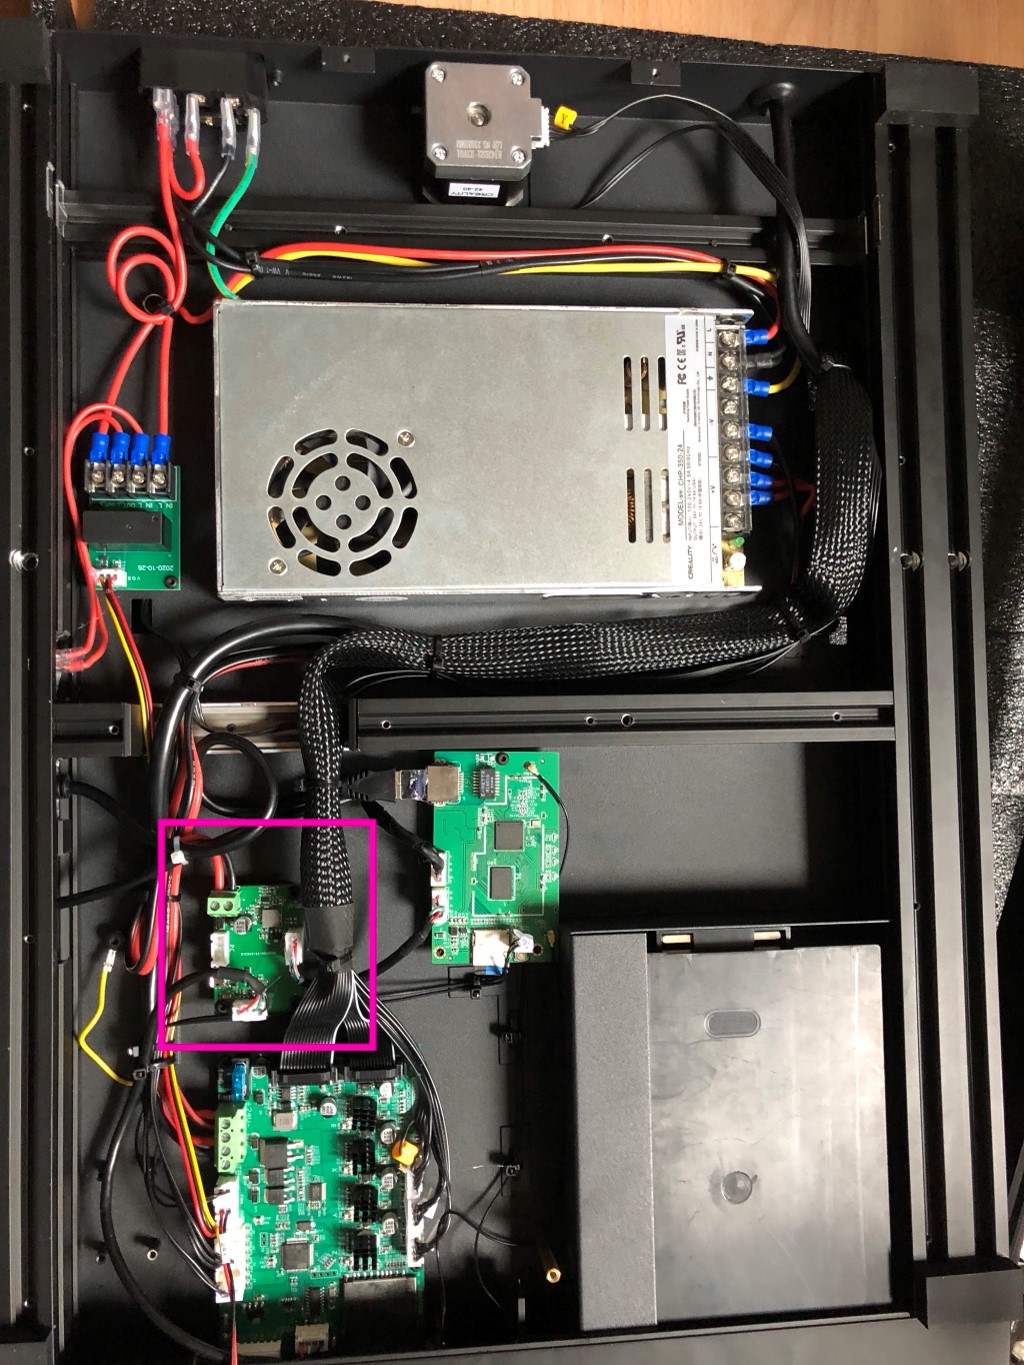 The internals of the CR-10 Smart, a Creality wifi box board, power relay, Creality-branded Meanwell LRS-350-24 and Creality CRC-2405V1.1 motherboard can be seen. We are interested in the purple part however: the USB junction board.
The USB junction board provides the Creality wifi box with a steady 5V power supply and allows us to change the USB connection.
 We find in in orange the connection to the Creality wifi box, in blue the connection from the junction board to the internal USB header of the motherboard and in in pink a header and micro-USB connector for an external computer.
To allow an external computer to connect we must simply do two things:
- Move the connection from the motherboard to the PC connector
- Route the USB cable outside
 Pry the hot glue loose by using some tweezers and a few drops of IPA, then find the connector that leads to the motherboard, disconnect it from “MCU” and plug it into the receptacle labeled “PC”. Plug your USB cable into the micro USB connector.
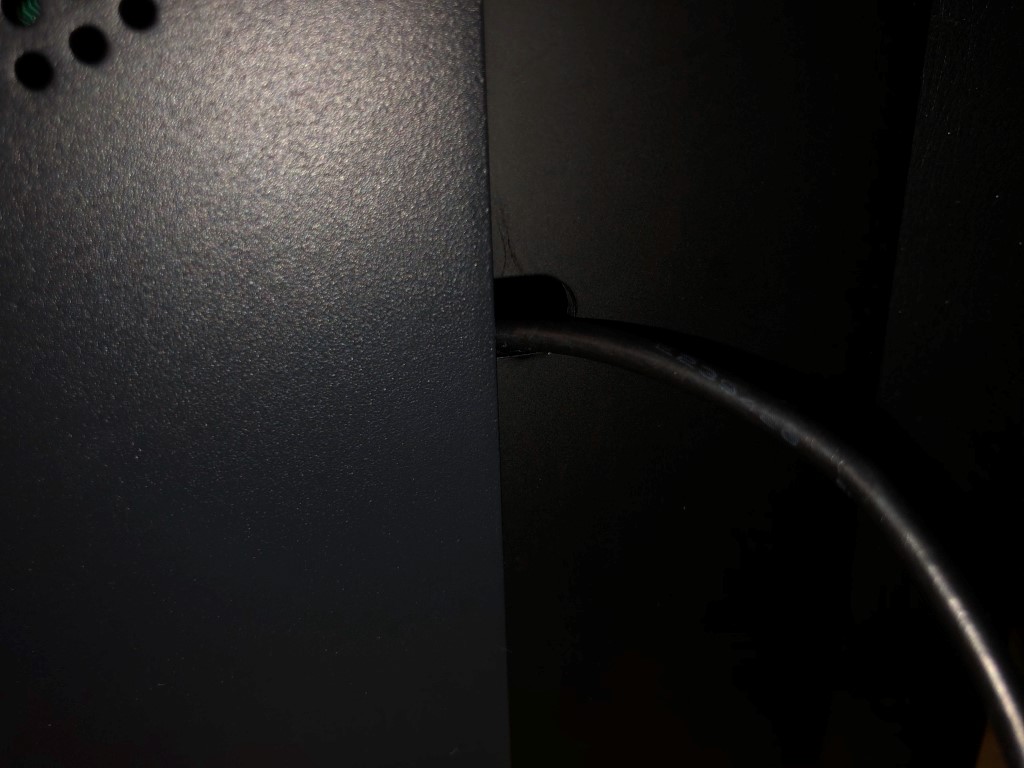 Route the USB cable out of the electronics compartment through a hole in the front
Be careful: The USB cable, when connected this way, has no strain relief. It is possible for the USB connector to become loose.
Summary
This quick post showed how to connect a USB cable to the printer. For guidance on Octoprint or Pronterface you can look at the respective documentation linked above.
What are your thoughts?