Creality CR-6 SE: Start a print without drooping filament on the build plate while homing
The auto-bed leveling feature of the Creality CR-6 SE uses a strain gauge connected to the hot-end for leveling. This is also used for homing the hotbed - in combination with the optical Z-endstop the nozzle strain gauge status is probed to determine the zero position for the Z axis. In the default Cura start code, the nozzle is fully heated up to printing temperature which causes some filament to droop out when homing, leaving residue on the bed. Read below to find a solution for this.
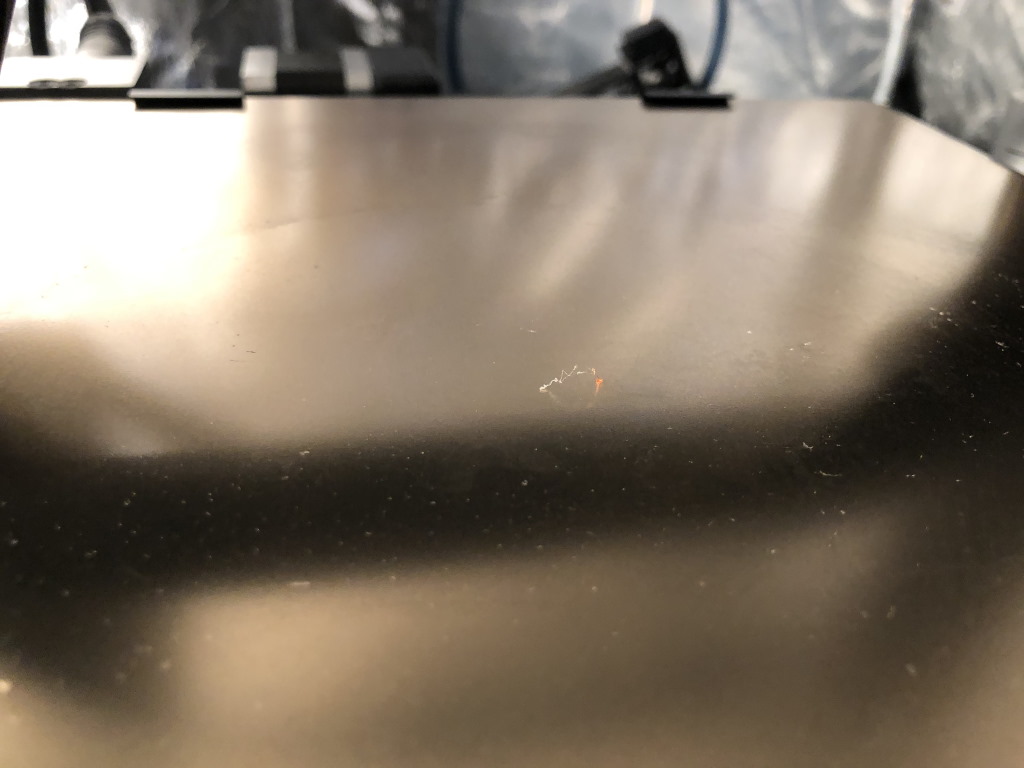 This is just a little droop of filament, but depending on the filament and temperature it can be a good bit more
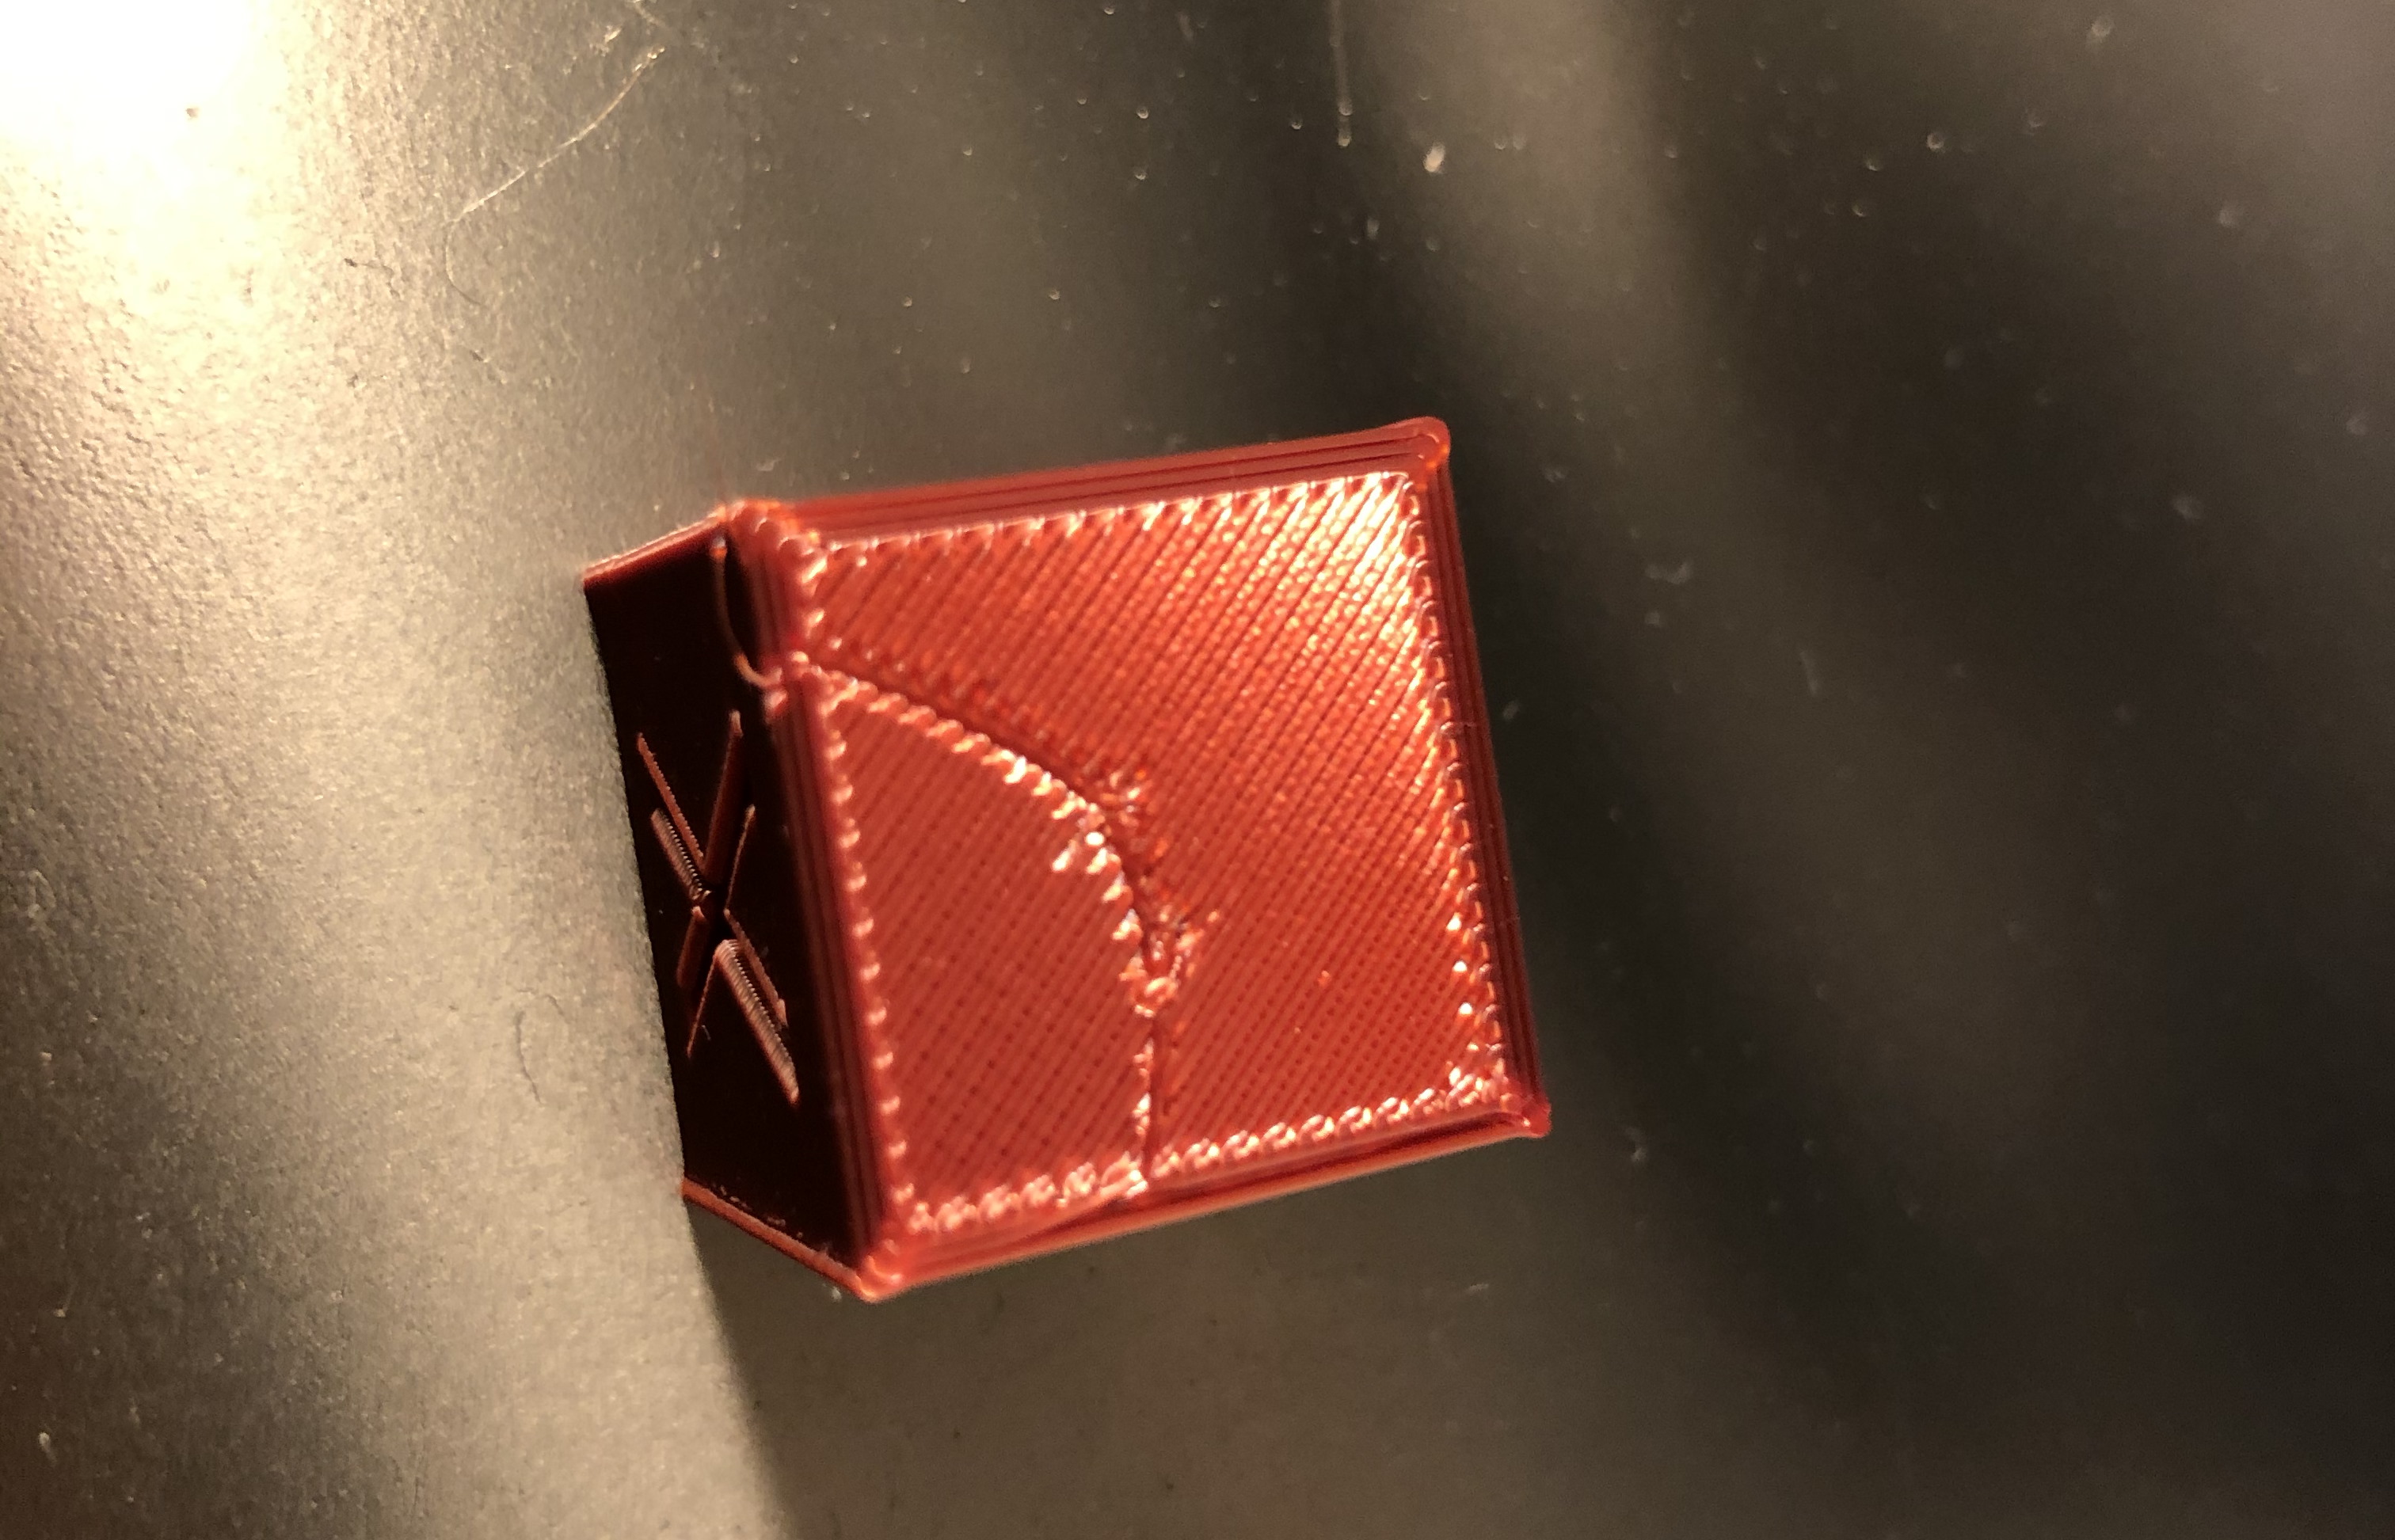 Drooping can cause first layer artifacts
To resolve this you need a different start gcode in your slicer.
Note: If you are using the CR-6 community firmware 5 beta or higher there is an update gcode available here.
The gcode I made resolves the issue:
; Preamble
M201 X500.00 Y500.00 Z100.00 E5000.00 ;Setup machine max acceleration
M203 X500.00 Y500.00 Z10.00 E50.00 ;Setup machine max feedrate
M204 P500.00 R1000.00 T500.00 ;Setup Print/Retract/Travel acceleration
M205 X8.00 Y8.00 Z0.40 E5.00 ;Setup Jerk
M220 S100 ;Reset Feedrate
M221 S100 ;Reset Flowrate

; Heat nozzle just enough to accurately home without drooping
M140 S50
M104 S120
M190 S50
M109 S120
M105

; - Home - this is used with the strain gauge as a zero position for the Z-offset
G28

; Now we know the positions we can move out of the way and happily droop at the side of the bed
M104 S{material_print_temperature_layer_0}      ; You can also use material_print_temperature here
M140 S{material_bed_temperature_layer_0}  ; Or use material_bed_temperature
M105

G0 Z20
G0 X0 Y0

; Now wait for the temperatures to reach
M190 R{material_bed_temperature_layer_0}      ; You can also use material_bed_temperature here
M109 S{material_print_temperature_layer_0}    ; Or use material_print_temperature
M105

; And we can now draw our purge line
G92 E0 ;Reset Extruder
G1 Z2.0 F3000 ;Move Z Axis up
G1 X10.1 Y20 Z0.28 F5000.0 ;Move to start position
G1 X10.1 Y200.0 Z0.28 F1500.0 E15 ;Draw the first line
G1 X10.4 Y200.0 Z0.28 F5000.0 ;Move to side a little
G1 X10.4 Y20 Z0.28 F1500.0 E30 ;Draw the second line
G92 E0 ;Reset Extruder
G1 Z2.0 F3000 ;Move Z Axis up
By setting the hot-end to 120 degrees Celcius we can still home accurately but without the chance of filament drooping out. After that, we move to the left side of the printbed and reach our target temperature. Then we do a purge line and any unwanted drooping is outside the usual print area.
Other slicers
This gcode is also compatible with PrusaSlicer and Simplify3D, provided you change certain “placeholders” in the gcode as shown below. There are some placeholders that Cura recognizes and replaces, and you need to replace them with a placeholder your slicer recognizes.
PrusaSlicer
PrusaSlicer users can use a number of different placeholders for the start gcode, most notably:
[bed_temperature]instead of{material_bed_temperature}[first_layer_bed_temperature]instead of{material_bed_temperature_layer_0}[first_layer_temperature]instead of{material_print_temperature_layer_0}
Simplify3D
Simplify 3D users can use the following placeholders:
[bed0_temperature]instead of{material_bed_temperature_layer_0}[extruder0_temperature]instead of{material_print_temperature_layer_0}
Compatibility with CR-6 firmware
Note that the above gcode assumes the CR-6 community firmware I’m developing is installed, because the community firmware restores the bed leveling mesh automatically after homing. Note though that there is an update gcode available here
If you don’t use the community firmware, then use M420 S1 after the line that says G28 to recall the mesh or G29 to relevel the printer altogether.
What are your thoughts?