SMRRF 2023 look back
SMRRF 2023 is a wrap! SMRRF 2023 was an exciting event that brought together 3D printing enthusiasts from all over the world. The event featured many interesting topics. I will summarize some highlights, including Cocoa Press, Full Control Gcode, non-planar printing, orchid watering, metal 3D printing, and Ascan Laser 3D Scanning.
This article has been made possible thanks to PCBWay. More on PCBWay later.
Event location
The event location itself was also special, it was held in the examination halls of the University of Oxford, a very beautiful building by itself.
 North School with most of the exhibitions.
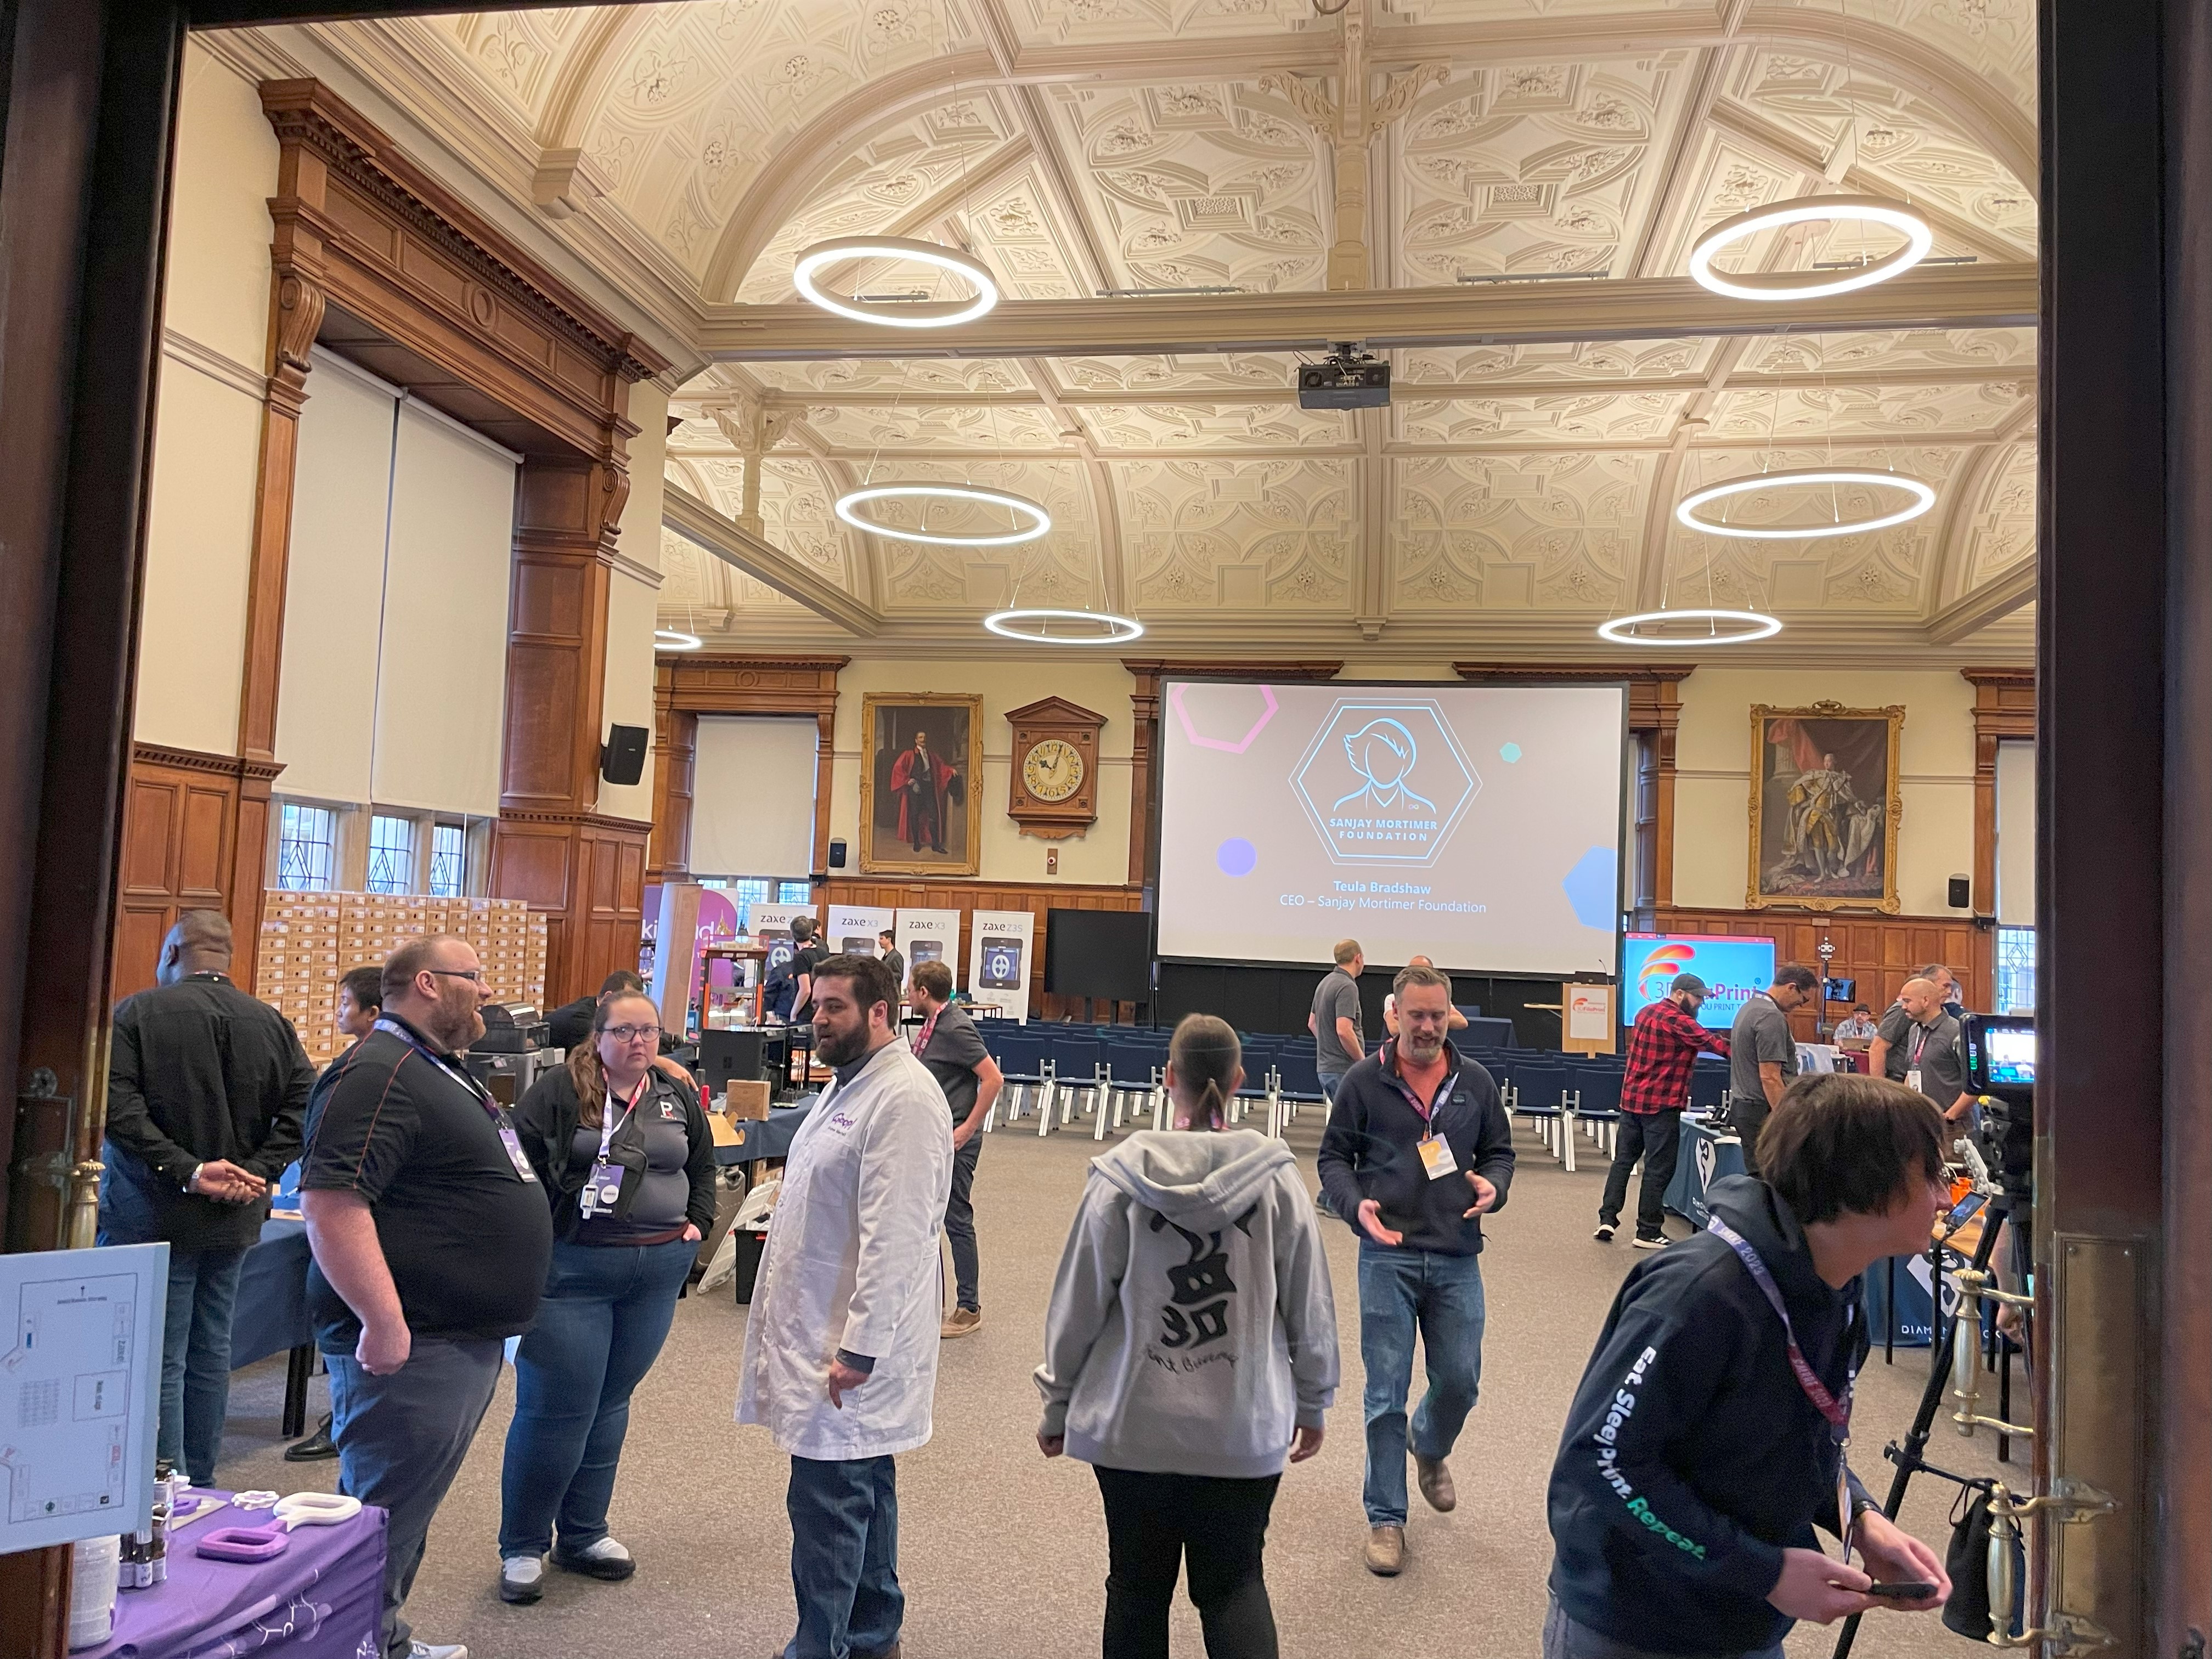 South School with most of the platinum sponsors and the main stage.
Among others, Bambu Lab and Prusa were the platinum sponsors. Prusa was present, but Bambu Lab was nowhere to be seen. From what I gathered, they apparently paid for “exposure” by having the creators use their excellent X1 series of CoreXY 3D printers.
Prusa Printers
At the far-end of the north school Prusa 3D had their exhibition. They showed of their older Prusa Mini 3D printer and Prusa SL1 Resin printer.
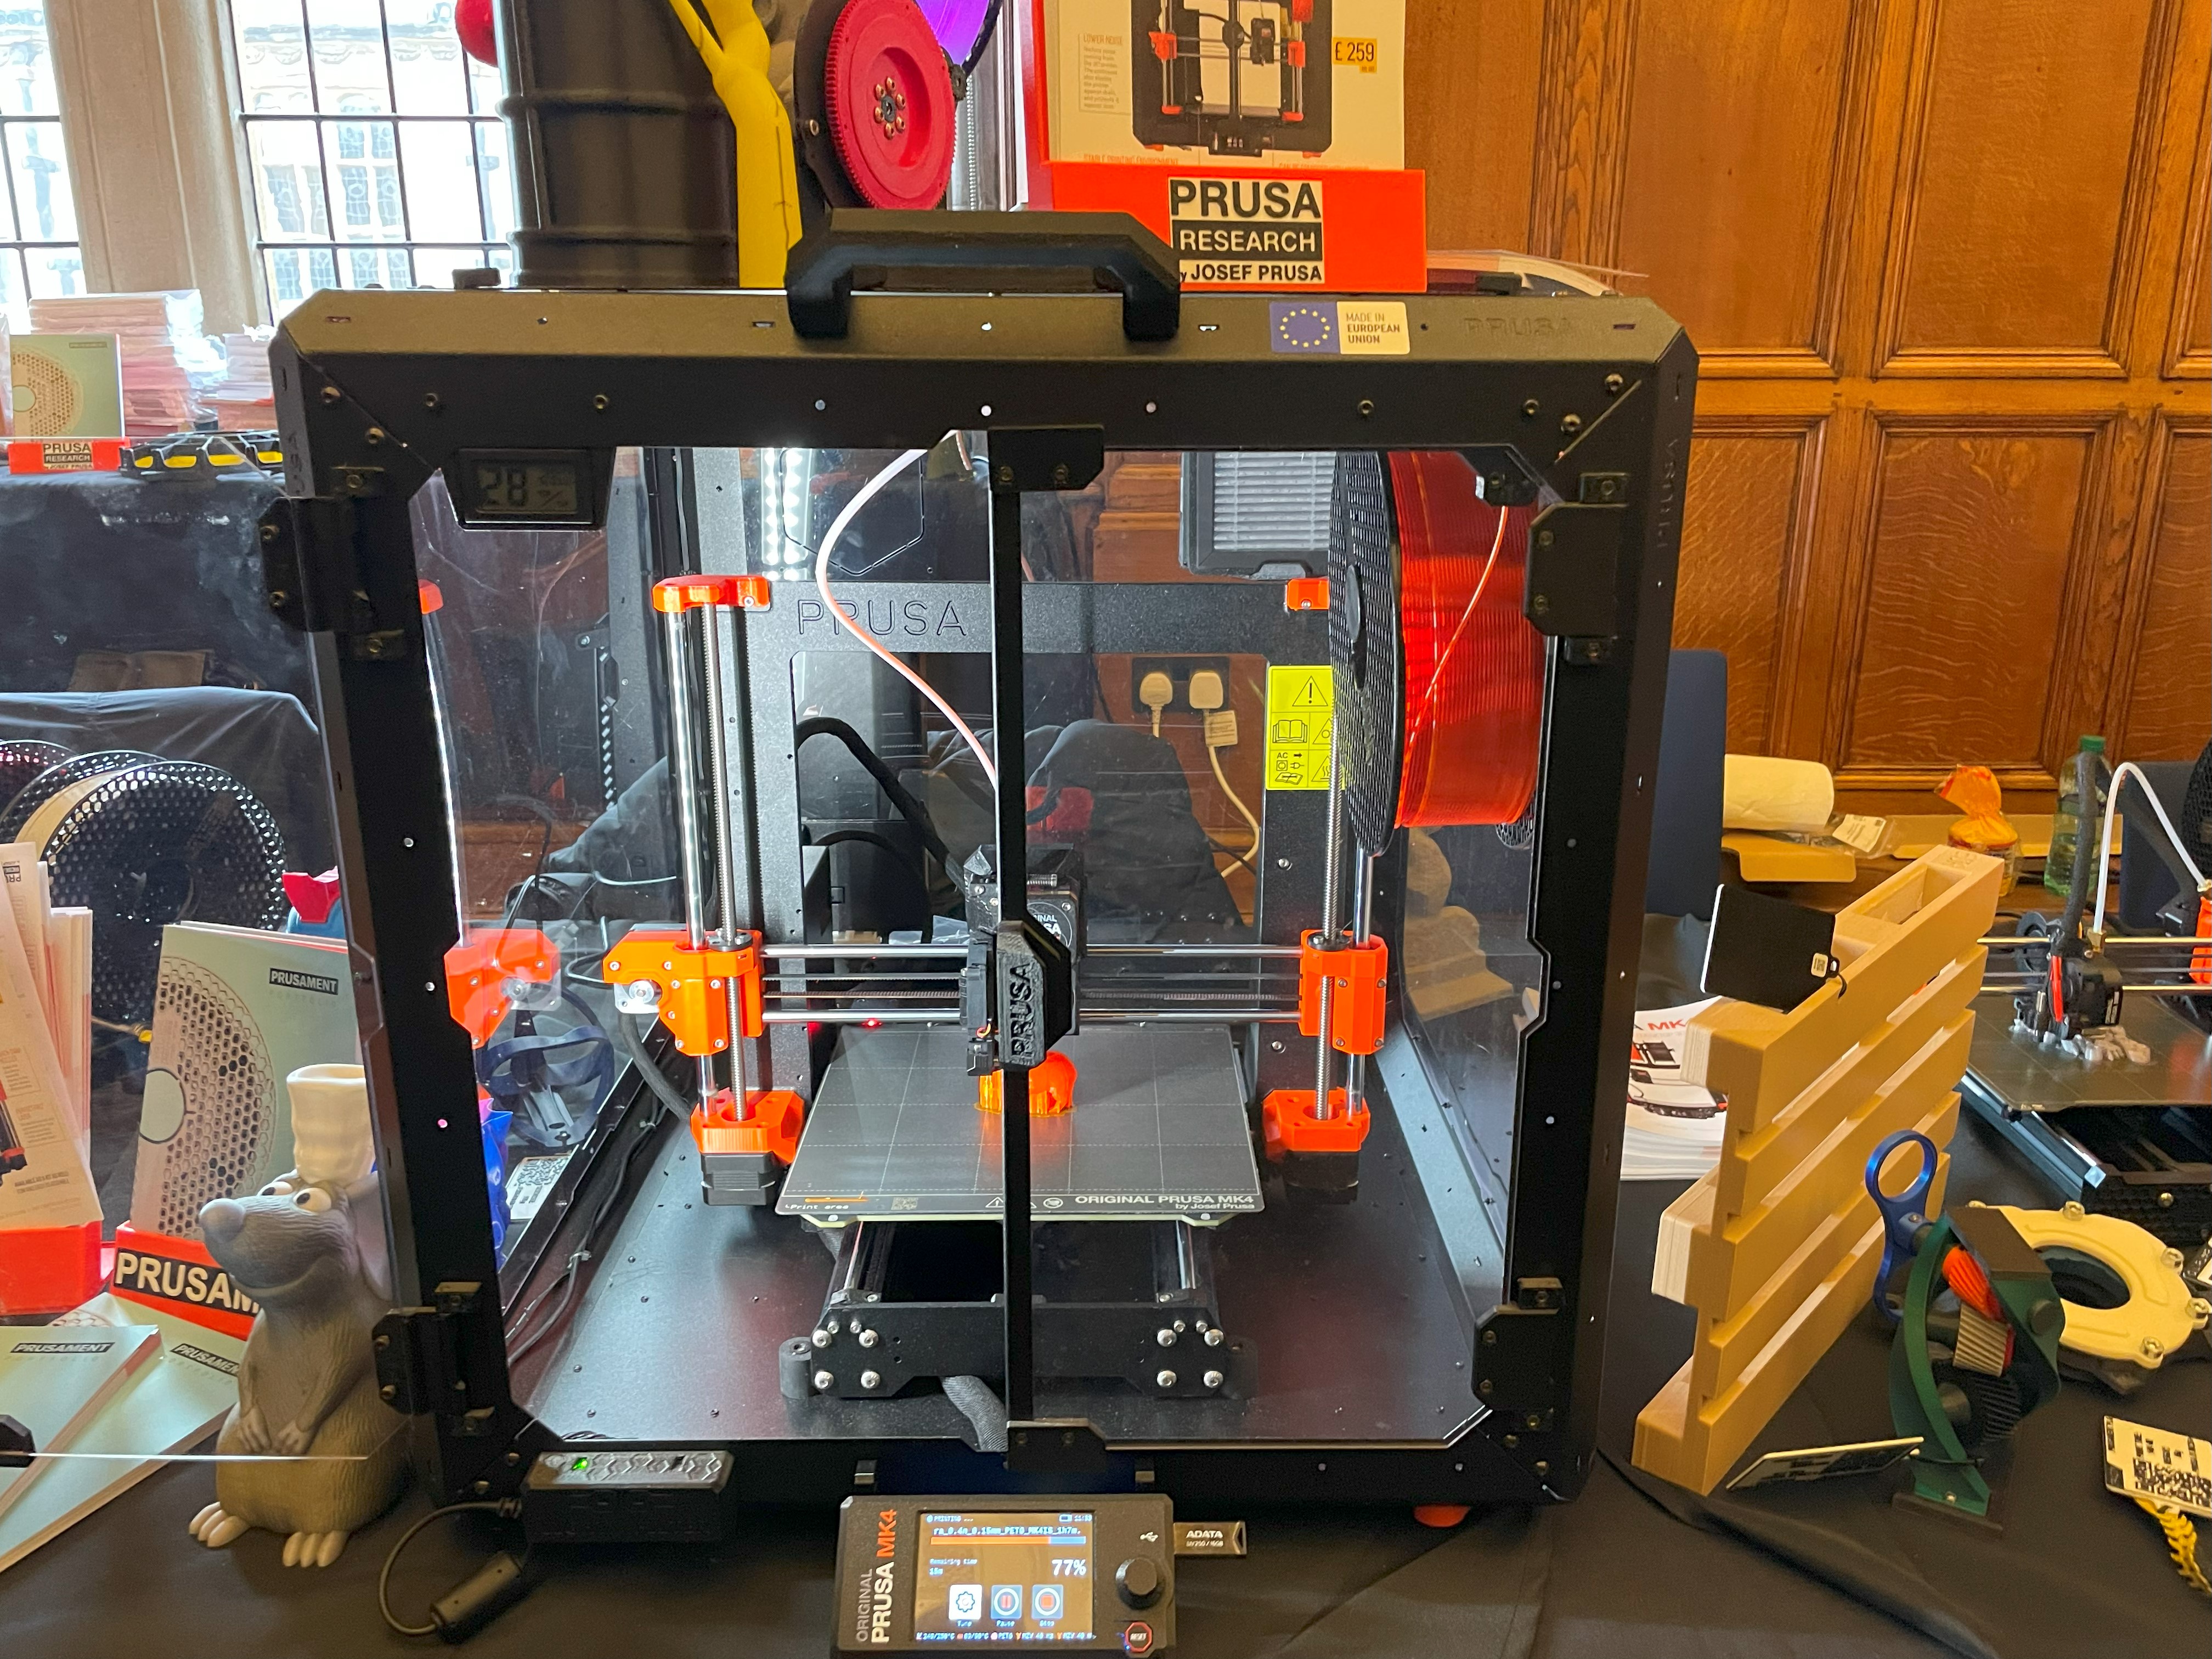
 Original Prusa i3 Mk4 in the Prusa enclosure was also present.
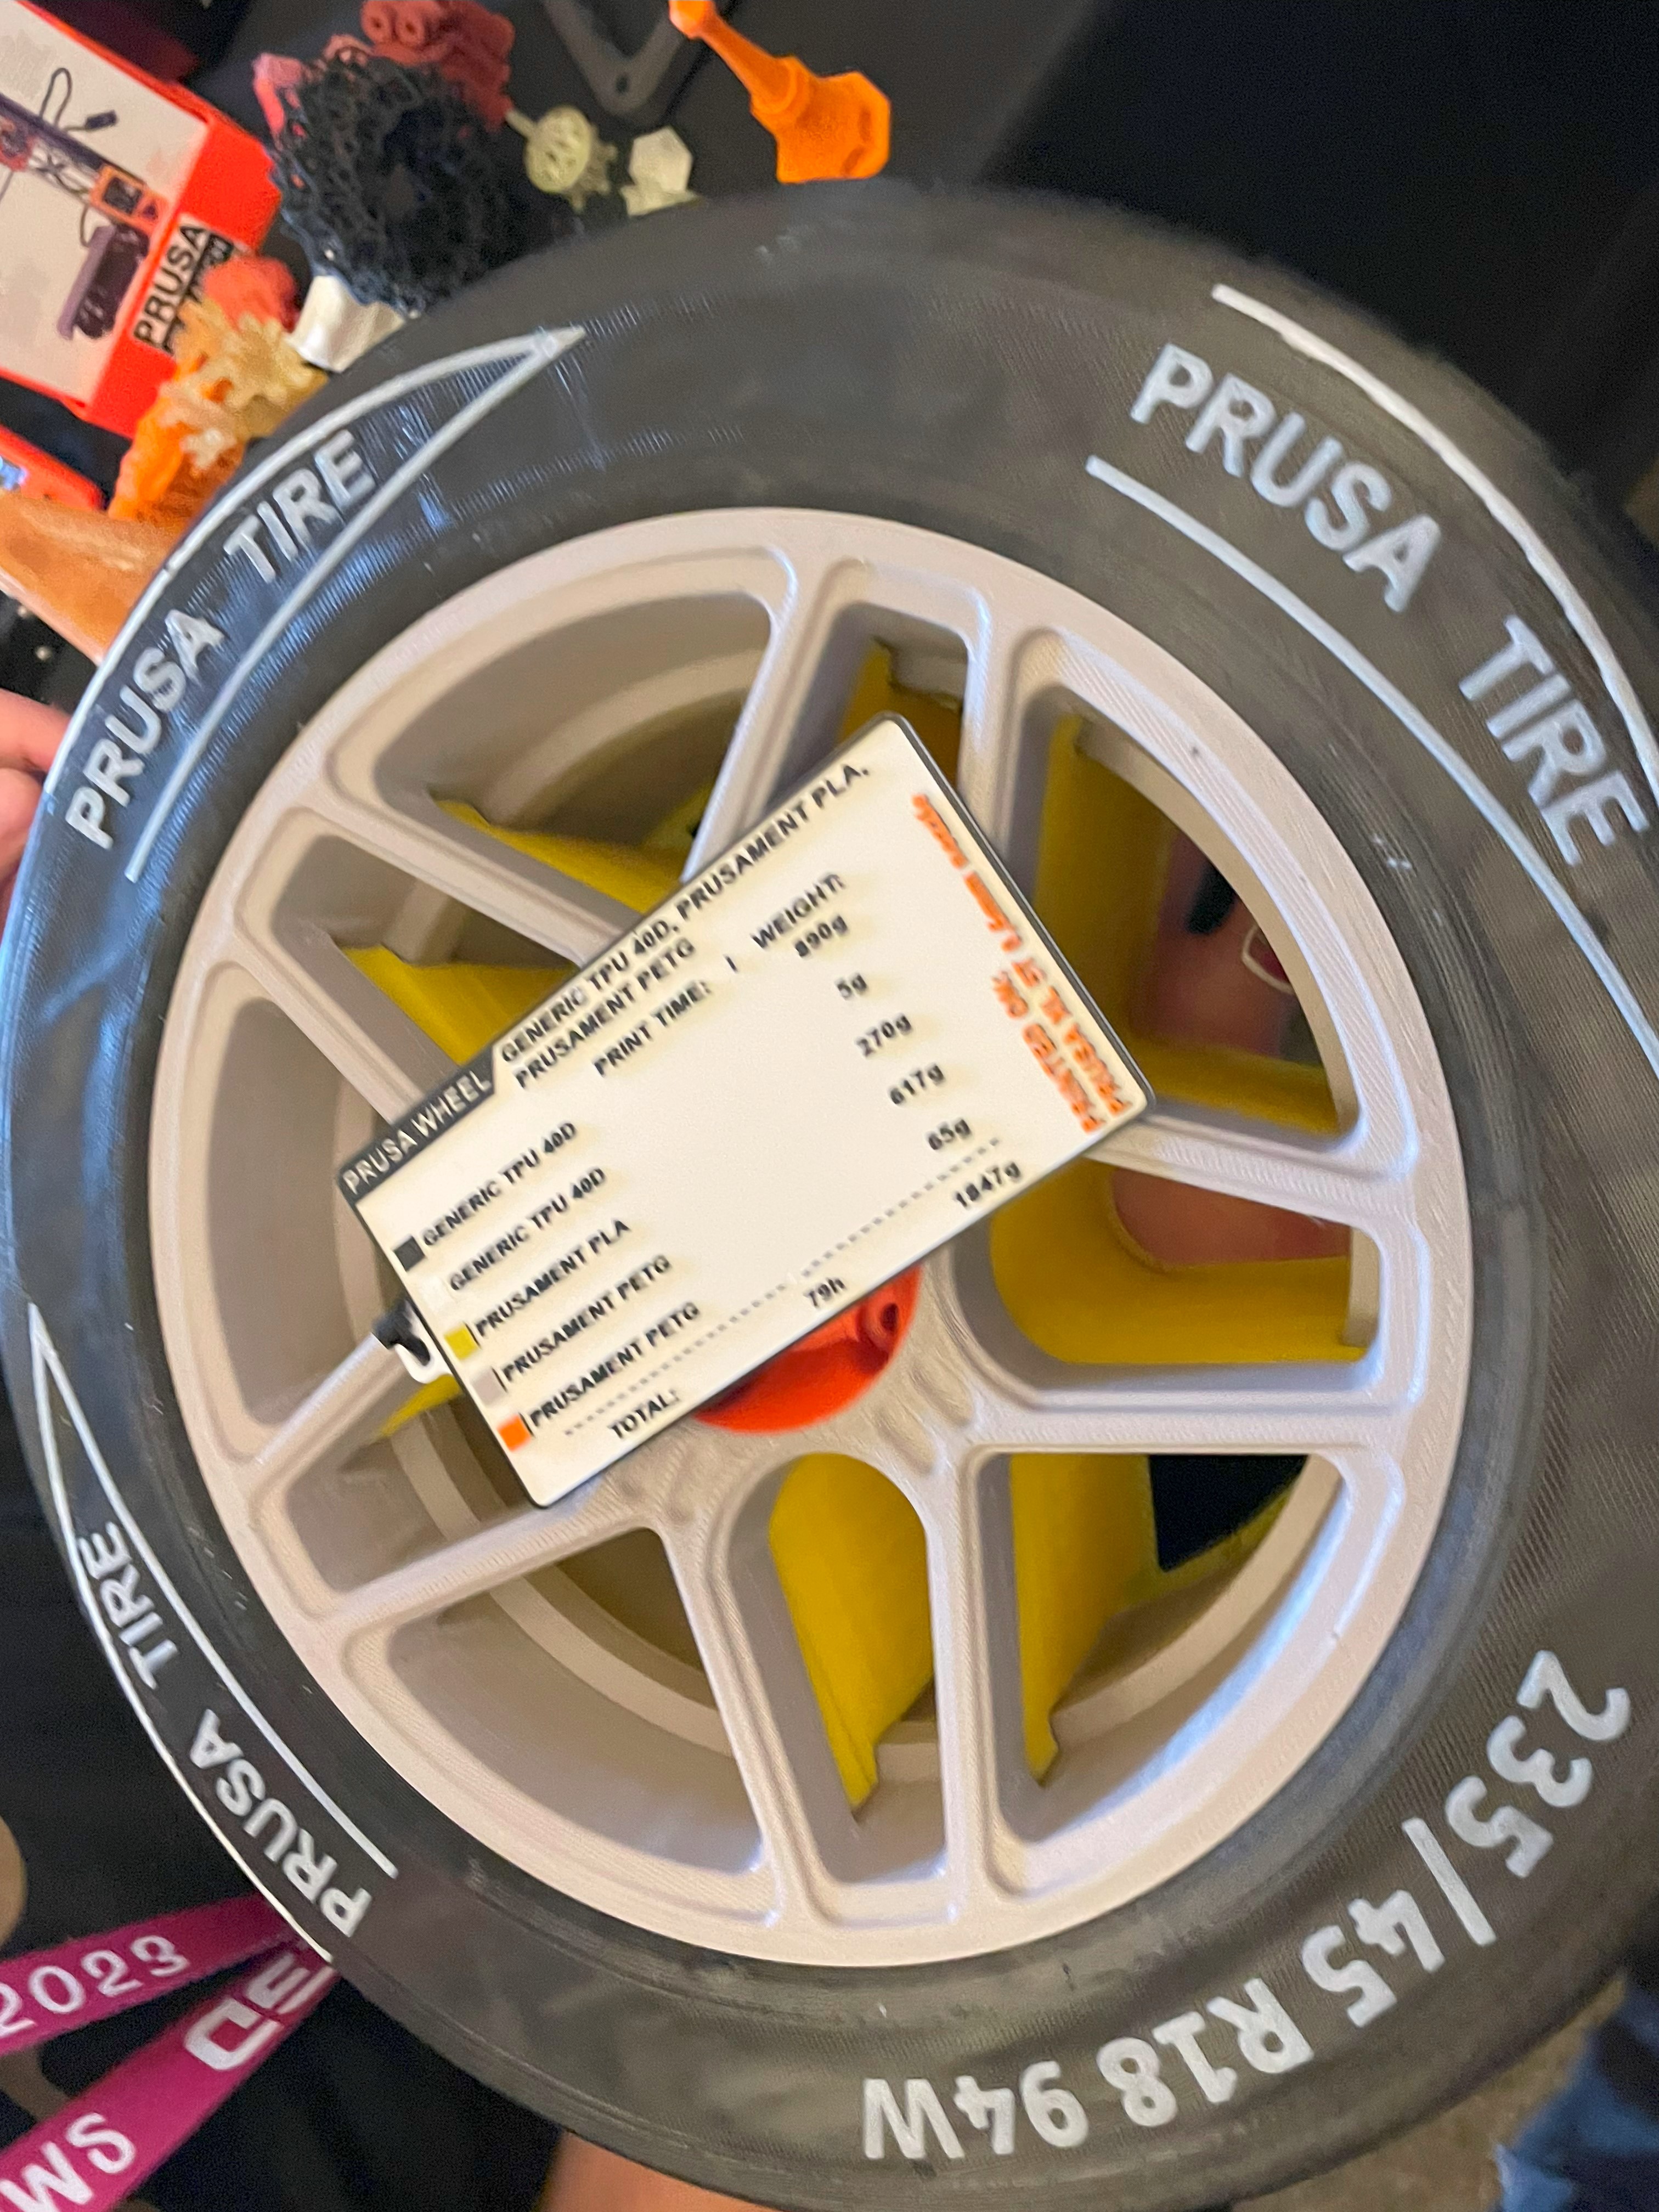
The star of the show however, was the Prusa XL. The Prusa XL is a large-scale CoreXY 3D printer with a build volume of 36×36×36 cm. It features an optional tool changer with up to 5 independent tool heads, automatic first layer calibration for an always-perfect first layer, and many smart features, making it possible to print massive objects. This is demonstrated by the Prusa tire.
The Prusa tire is a flexible wheel that can be printed on the Prusa XL 5T with a 0.6mm nozzle out of 2 flexible filaments, 2 PETGs, and one PLA. This is practically impossible to do on a single-nozzle printer like the Bambu Lab X1C with AMS - because changing materials comes with the risk of filament blockades in the nozzle due to different printing temperatures. In addition, TPU is quite hard to feed automatically due to the flexibility of the material.
 The Prusa tire consists of two PETG filaments, with PLA as support filament and two TPU filaments for the tire.
The Prusa XL is capable of combining different materials within the same print, which is useful for creating these complex objects. However, at €2100 for a single toolhead version and €3600 for a multi-toolhead version it is quite a price to pay. From what I’ve seen online stringing and software issues are currently quite prevalent, so if you’re in doubt, you’re probably better off waiting for the Prusa XL to mature before buying one.
Cocoa Press: 3D printing chocolate
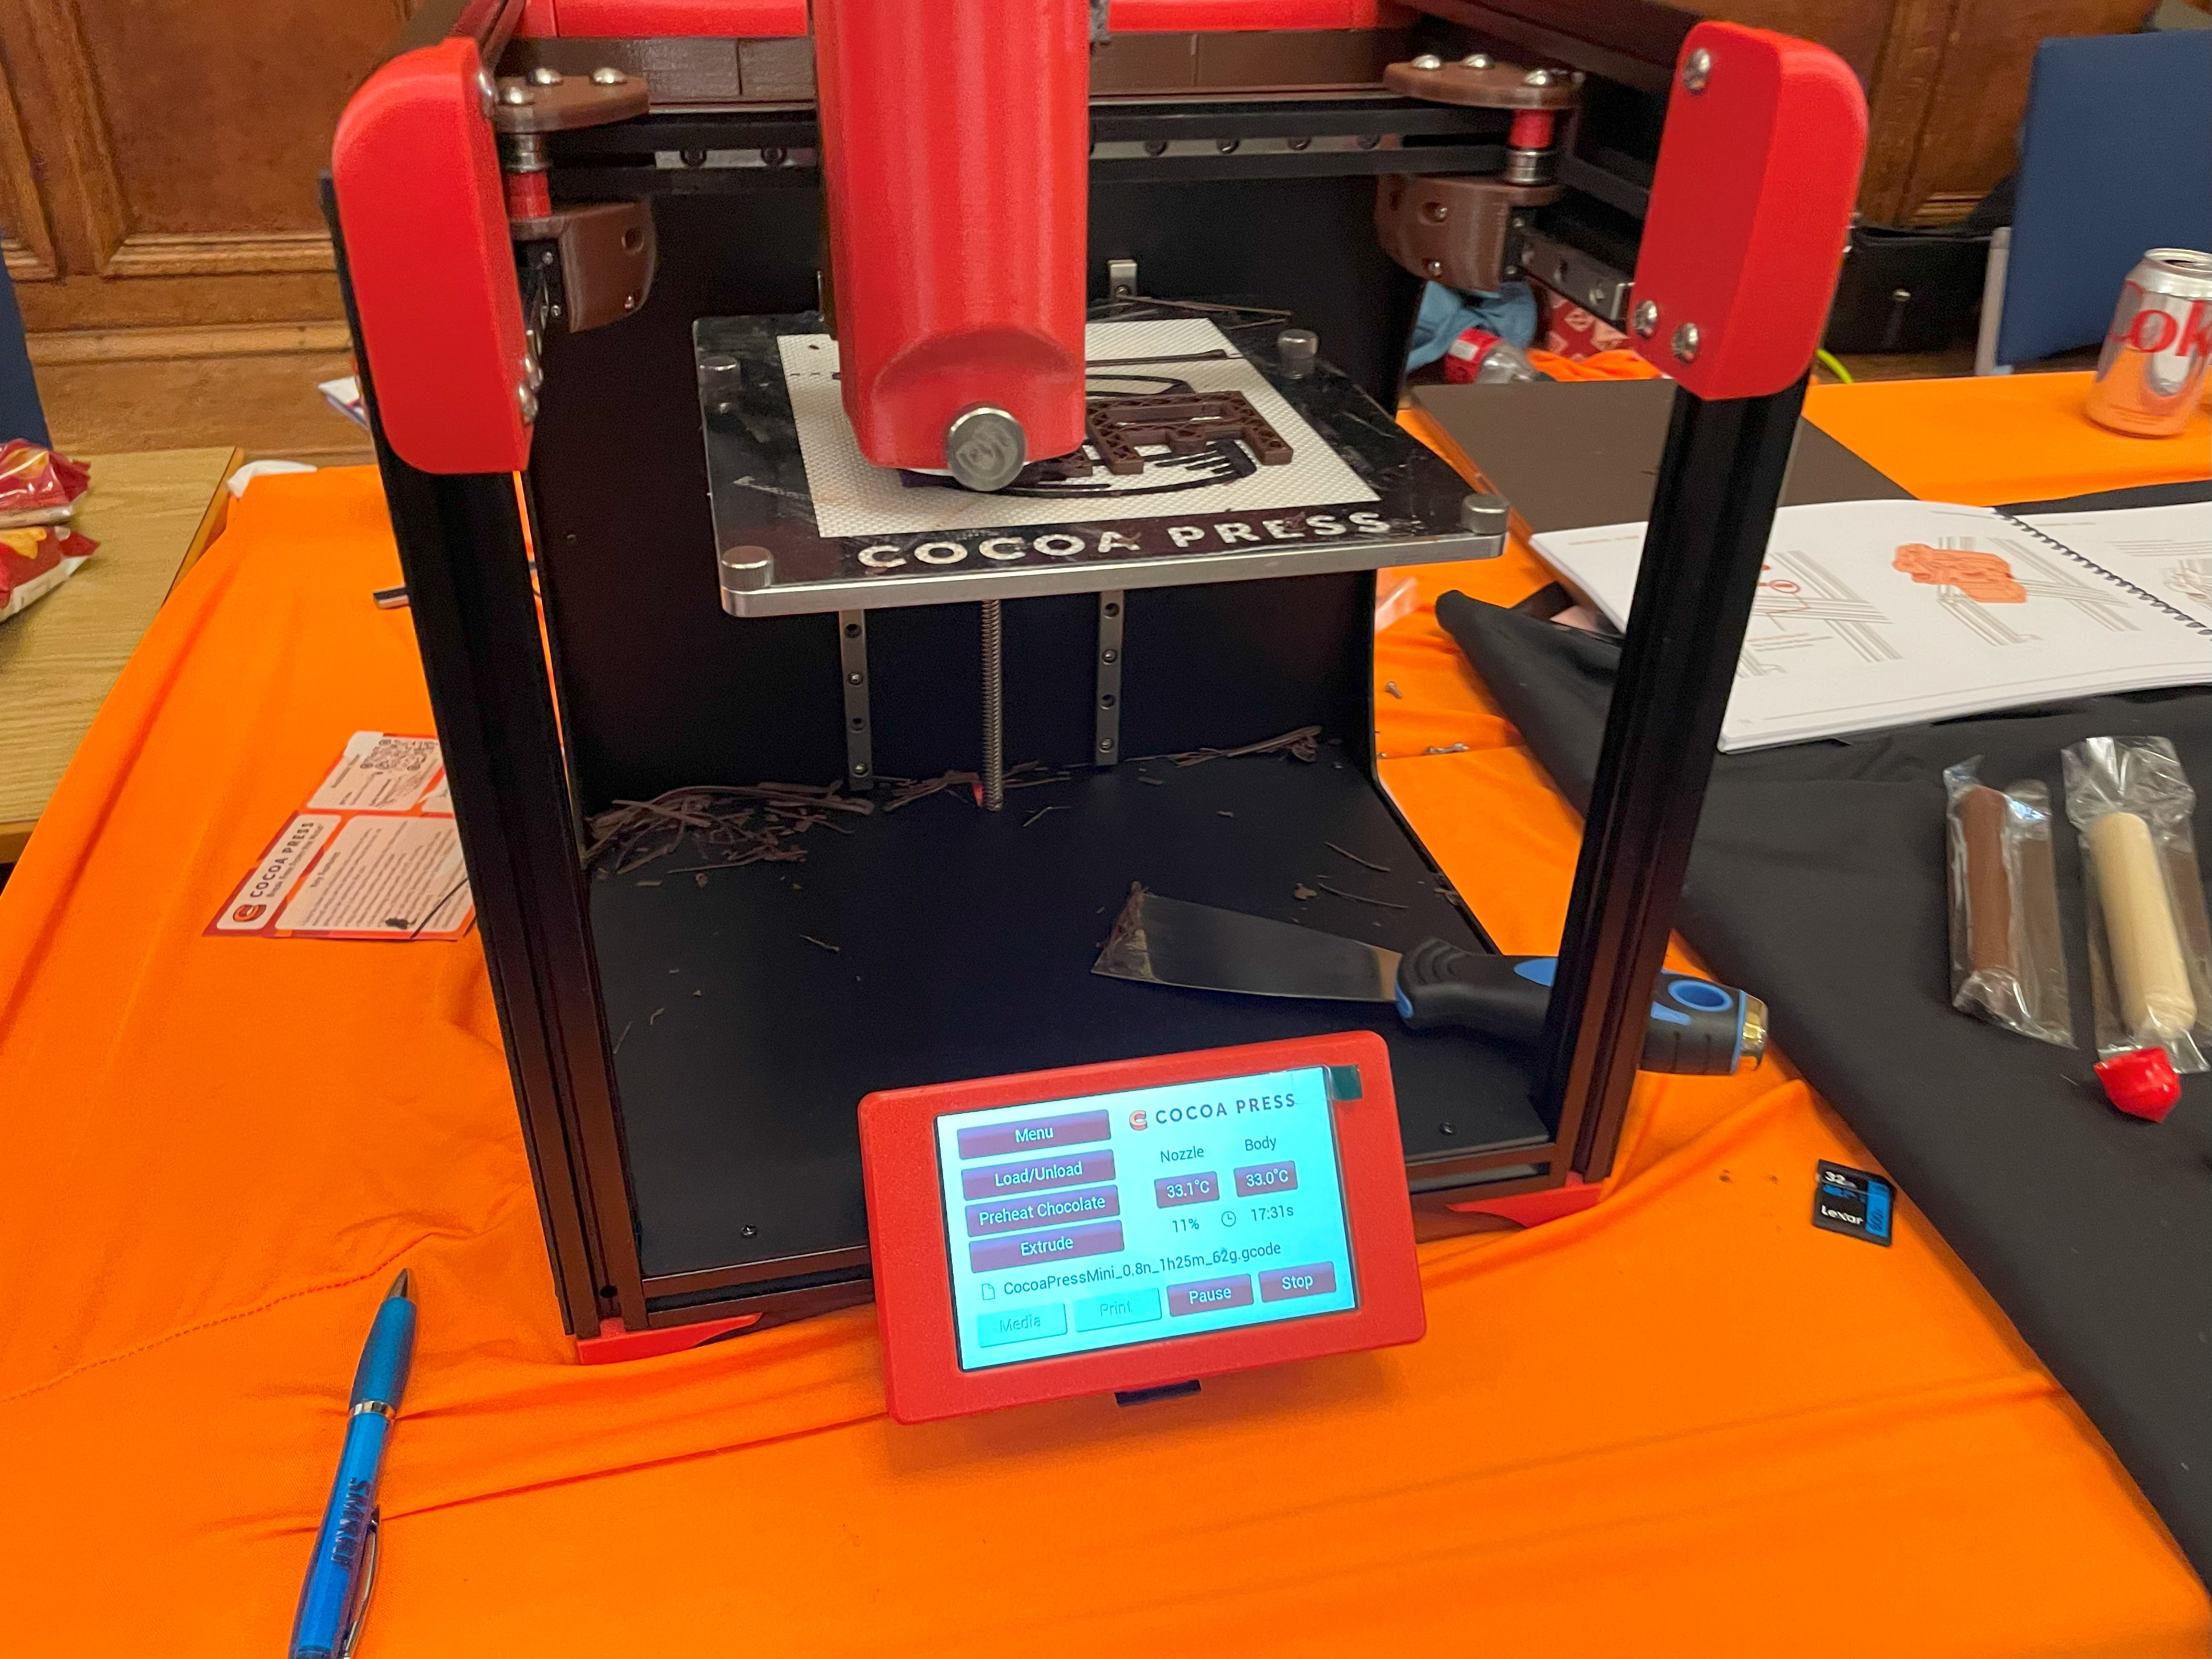
The one of the first of its kind, the Cocoa Press, aims to make it easy to allow arbitrary designs to be printed in eatable chocolate. The printer uses a special nozzle to deposit chocolate onto a surface. The printer can print complex shapes and designs. The printer is easy to use and can be used by anyone. The printer is also affordable and can be used in homes and small businesses. The DIY kit starts at $1,499. The fully assembled printers will be available soon.
In terms of printing, only 4 parts come directly into contact with chocolate, which makes the printer very easy to clean. This is also good from an hygiene perspective.
 Some of the sample prints of the Cocoa Press
One of the challenges that came up when developing the Cocoa Press is that chocolate needs to be printed at a very specific temperature. For this there were special thermistors chosen so the temperature of the nozzle could be kept in the decimal precision. The Cocoa Press can print with any chocolate, but the chocolate (cocoa cores) from Ellie and her team works the best because it has been developed for the correct printing temperatures and the correct consistency necessary for accurate printing.
Full Control GCode
Full Control Gcode is a software that allows users to have full control over the print-path of their 3D printer. The software allows users to control every bit of the print-path and all settings. The software also allows for parametric design without the need for CAD models, slicing software, or programming. The Full Control Software, which started as an Excel file, but now also has a Python version, is open source and can be downloaded from fullcontrolgcode.com.
Because Full Control is both a slicer and modelling software in one, it has intrinsic more understanding about the model properties than a slicer could have. While the current generation of slicers just sees a bunch of vertices (=3d points) and faces (=the area between vertices) - full control on the other hand has intrinsic understanding of the model being printed. Below a few examples on what is possible.
 This strength specimen was printed using a variable extrusion with. All across the model the same amount of extrusions were used - but they are wider at the top and bottom. This ensures the model has the same strength throughout.
 The table shows various sample prints. Some you can easily generate yourself on fullcontrol.xyz, like the Pin Support Challenge (shown in orange)
 The Full Control lampshade and concrete 3d printing is shown
The concrete 3d printing is actually being applied in the Netherlands for 3D printing homes. One of the advantages of 3d printing the shell of the house is that you can embed thermal insulation, pipes and electricity while the 3d printing is performed. The 3d printed material needs about 1 hour to harden and it needs 24 hours to fully cure.
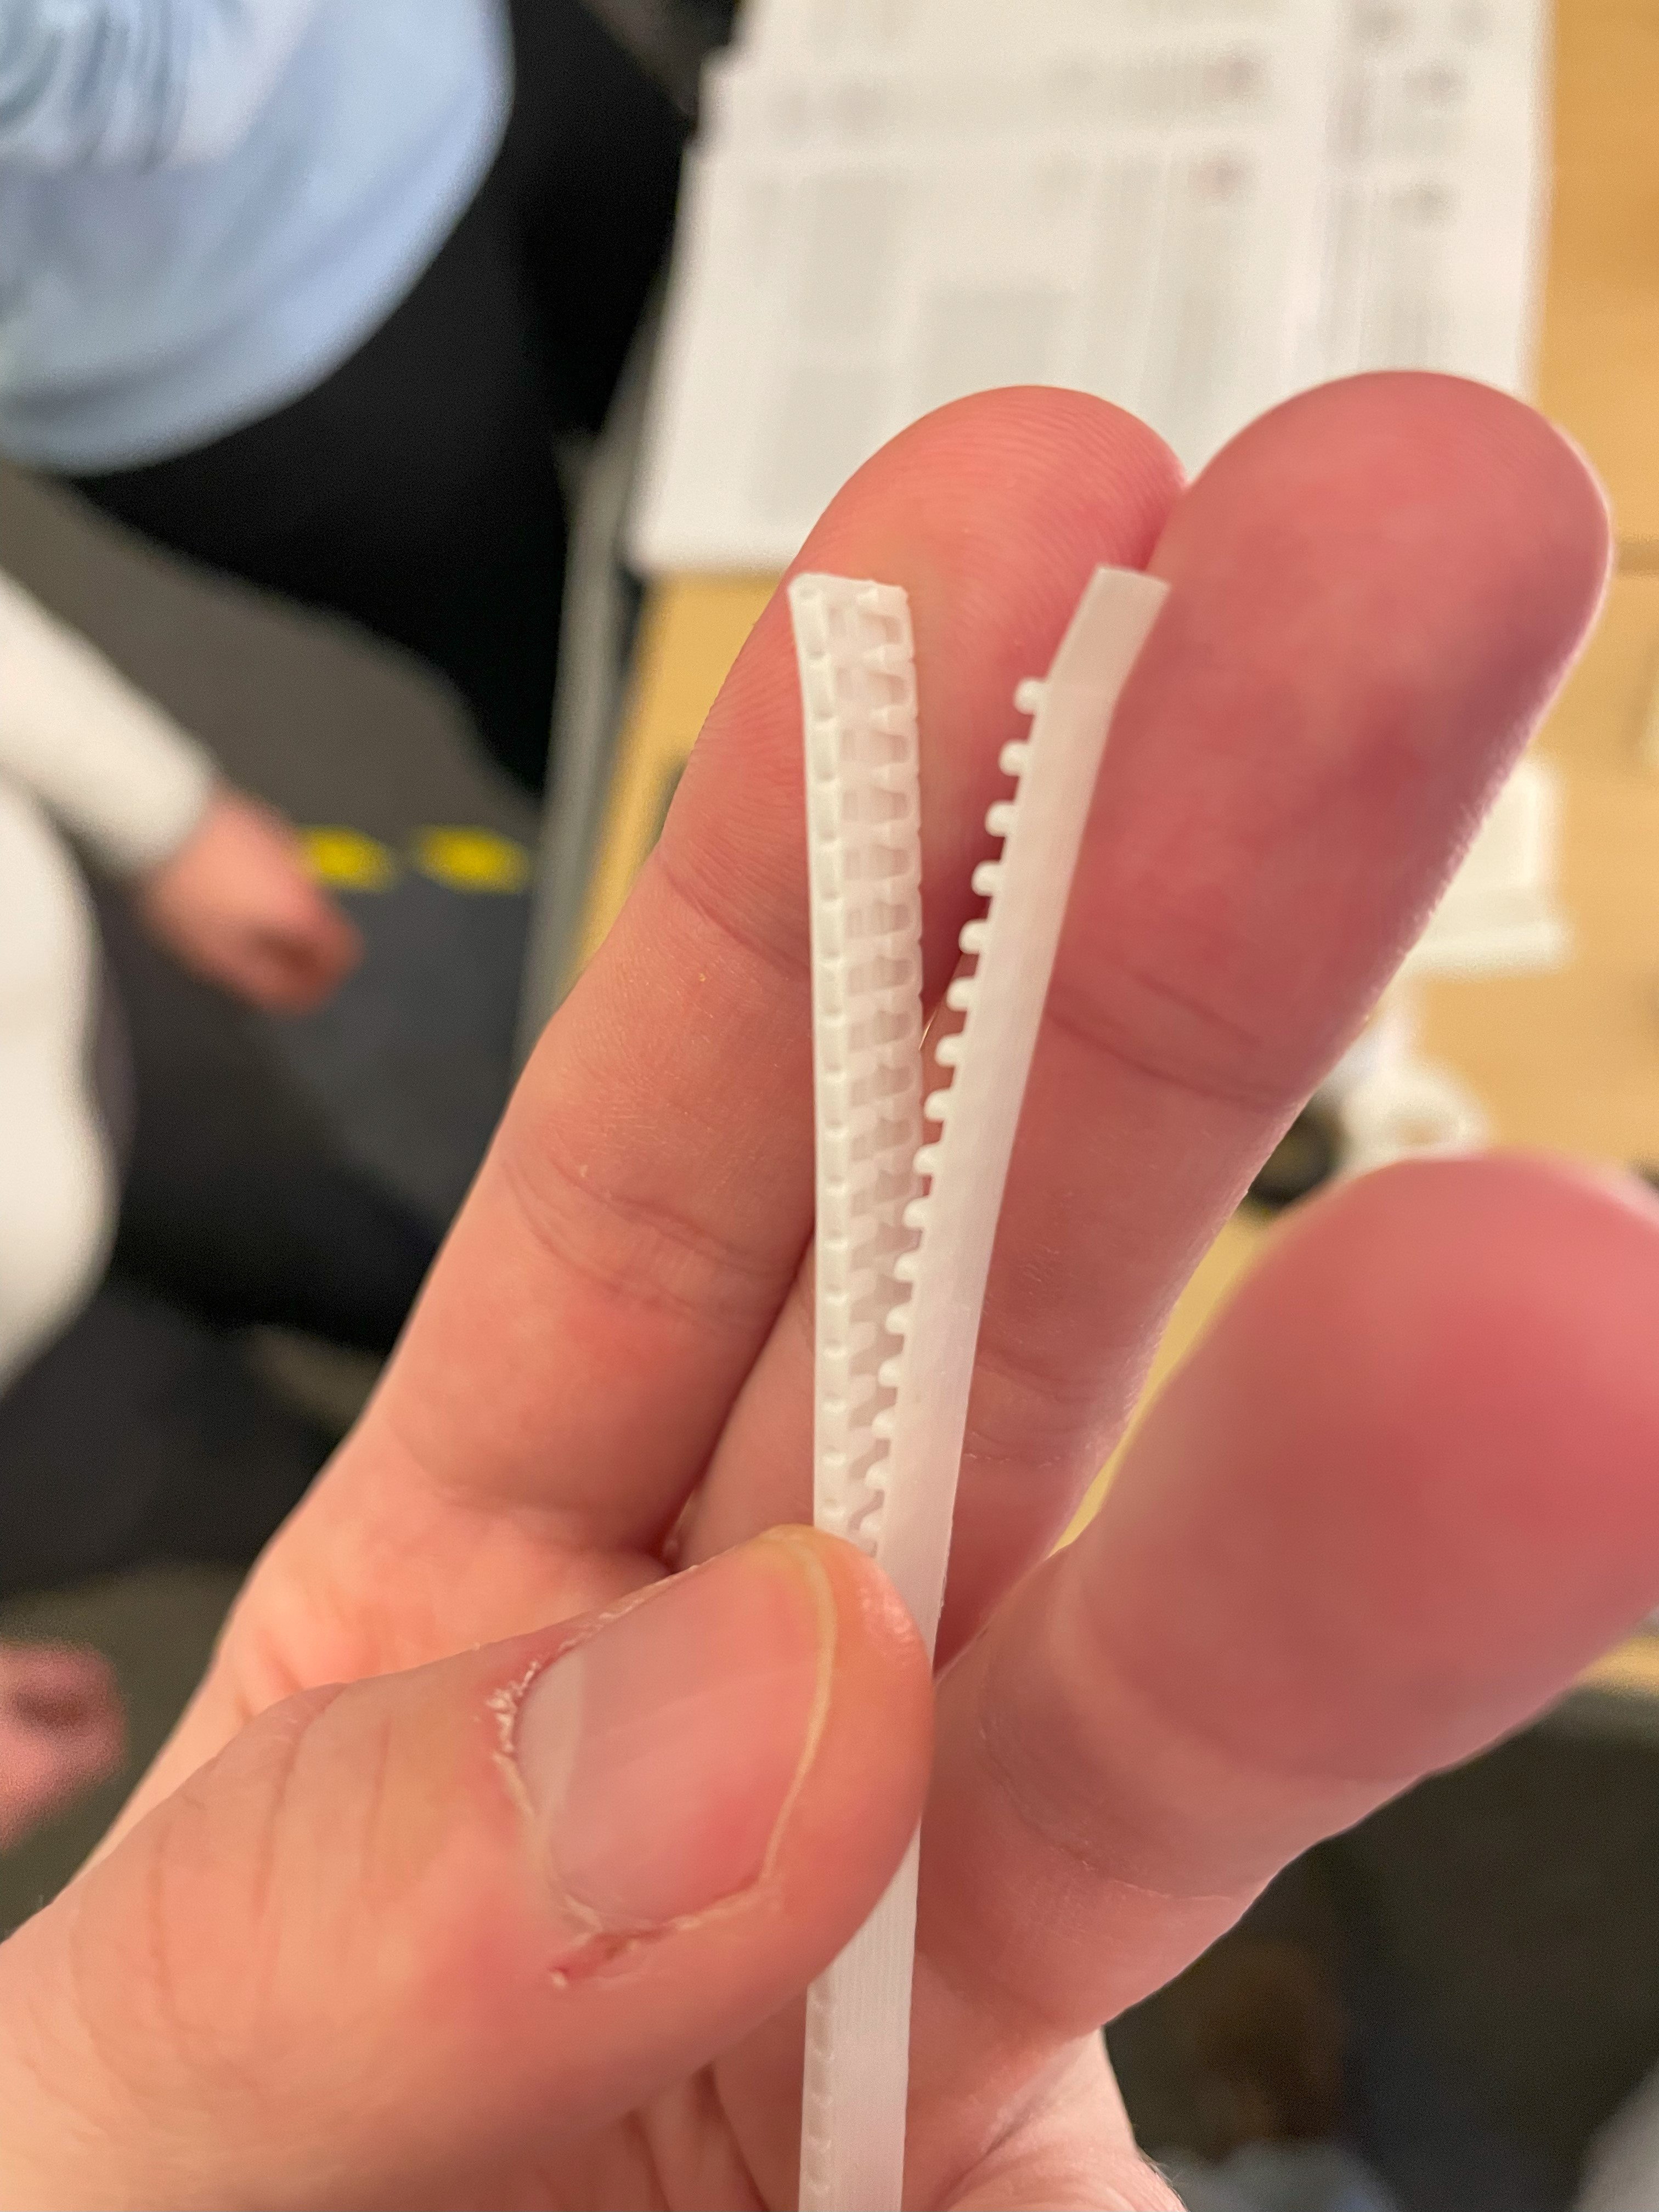 3D printed velcro - which is similar to earlier designs found on Printables but this feels much more rigid
Automatic watering of orchids
Anyone who has orchids at home know that they are beautiful plants, but also quite difficult. They need a rigid watering scheme in which they need to be soaked in water every few days and then be kept dry. They eventually die off and then are supposed to come back. Often they won’t, and then you know you made a mistake somewhere.
The automatic orchid watering system resolves this issue. It consists of a 3d printed planter, an aquarium pump, and a custom PCB with an MCU that controls the whole system. You can set the interval in which watering needs to be done. By default every seven days the orchid is soaked in water, then the water is completely pumped out again.
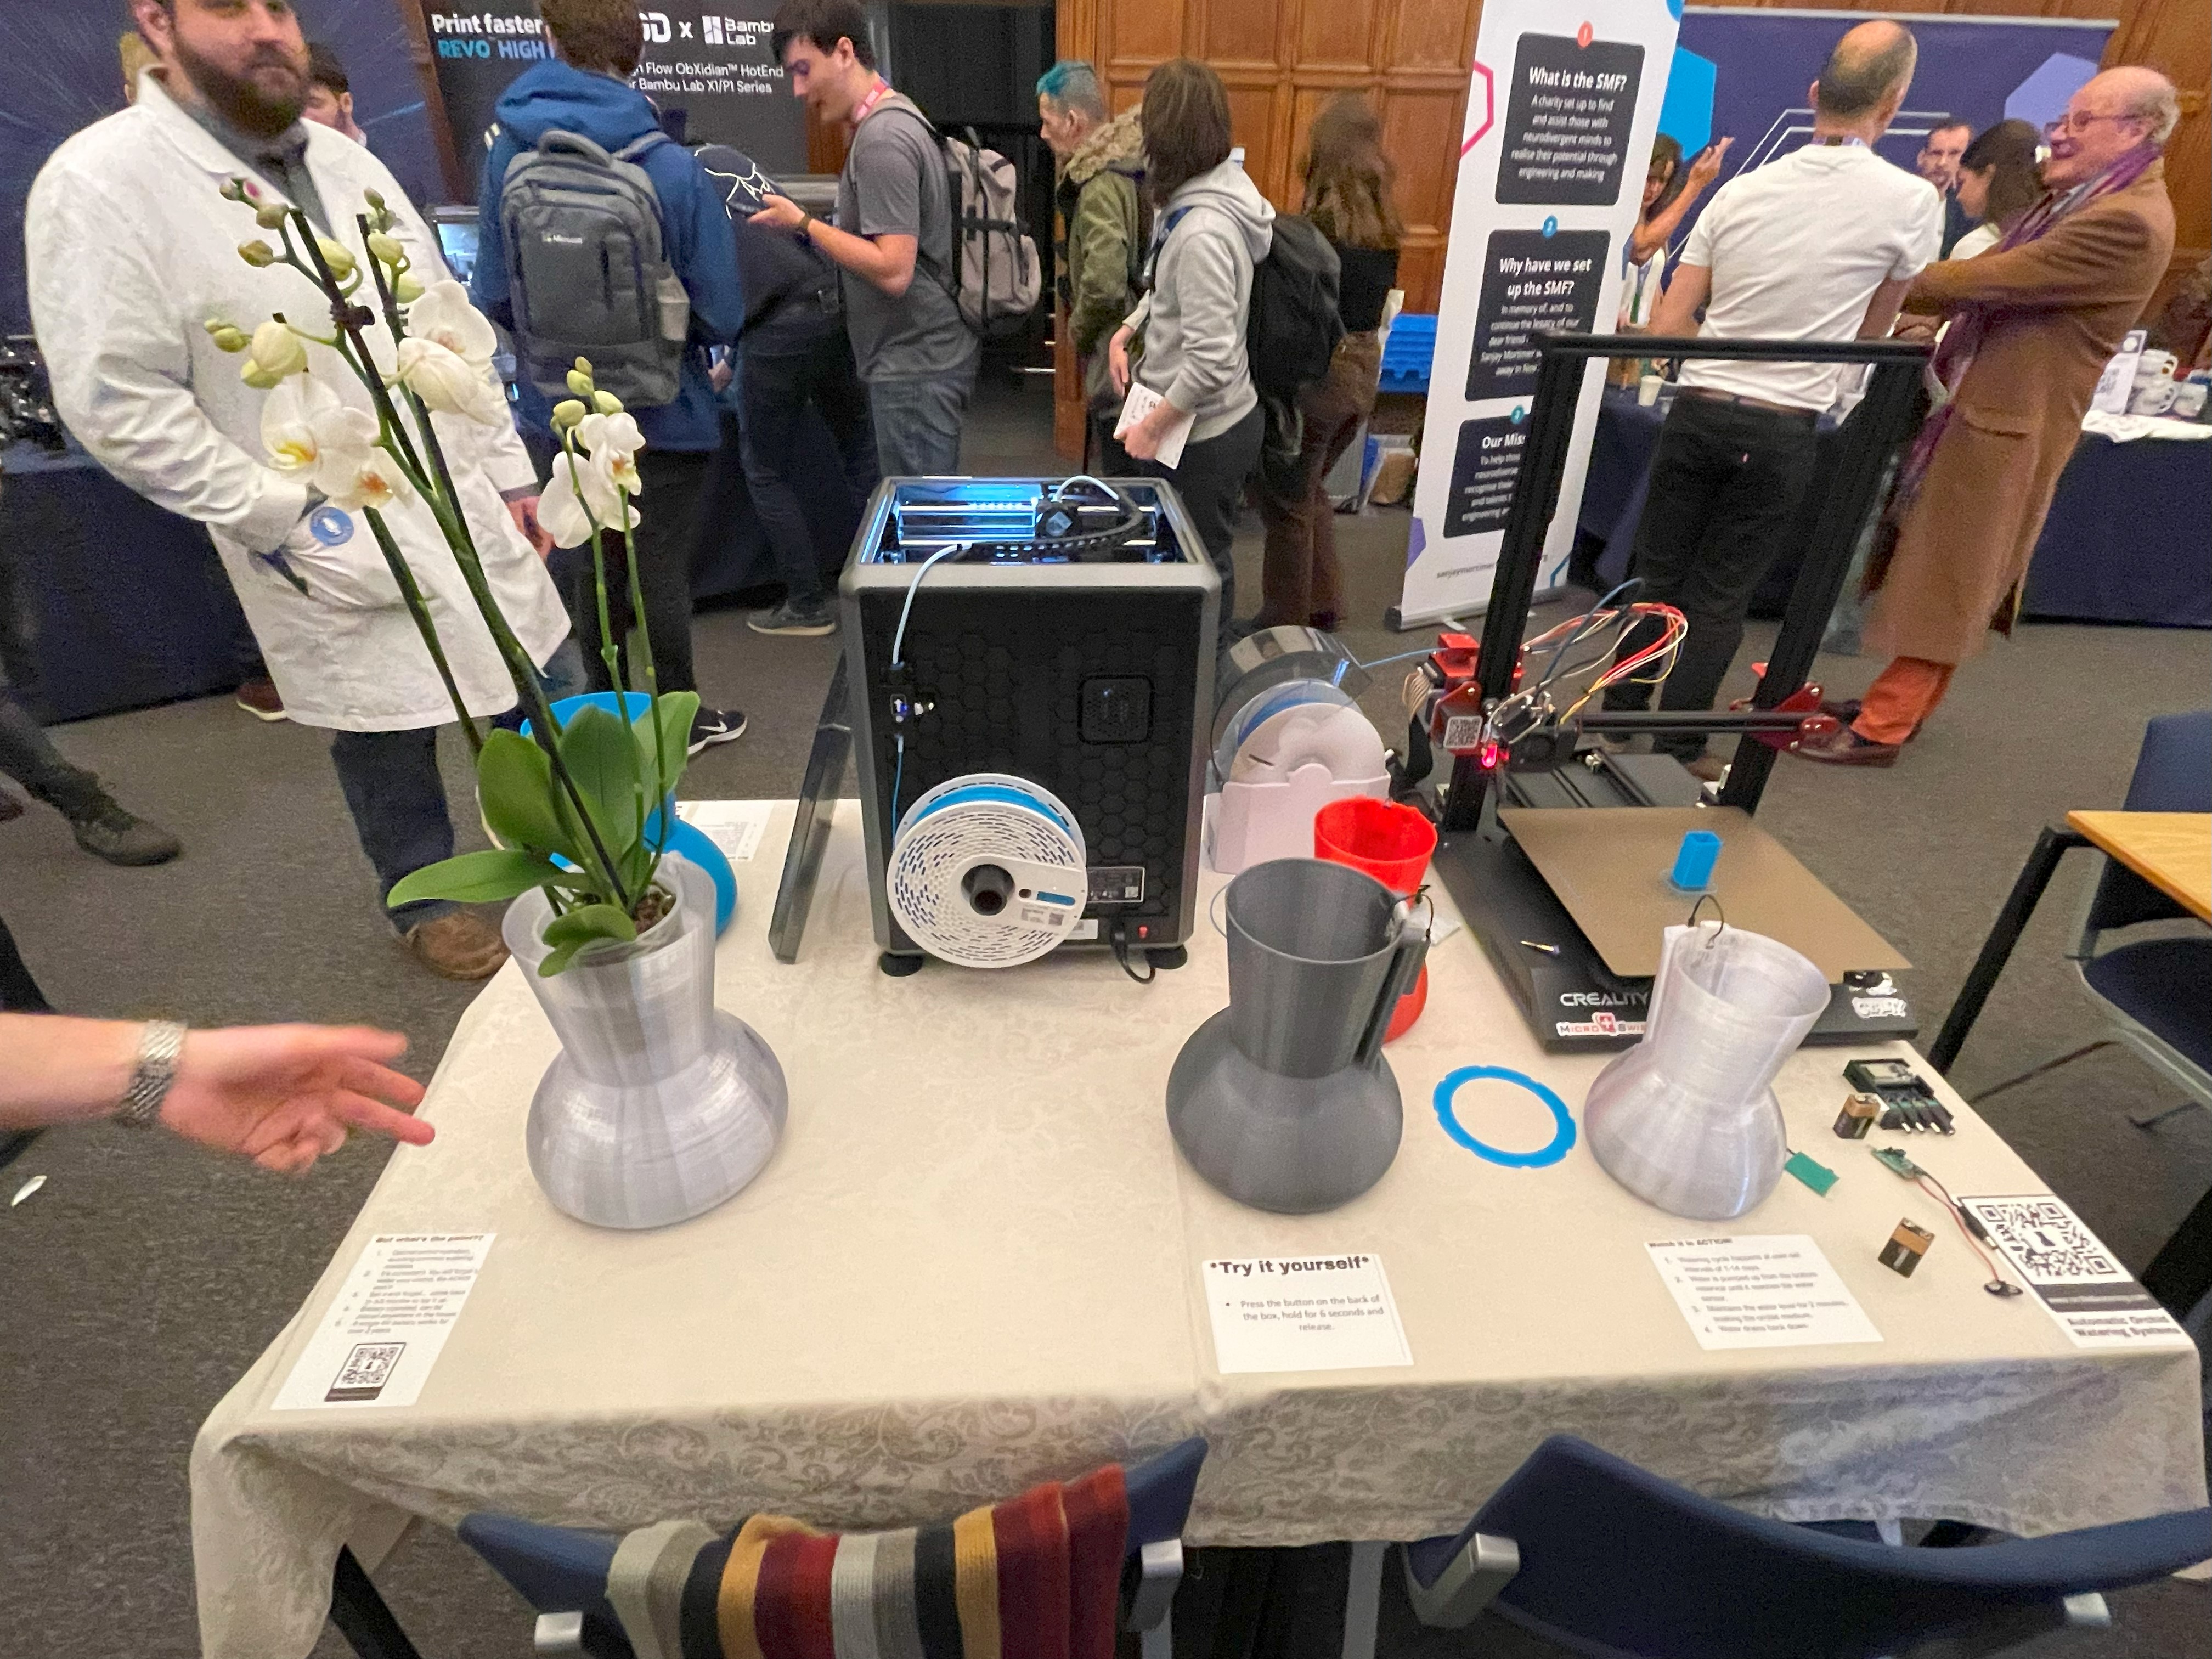
This is the perfect opportunity to introduce todays sponsor PCBWay - you partner for projects like the automatic orchid watering.
Creating your own PCB with PCBWay
PCBWay.com is a reliable and affordable platform for creating PCBs. They offer a wide range of services, including PCB prototyping, PCB assembly, and PCB layout. They also provide a variety of materials to choose from, including FR-4, aluminum, and flexible PCBs. PCBWay.com’s services are easy to use and affordable, making them accessible to everyone.
If you’re looking for a reliable and affordable platform for creating PCBs, PCBWay.com is the perfect choice. They offer a wide range of services and materials to choose from, making it easy to create the perfect PCB for your project.
Using PCBWay I can easily create PCB boards for the reverse engineered hot-end board of our CR-6 SE. This can keep our CR-6 SE running for many more years.
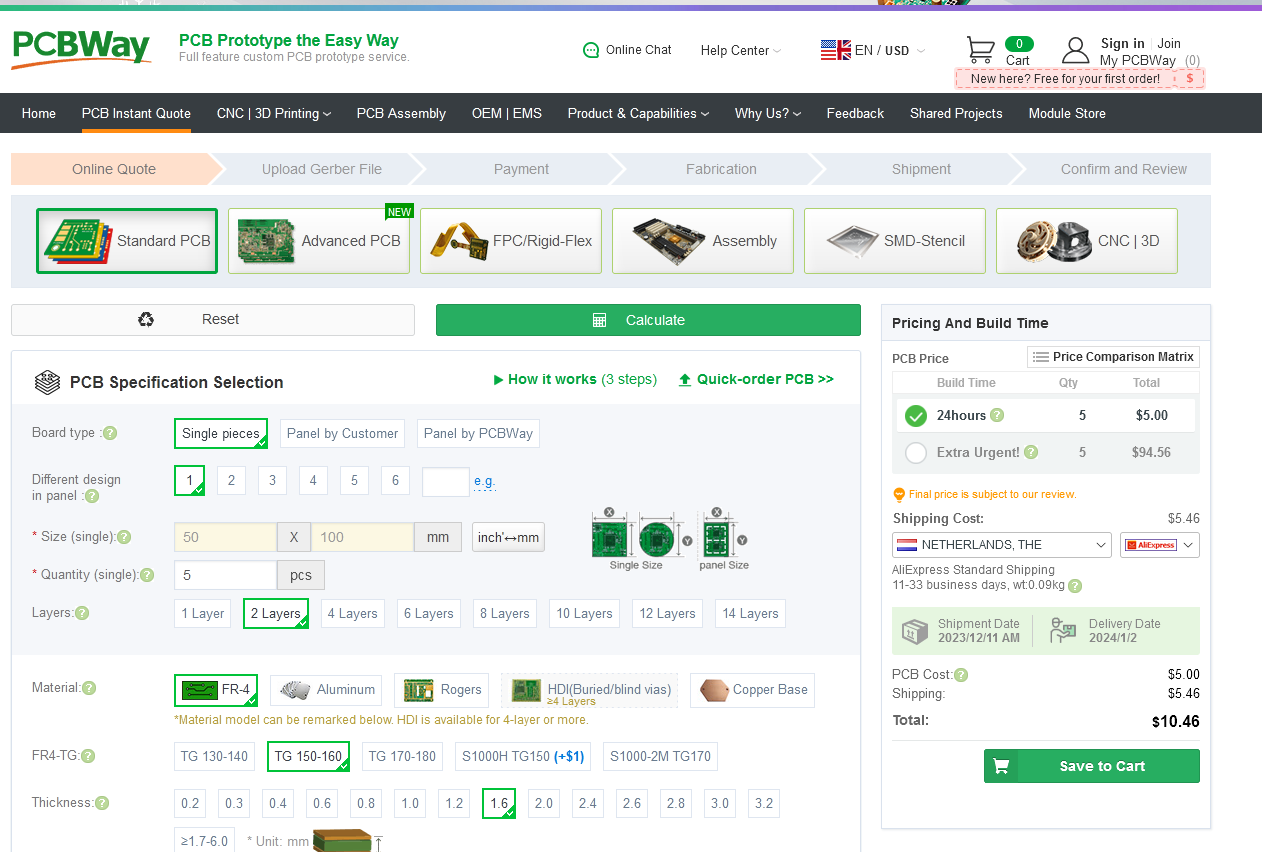 You select the PCB you need
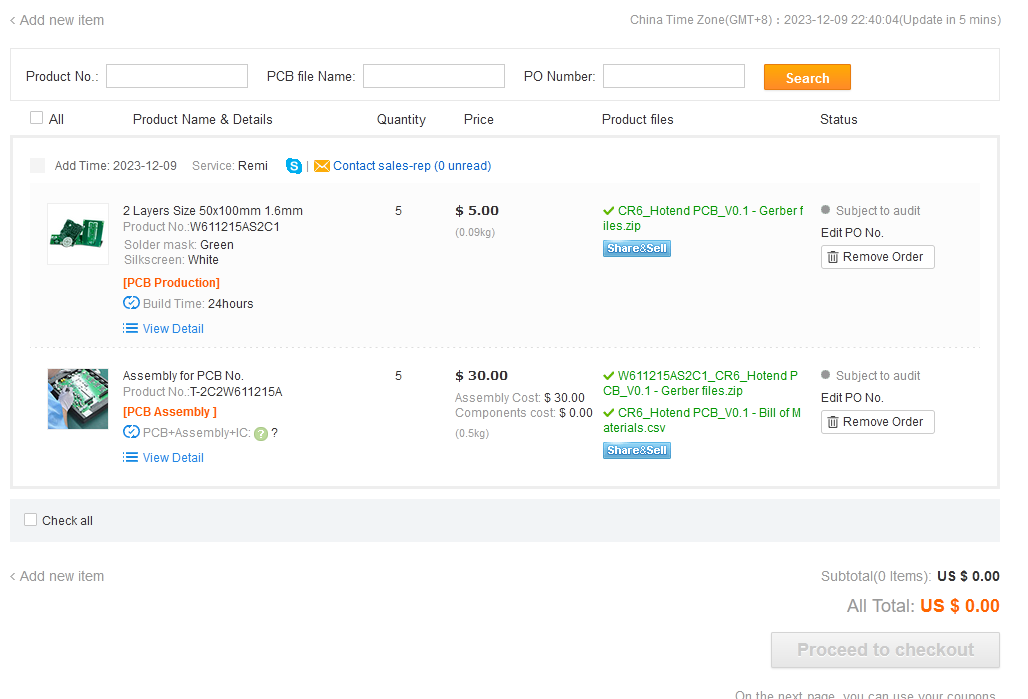 Upload the Gerber file, assembly and BOM
After you’ve uploaded the files, there is an automatic auditing done on the uploaded files. If you have any questions, you can easily contact someone on Skype to help you through. After this you can order the PCBs and have them shipped within a matter of days.
Metal 3D printing
There were also several demos on metal 3d printing.
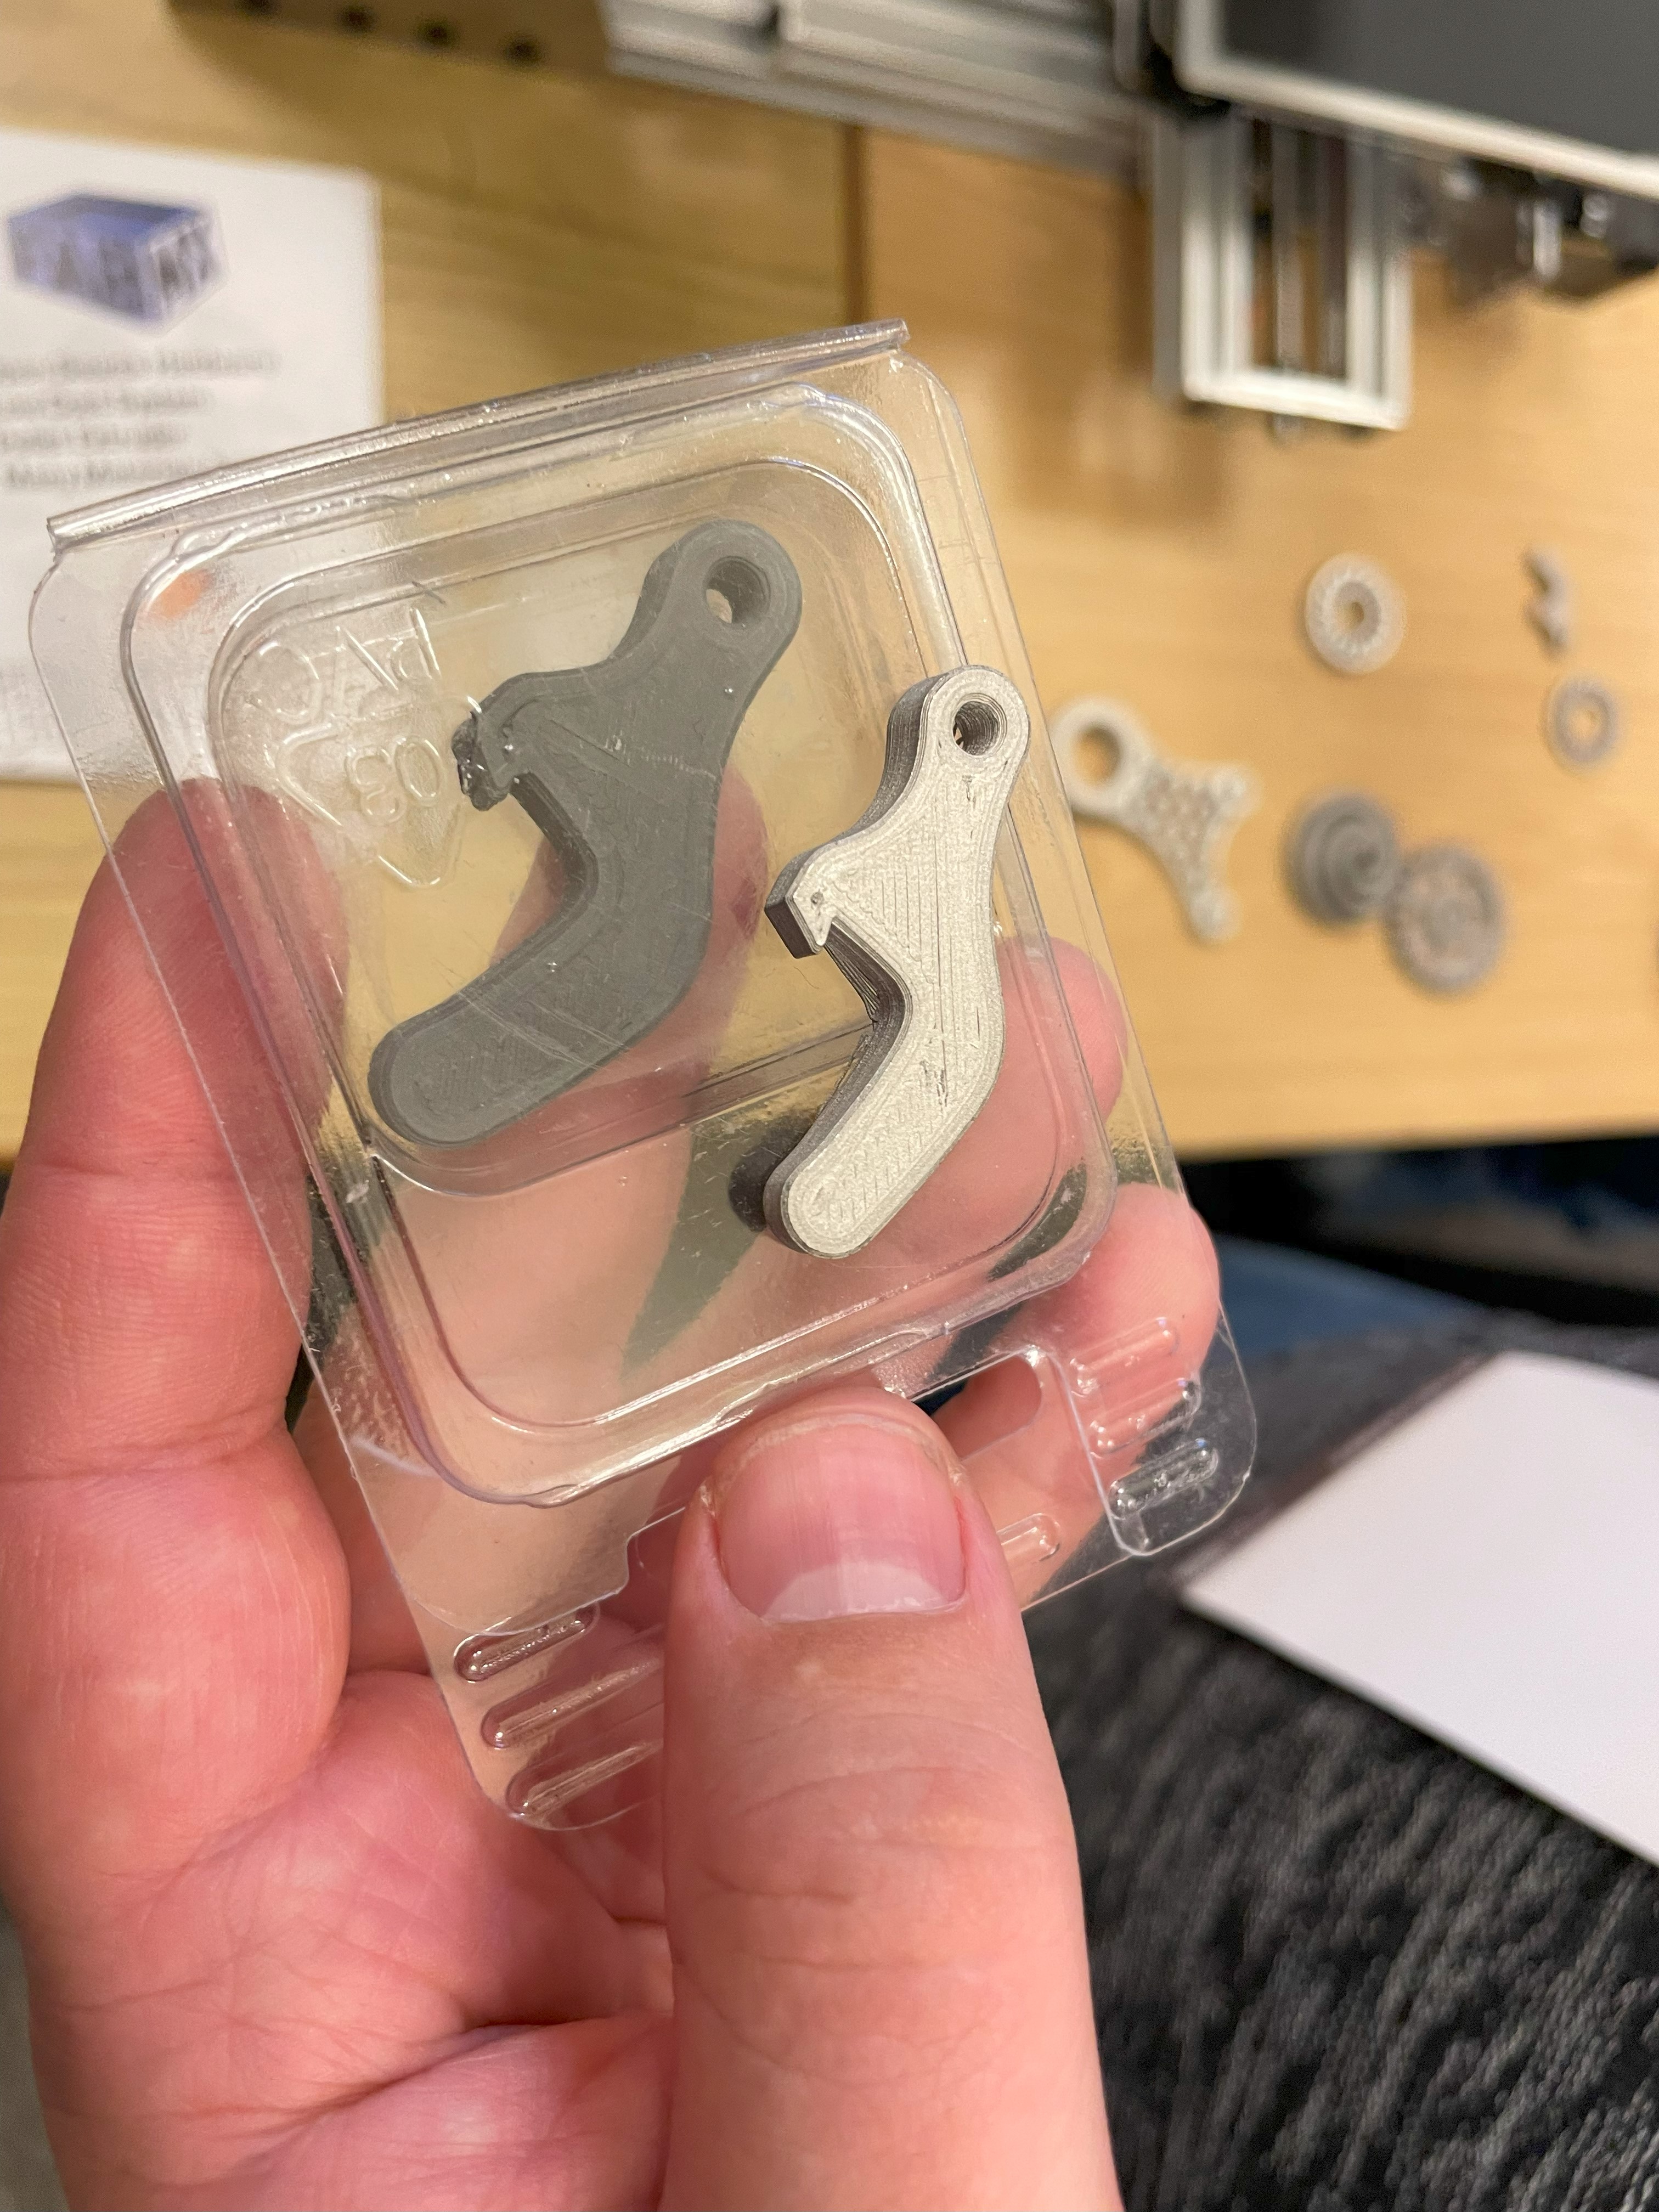
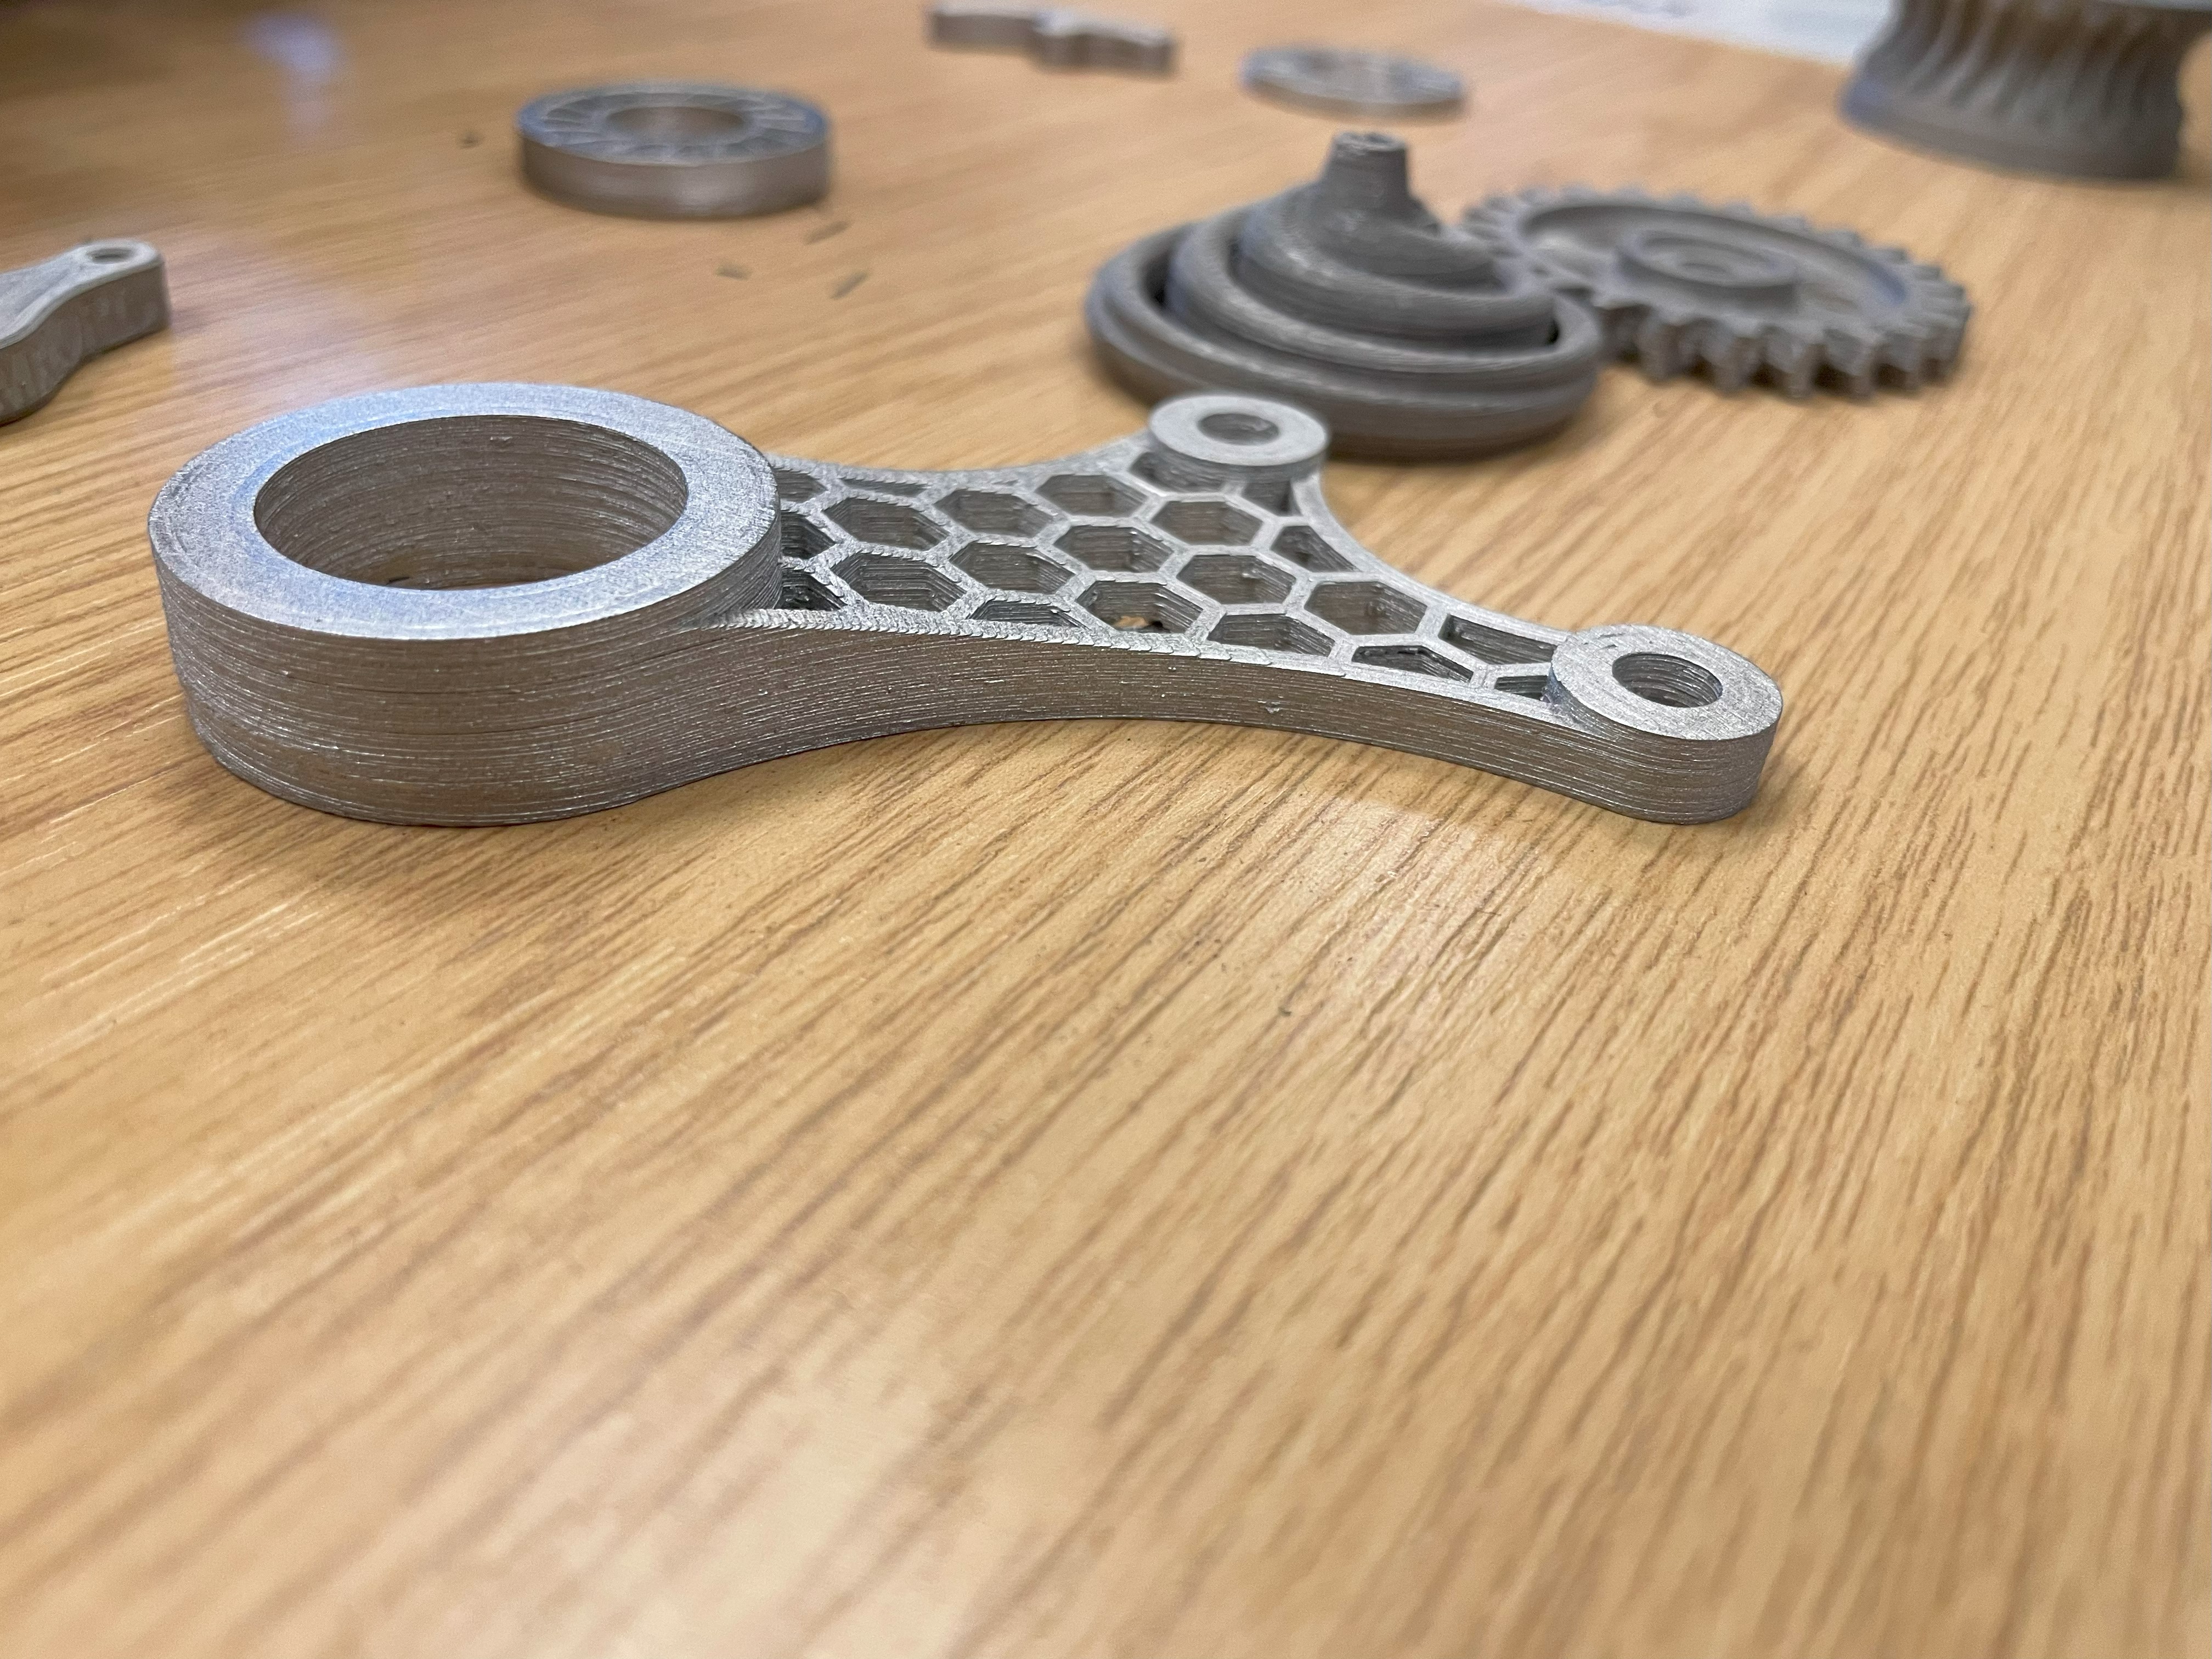
These parts were created using the result of the German Project FabMX. This project aims to create an open-source metal 3d printing system. Printing is done through an pellet extruder, using plastic pellets with an high degree of metal particles in them. After printing, the parts are put in an sintering oven of 1000+ degrees Celcius. The plastic particles disappear, and the metal remains and fuses together. Although the part does shrink, you can account for this in the design process. Afterwards you have a strong metal piece, almost just as strong as possible via selective laser sintering.
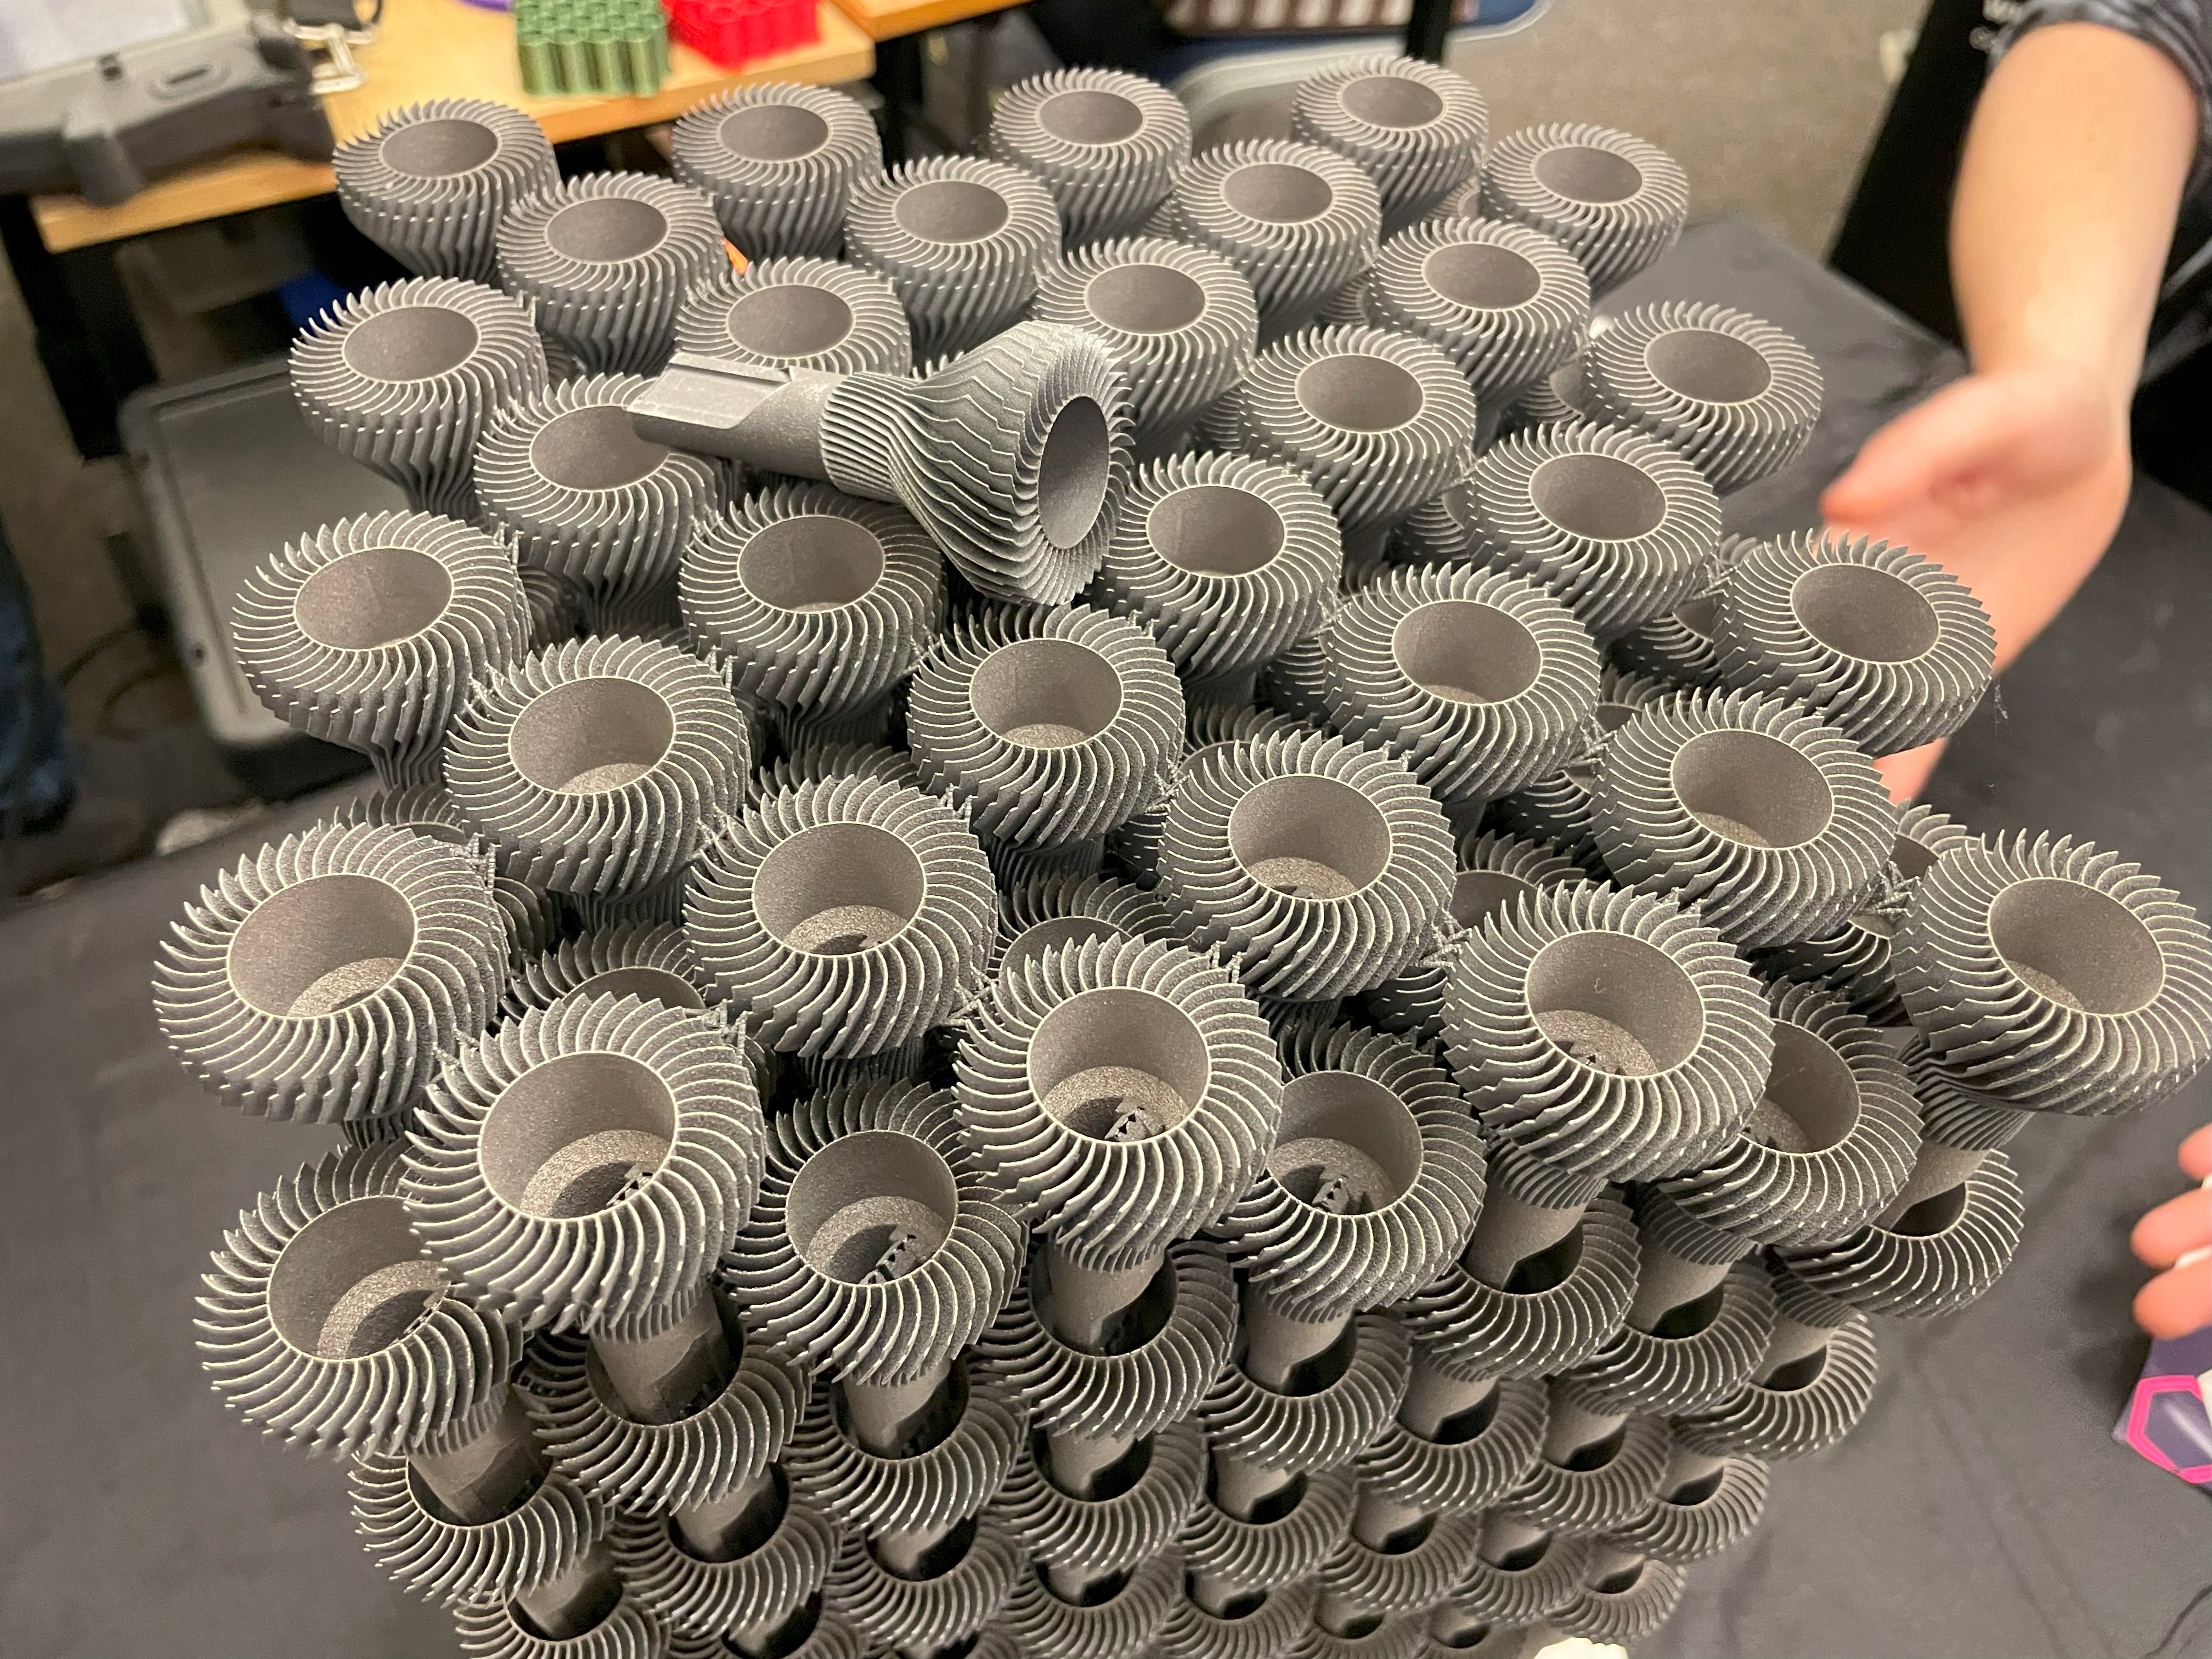
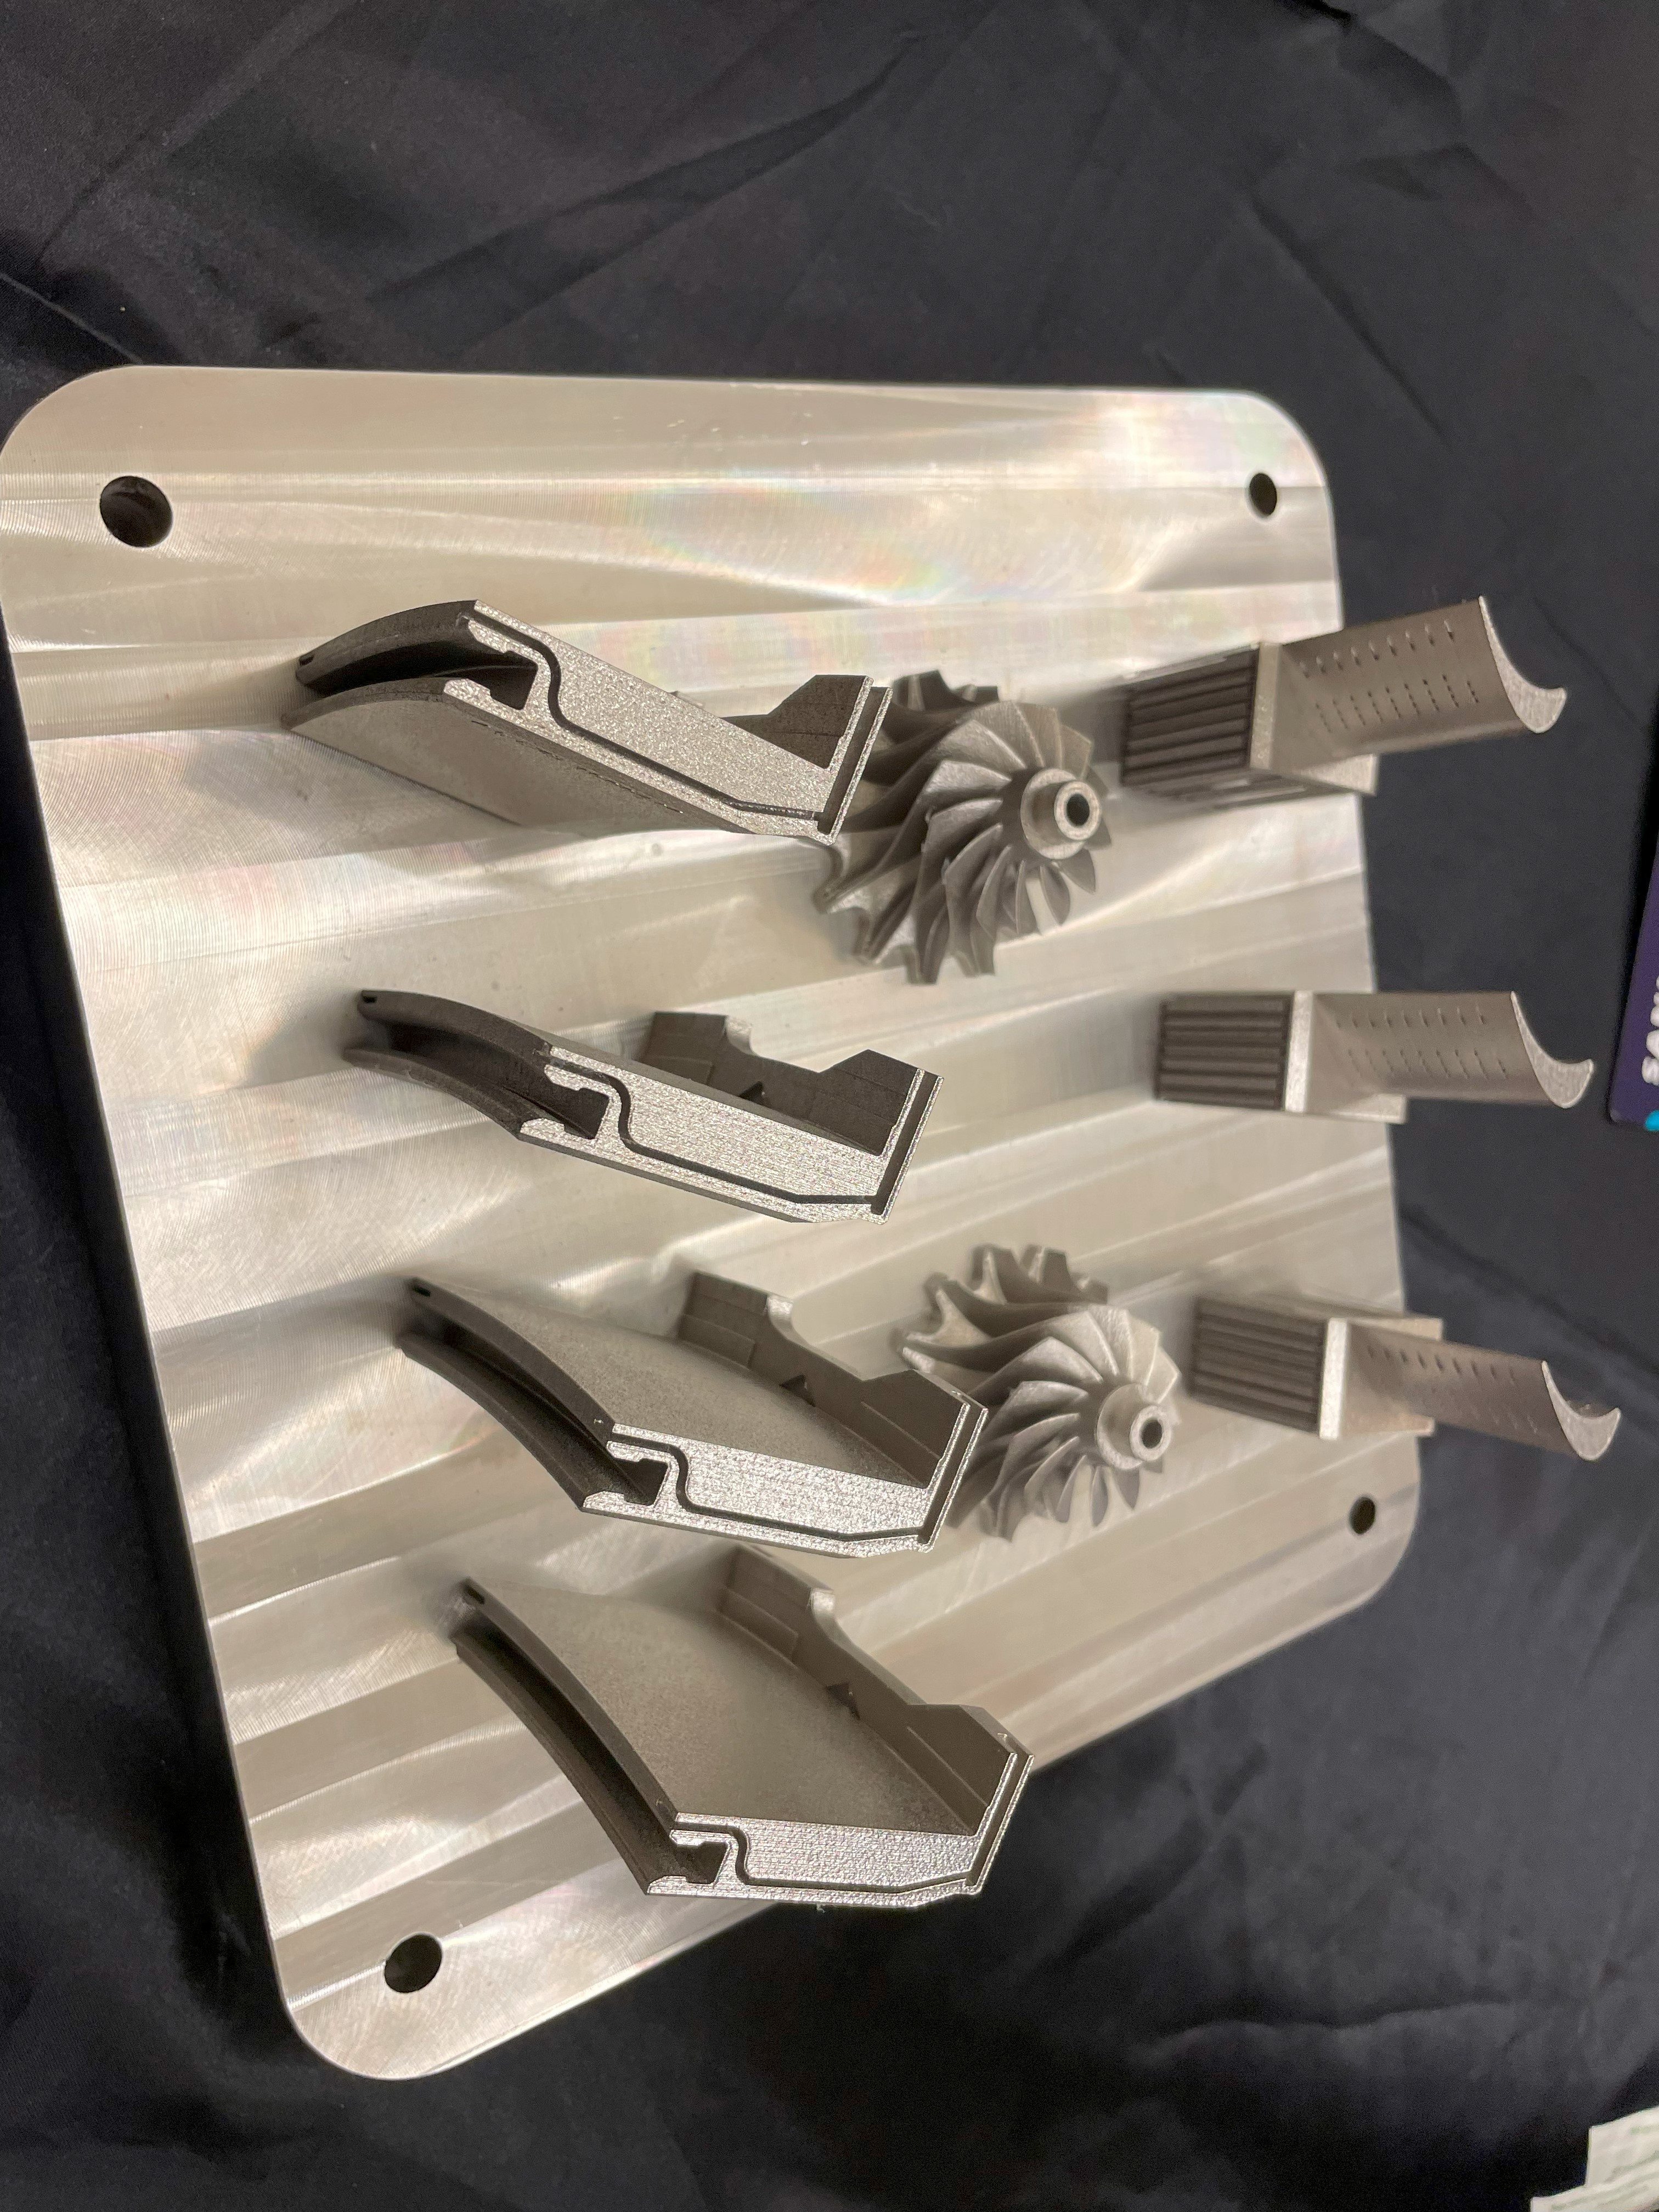
These parts shown above were created using SLS (selective laser sintering). Selective Laser Sintering (SLS) 3D printing is a method of manufacturing objects from engineering design files through sintering, the laser fusion of layers of powdered material to create an object. SLS 3D printing metal is a new method of printing metal parts.
Metal SLS 3D printing is a widespread additive manufacturing process with exceptional accuracy, the ability to print complex geometries, and mechanical properties similar to injection molded parts. The samples above also show that you can use support material, just like in FDM 3D printing. This support material is easily broken off and the part remains.
Ascand Laser 3D Scanning
Ascand Laser 3D Scanning is a company that specializes in creating 3D scans of objects. The company uses lasers to create highly accurate 3D scans of objects. The company’s scans are used in a variety of industries, including manufacturing, engineering, and architecture. The company’s scans are highly accurate and can be used to create detailed models of objects. This is achieved by taking many samples, using the camera of your smartphone and then using artificial intelligence and cloud processing to extract an 3d model. The 3d model is fully textured and can then be reproduced on a 3d printer.
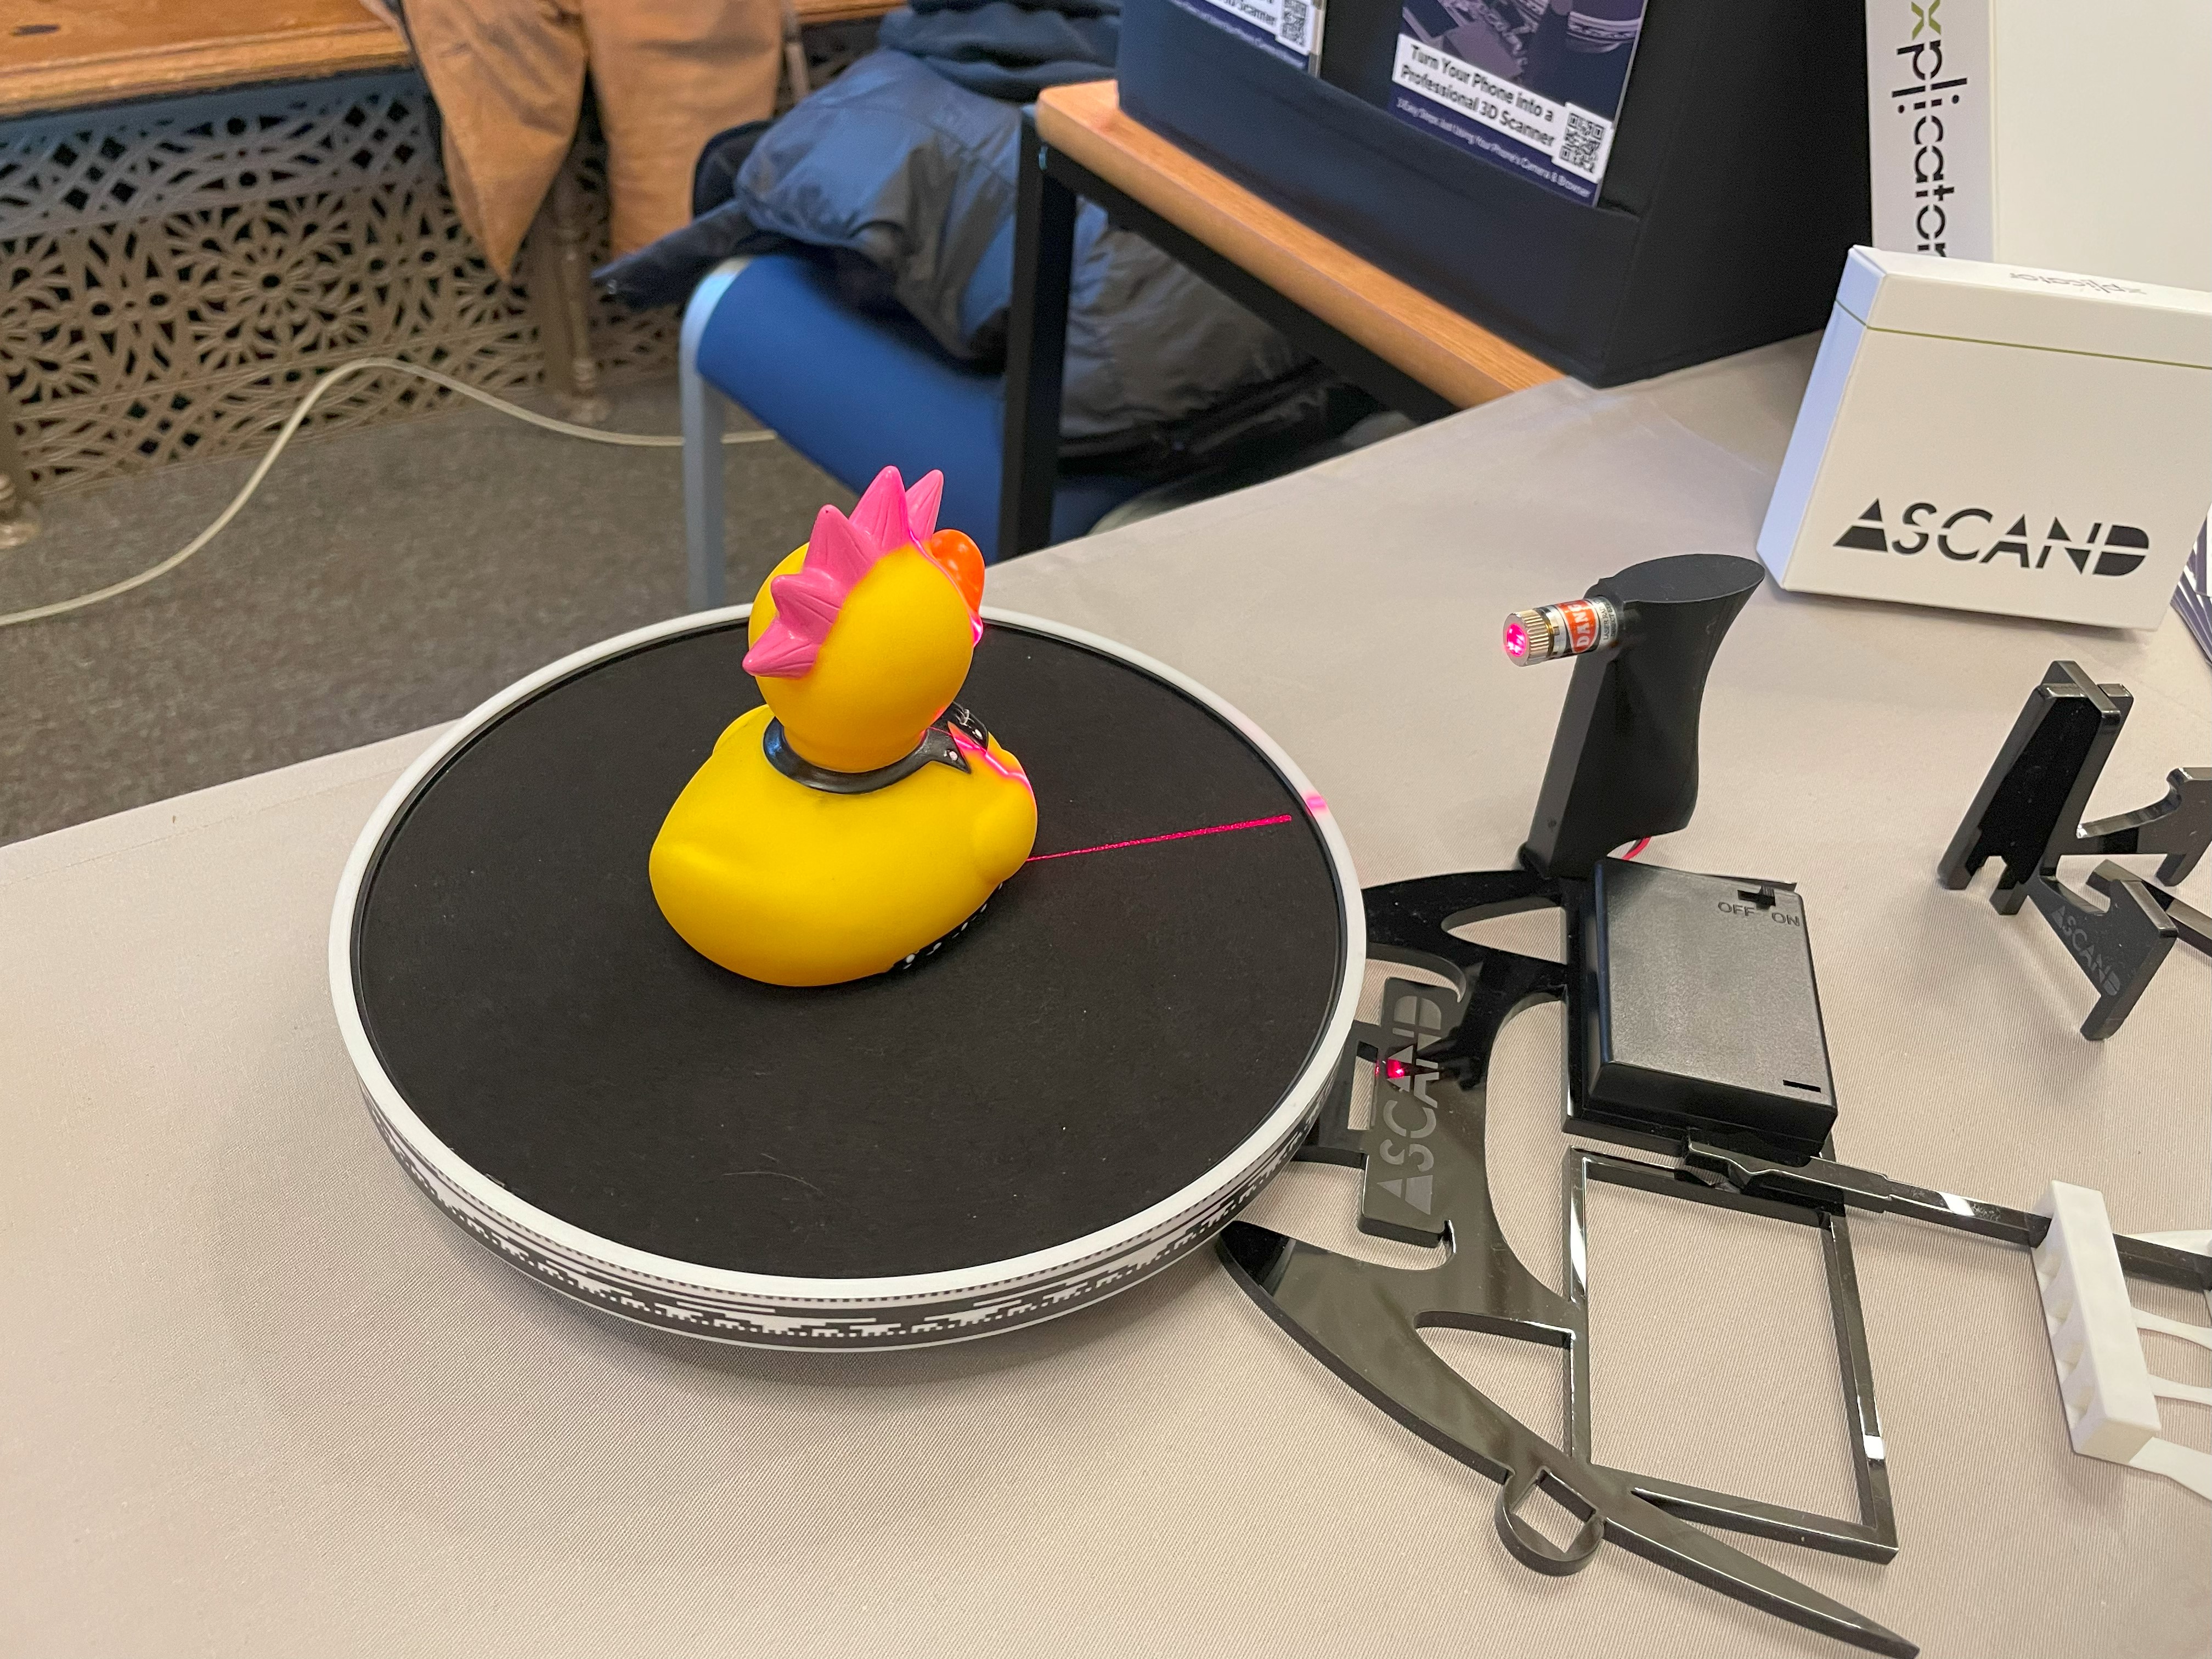
Using this scanning technique an accuracy of 0.1 mm is possible. To get started, you download the parts to hold your phone and print them out, and you need their turntable at €99. If you add an additional laser, you can get the best results. After scanning, you upload the video and depending on the quality you need - you pay between 1 and 3 credits per scan.
Full body 3D scanning
As an nice extra my dad got 3d scanned using a full 3d scanner. This was performed by E3D and all proceeds go to the Sanjay Mortimer Foundation.
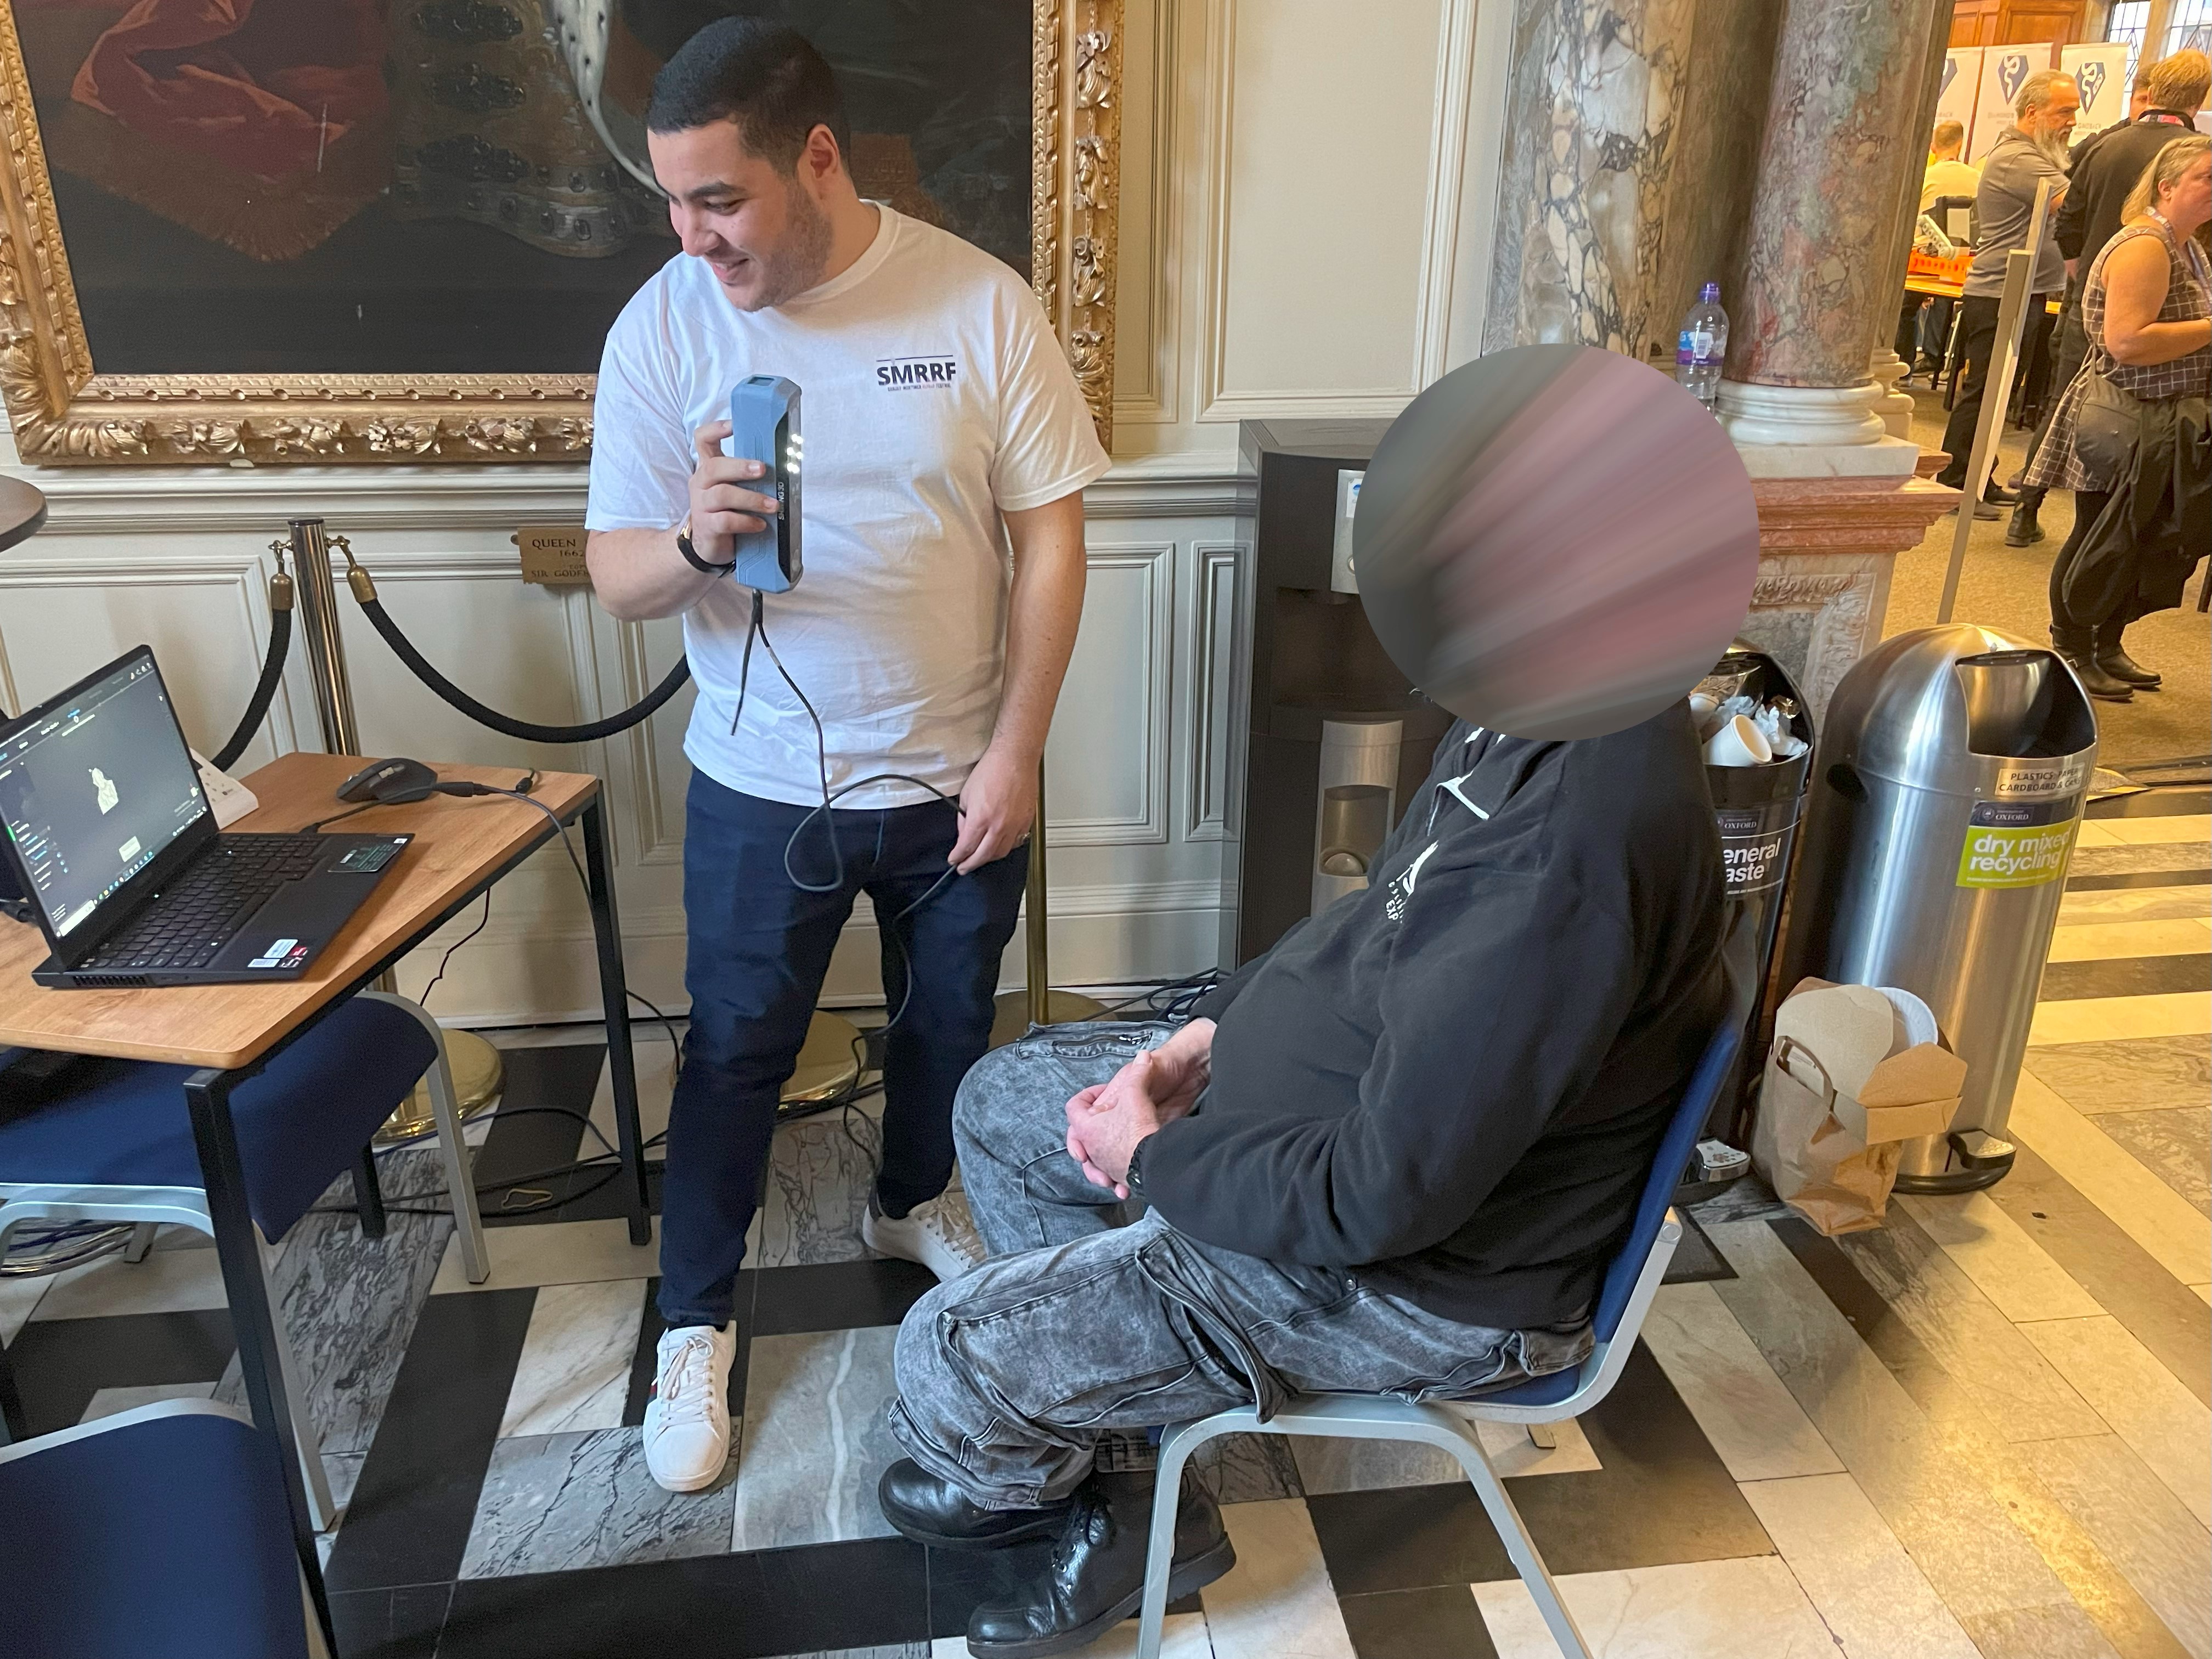
We have now received the files, and right now I’m printing a replica of my dad.
Conclusion
The SMRRF was a great event to be a part of. There was a lot to see, and it was interesting to discuss all things 3d printing with the various makers I’ve met. Not only did we talk about the various techniques and developments, but also about the 3d printing industry in general.
In a future blog post I plan to show off some other smaller things I’ve seen on the SMRRF. Until then!
What are your thoughts?